Diy Outdoor Toy Storage Solutions
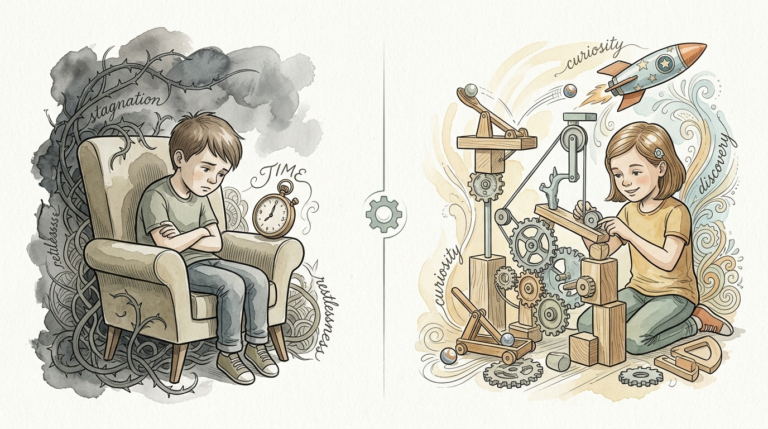
When every tool has a home, your kids stop ‘making a mess’ and start ‘performing a project’. Chaos creates friction. If a child has to dig through a muddy bin to find a shovel, their creative flow is broken. Utilizing a ‘Shadow Board’ system teaches them to respect their tools and keep the ‘Play Lab’ ready for the next discovery. Organization isn’t for you—it’s for their focus.

Every parent knows the feeling of stepping on a stray plastic rake in the grass. It’s frustrating. It’s messy. But more importantly, it signals a lack of system in the outdoor environment. When toys are scattered, the backyard stops being a place of exploration and starts being a chore. You want your kids to engage in deep, imaginative play, not spend twenty minutes looking for a specific bucket.
Creating a dedicated space for every outdoor item transforms the yard into a functional workshop. This approach moves away from the “big plastic bin” where things go to die and toward a structured, accessible environment. Let’s look at how you can build these systems yourself with basic tools and a bit of weekend energy.
Diy Outdoor Toy Storage Solutions
DIY Outdoor Toy Storage Solutions are customized systems designed to organize, protect, and display children’s play equipment in an exterior setting. Unlike standard indoor toy boxes, these solutions must handle rain, UV exposure, and heavy mud. They exist to bridge the gap between “playtime” and “cleanup,” making the transition seamless for both the parent and the child.
These systems range from simple wall-mounted racks to complex slatted chests. The goal is always the same: accessibility and durability. In the real world, you see these concepts in professional workshops where every wrench has a specific silhouette on the wall. Bringing this “lean manufacturing” principle to the backyard helps children develop executive function skills by understanding where items belong.

Common examples include the “Toy Shadow Board,” which uses outlines to guide placement, or the “Breathable Bin,” which allows wet sand toys to dry out without growing mold. These projects solve the specific problems of the outdoors: moisture, dirt, and the tendency for items to get lost in the grass.
How to Build Your Own Outdoor Play Systems
Building an effective storage system requires planning for both the child’s height and the environment’s harshness. Start with the “Shadow Board” for hand tools and gardening gear. This project is high-impact because it visually tells the child exactly what is missing at the end of the day.
The Ultimate Shadow Board Build
Select a piece of exterior-grade plywood or a large PVC slat-wall panel. Paint the entire board a neutral color with exterior-grade paint to prevent rot. Once dry, lay out all your child’s outdoor tools—shovels, rakes, hand trowels, and buckets—on the board in a logical arrangement. Space them out so small hands can easily grab a handle without knocking over another tool.
Trace the outline of each tool using a permanent marker or a contrasting paint color. For a high-energy look, use bright neon spray paint around the tool to create a “glow” effect. Install heavy-duty exterior hooks or pegs into the board following your outlines. Mount the board to a fence or the side of a shed at your child’s eye level. Now, “cleaning up” becomes a matching game rather than a task.
The Slatted Breathable Toy Chest
Standard plastic bins trap moisture. If a child puts a wet water gun or a damp sand bucket into a sealed bin, you get a science experiment of mold by Tuesday. Build a slatted chest using cedar or pressure-treated 1×4 boards. Cedar is naturally rot-resistant and smells great, making it the premium choice for outdoor projects.
Construct a basic frame using 2×2 cedar posts for the corners. Attach the 1×4 slats to the sides, leaving a half-inch gap between each board. This gap is the secret sauce. Airflow enters the chest and dries the toys naturally. For the bottom, use hardware cloth (a heavy-duty metal mesh) or spaced-out slats to allow sand and water to fall through to the ground. Add a lid with soft-close hinges to protect little fingers from slamming wood.
The PVC Multi-Tool Tower
Tall items like baseball bats, pool noodles, and hockey sticks are the hardest to store. Using 3-inch or 4-inch PVC pipe is a genius hack for these. Cut the pipes into 12-inch sections at a 45-degree angle. Sand the edges until they are perfectly smooth to prevent scratches.
Mount these sections vertically to a wooden frame or directly to a fence. Each pipe acts as a holster for a single tall item. This vertical storage saves a massive amount of floor space and prevents the “leaning tower of toys” that inevitably falls over when a child tries to pull one bat from the bottom of a pile.
Benefits of Systematic Outdoor Storage
Organized play spaces do more than just look good on social media. They actively change how a child interacts with their environment. When a child can see every option available to them, they make more intentional choices about what to play with. This leads to longer periods of focused play.
Independence is the primary practical benefit. A four-year-old who can reach their own bubble wands and put them back in a labeled bin feels a sense of mastery over their world. You spend less time acting as a “toy retrieval specialist” and more time observing their creativity. This autonomy is a core pillar of many developmental philosophies.
Maintenance of your gear is another massive win. Outdoor toys are expensive. UV rays and moisture are the enemies of plastic and wood. Keeping toys off the ground and under a covered or breathable structure extends their lifespan by years. You stop throwing away sun-bleached, brittle plastic every spring and start treating the toys as long-term assets.
Challenges and Common Mistakes
Ignoring drainage is the number one mistake in outdoor DIY. A beautiful wooden box without gaps or a plastic tub without holes will eventually become a bucket of stagnant water. This attracts mosquitoes and creates a slimy coating on everything inside. Always ensure there is a path for water to exit the bottom of your storage unit.
Oversizing the units can also backfire. A giant, deep toy box seems efficient until you realize the toy at the bottom is never touched. Kids won’t dig. If they can’t see it, it doesn’t exist. Deep bins lead to “Dirty Chaos,” where the top layer is messy and the bottom layer is a graveyard of forgotten parts. Keep your storage shallow and wide rather than deep and narrow.
Safety is often overlooked in the pursuit of “cool” designs. Heavy wooden lids are a major hazard. Without gas struts or soft-close hinges, a heavy lid can cause serious injury to small hands. Always test the weight of the moving parts and assume a child will be clumsy with them. If a lid is too heavy, consider making it a removable “lift-off” style or leaving the top open under a porch roof.
Limitations and Environmental Constraints
Nature eventually wins. No matter how well you seal your cedar chest, the sun and rain will age it. Wood requires a fresh coat of sealant every year or two to maintain its structural integrity. If you live in an area with extreme humidity or heavy salt air near the ocean, wood may not be the ideal choice. In these cases, using resin-based systems or high-grade PVC is more practical.
Space is the other major constraint. Not every backyard has room for a full-scale “Toy Garage.” If you have a small patio, you have to prioritize vertical storage. This might mean you can’t have a large sandbox station and a bike rack. Choosing multi-functional pieces, like a storage bench that also serves as seating for adults, is the best way to handle limited square footage.
Pests are a reality of the outdoors. Open bins or slatted chests are accessible to spiders, bees, and occasionally rodents. Teaching your children to check their toys before grabbing them is a necessary part of outdoor play. If pests are a deal-breaker, you may need to move toward airtight gaskets on lids, though this reintroduces the moisture problem mentioned earlier.
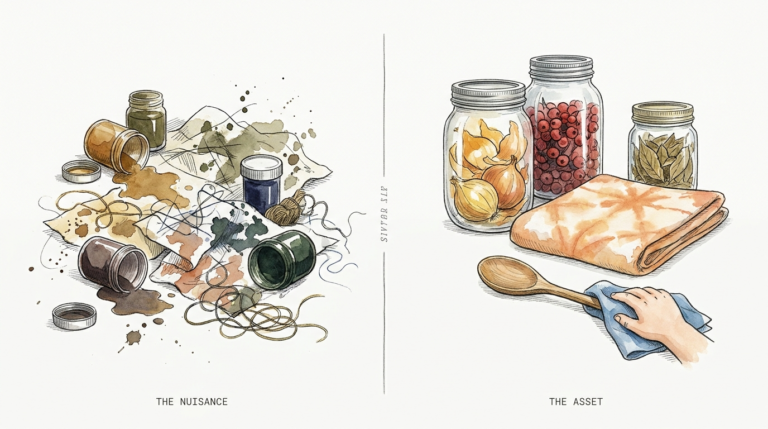
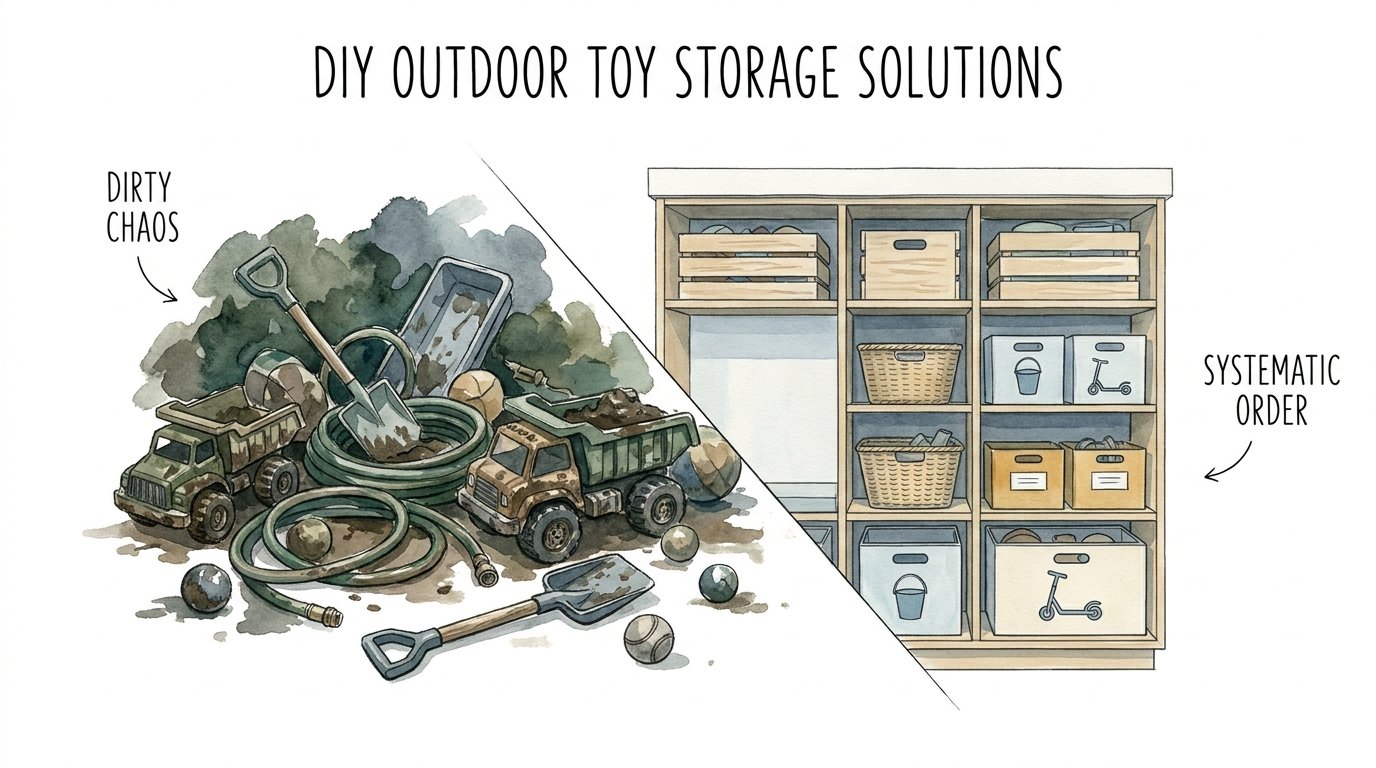
Systematic Order vs. Dirty Chaos
Understanding the difference between a “dumping ground” and a “storage system” is vital. Most yards suffer from Dirty Chaos, which creates a mental load for the parent and a physical barrier for the child. Systematic Order, however, facilitates the “Play Lab” mindset.
| Feature | Dirty Chaos (Bins/Heaps) | Systematic Order (DIY Solutions) |
|---|---|---|
| Search Time | High – digging required | Zero – visual recognition |
| Toy Lifespan | Short – mold and breakage | Long – protected and dry |
| Child Autonomy | Low – asks for help | High – self-sufficient |
| Cleanup Speed | Deceptively fast (just toss) | Consistent and intentional |
| Mental Impact | Anxiety and friction | Focus and flow |
Practical Tips and Best Practices
Labeling is your best friend. For younger kids who can’t read yet, use picture labels. A photo of a soccer ball taped to a bin tells them exactly what goes there. For older kids, clear text labels help reinforce literacy. Using a label maker with weather-resistant tape ensures the text doesn’t fade after the first summer storm.
Group toys by “Action Zones.” Keep sand toys near the sandbox. Keep pool noodles and goggles near the pool gate. Keep chalk and ride-on toys near the driveway. This reduces the distance the child has to travel to put things away, which significantly increases the likelihood of them actually doing it. Moving storage to the point of use is a professional organizing secret that works wonders in the backyard.
Invest in quality hardware. Using cheap, zinc-plated screws will result in rust streaks down your beautiful wood projects within months. Always choose stainless steel or galvanized hardware for anything living outside. It costs a few dollars more, but it prevents the “decrepit look” that sets in when metal begins to corrode.
Advanced Considerations for Serious Makers
Think about the “Flow of the Season.” An advanced storage system includes a “Seasonal Rotation” plan. In the winter, you don’t need the water table and the slip-and-slide taking up prime real estate. Design your DIY units to be modular. Perhaps the center section of your storage wall can be swapped out: a “Snow Station” in January and a “Mud Kitchen” in July.
Incorporating lighting can extend the utility of your storage. Solar-powered LED strips inside a toy chest or along a shadow board make evening cleanups much easier. It also adds a layer of safety, as it illuminates the area where kids are walking. These lights are cheap, easy to install, and require no wiring.
Consider the ergonomics of the “Lift and Carry.” If your child has a “Mobile Adventure Cart,” they can move their entire kit to different parts of the yard. Building a small cart on 4-inch locking casters allows the play to follow the shade or the sun. This prevents toys from being abandoned in far corners of the yard because they were “too heavy to carry back.”
Scenario: The Sandbox Transformation
Imagine a typical sandbox area. There are four different shovels, six buckets, and a dozen trucks buried under the sand. The wood of the sandbox is starting to rot because the toys are trapping moisture against the frame. This is a classic “Friction Zone.”
Now, apply a DIY system. You build a small, slatted “Hutch” right next to the sandbox. On the back wall of the hutch, you have a mini-shadow board for the shovels. Below it, two mesh-bottomed crates hold the buckets and trucks. After playtime, the kids shake the sand off their trucks, place them in the crates, and hang the shovels on their silhouettes. The toys stay dry, the sand stays in the box, and the next time they want to build a castle, everything is ready. The friction is gone.
Final Thoughts
Building DIY Outdoor Toy Storage Solutions is an investment in your child’s development and your own peace of mind. By removing the friction of a messy yard, you allow your kids to dive deeper into their “projects.” They learn that tools are valuable, and every item has a purpose. This respect for the environment often carries over into their indoor habits and schoolwork.
Start small. You don’t need a massive workshop to build a shadow board or a PVC rack. These projects are accessible to beginners and provide immediate results. As you see the “Play Lab” come to life, you can expand into more complex builds like slatted chests or mobile carts.
The goal is a yard that works for everyone. You get a tidy outdoor space that looks intentional and well-maintained. Your kids get a structured environment that fuels their imagination. Experiment with these systems, involve your children in the building process, and watch how a little organization transforms your outdoor life.
Sources
1 keter.com | 2 busytoddler.com | 3 andreadekker.com | 4 lemonthistle.com | 5 howneatbydana.com | 6 in-excess.com | 7 justagirlandherblog.com | 8 childcare.gov | 9 playlsi.com | 10 nih.gov | 11 playfaire.co.uk | 12 horizonschildren.org | 13 kidsfirstservices.com | 14 kregtool.com