Natural Dyeing Activities For Kids
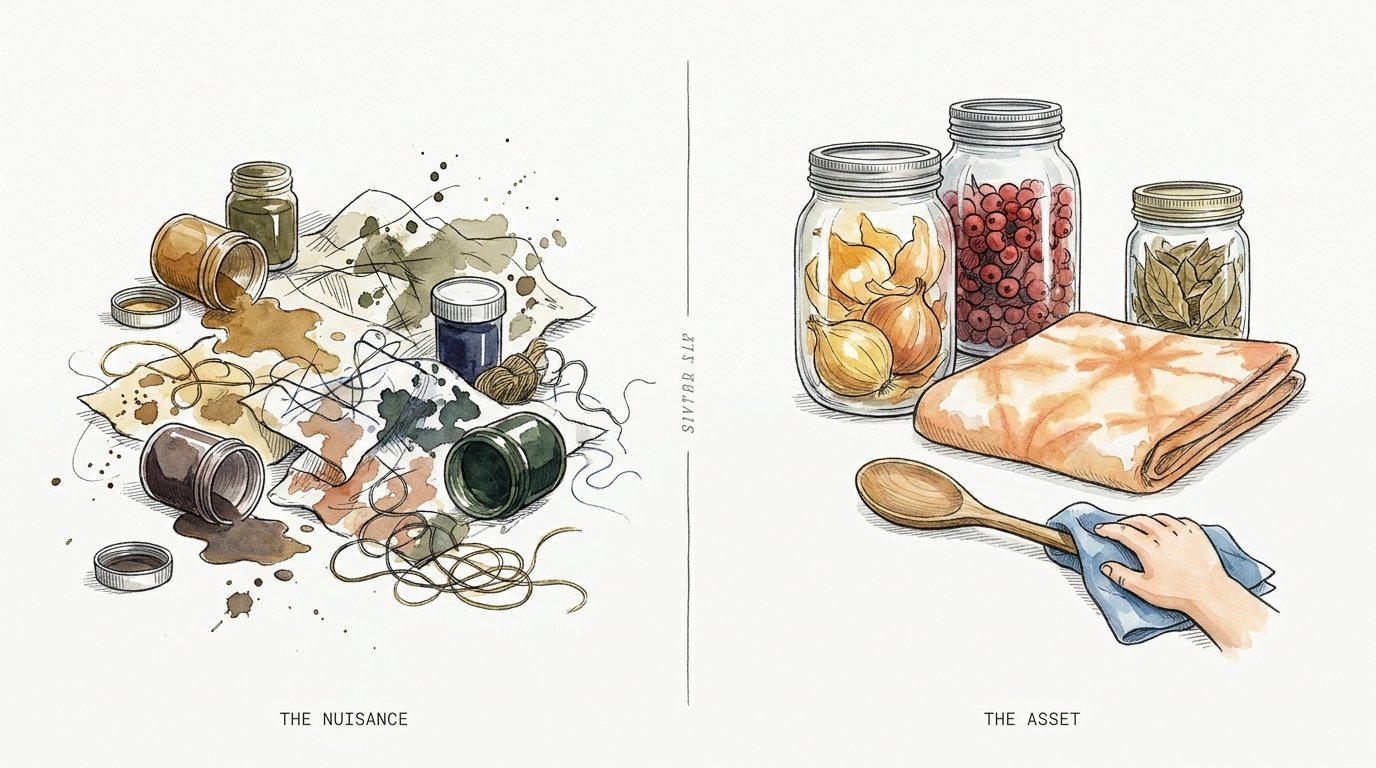
What if the biggest headache in your lawn was actually the secret ingredient to your child’s next masterpiece? We spend hundreds of dollars on ‘organic’ art kits while the most vibrant pigments are currently growing for free in our backyards. When we see a weed, they see a world of color waiting to be unlocked.
This is the ultimate hack for parents who are tired of plastic-heavy crafts and looking for a way to ground their kids in the real world. Natural dyeing is more than just a craft; it is a blend of history, chemistry, and pure outdoor adventure. Instead of ordering another box of synthetic markers from a warehouse, you can teach your children to find “living” colors in the dirt.
It turns the chore of weeding the garden into a scavenger hunt for liquid gold and midnight purple. You aren’t just making a t-shirt; you are showing them how the world around them is built. This guide will walk you through everything you need to transform your “nuisances” into your greatest creative assets.
Natural Dyeing Activities For Kids
Natural dyeing is the process of extracting pigments from organic materials—like plants, roots, bark, and even kitchen scraps—to color fabric, yarn, or paper. While we often think of “dyeing” as a messy commercial process involving heavy chemicals, it has been the primary way humans colored their world for thousands of years. From the deep indigos of ancient Japan to the rich ochres of the Mediterranean, nature provided the palette.
In a real-world context, this practice is making a massive comeback in the slow fashion movement and among eco-conscious artists. It exists at the intersection of sustainability and art. For kids, it is a way to see that “color” isn’t just something that comes out of a factory; it’s a living part of the ecosystem.

Think of it like a “stealth science” project. When kids collect dandelions to turn a white sock yellow, they aren’t just crafting. They are performing biological extraction and learning about chemical bonding. It’s a tactile, multi-sensory experience that connects them to the seasons. Whether you are using onion skins from your pantry or nettles from the back fence, you are participating in a tradition that is as old as civilization itself.
The Alchemy of Color: How to Do It
Transforming a pile of weeds into a vibrant liquid requires a few simple steps that mirror basic laboratory techniques. The goal is to move the color from the plant material into the water, and then from the water into the fiber of your fabric.
Step 1: Scouring and Mordanting
Natural fibers have oils and waxes that can prevent dye from sticking. Scouring is simply a fancy word for washing your fabric in hot water with a little dish soap or washing soda to get it “thirsty” for color.
Next comes the secret weapon: the mordant. A mordant is a substance that acts as a molecular bridge between the dye and the fabric. Without it, your beautiful colors will likely wash away the first time they hit the laundry.
For kids, Alum (potassium aluminum sulfate) is the gold standard. It’s a mineral salt found in the spice aisle of most grocery stores for pickling. Dissolve about two teaspoons of alum in a pot of warm water and let your damp fabric soak for about 20 minutes. This “pre-treats” the fibers so they can grab onto the pigment molecules.
Step 2: The Extraction Process
This is where the magic happens. You need to break down the plant’s cell walls to release the color. Chop your weeds or flowers into small pieces—the more surface area, the better. Place them in a dedicated “craft pot” (more on that later) and cover with water.
Simmer the mixture for 30 to 60 minutes. You will see the water transform from clear to a deep, concentrated liquid. It is important to simmer, not boil aggressively, as too much heat can “cook” the pigment and turn bright colors into muddy browns. Once the water looks like a strong tea, strain out the plant bits and you are left with your dye bath.
Step 3: The Dyeing Phase
Submerge your mordanted fabric into the warm dye bath. Encourage your kids to stir gently with a wooden spoon. The longer the fabric stays in, the deeper the color will be. For the most vibrant results, let the fabric soak overnight as the bath cools. Once you are happy with the shade, rinse the fabric in cool water until the water runs clear, then hang it in the shade to dry.
Common Plants in Your Yard: From Nuisance to Asset
Your lawn is a hidden inventory of primary colors if you know where to look. Instead of fighting the weeds, start harvesting them.
- Dandelions: These “headaches” are a gold mine. The yellow flower heads produce a soft, buttery yellow, while the roots can give you earthy browns and beiges.
- Stinging Nettles: Don’t let the name scare you—just wear gloves during the harvest. Boiling the leaves creates a beautiful, sophisticated range of “spring greens” and khakis.
- Acorns: If you have an oak tree, you have an endless supply of tannins. Acorns produce a rich, dark brown that is incredibly permanent.
- Clover: The blossoms of red and white clover can yield soft, creamy yellows and delicate greens.
- Onion Skins: Not exactly a weed, but a kitchen “nuisance” that is a powerhouse. Yellow onion skins create vibrant oranges and golds, while red onion skins often produce surprising greens or deep maroons.
The Three Best Ways to Play
Different ages and energy levels require different techniques. Here are three ways to get started today.
Method 1: Hapa Zome (Flower Pounding)
This is the ultimate activity for high-energy kids. “Hapa Zome” is the Japanese art of pounding leaves and flowers to transfer their pigment directly into cloth.
Lay a piece of cotton fabric on a hard surface, like a flat rock or a scrap of wood. Arrange colorful petals and leaves on one half, then fold the other half of the cloth over the top. Use a hammer or a smooth stone to gently but firmly pound the fabric. When you peel it back, you will see a perfect, mirrored “print” of the botanical shapes. It is instant gratification and requires zero boiling.
Method 2: Solar Dyeing Jars
If you want a “set it and forget it” project, solar dyeing is perfect. Fill a clear glass jar with water, a bit of alum, your plant materials, and a small piece of fabric. Close the lid and place it on a sunny windowsill for a week. The sun provides a slow, gentle heat that extracts the color over several days. Kids love checking the jar every morning to see how the color has deepened.
Method 3: Stovetop Science (pH Shifting)
For older kids, turn the dye bath into a chemistry lab. Certain dyes, like those from red cabbage or berries, are pH-sensitive. Once you have a purple dye bath, try adding a spoonful of vinegar (acid). The liquid will instantly turn pink. Add a pinch of baking soda (base), and it will shift to blue or green. It is a visual demonstration of chemistry that feels like a magic trick.
Benefits of Natural Dyeing for Children
Choosing weeds over store-bought kits offers more than just cost savings. It provides a unique set of developmental and environmental advantages.
It fosters environmental stewardship. When a child learns that a specific weed makes their favorite color of green, they stop seeing “weeds” and start seeing resources. This creates a deep, personal connection to the local environment.
It teaches “Slow Art.” In a world of instant downloads, natural dyeing requires patience. You have to wait for the flowers to bloom, wait for the dye to extract, and wait for the fabric to soak. This develops a child’s ability to appreciate long-term processes.
It is completely non-toxic and biodegradable. Most synthetic dyes are petroleum-based and contain heavy metals that are hard on the skin and the water system. Natural dyes, especially when using food-safe mordants like alum and vinegar, are safe for little hands and can be poured right back onto the garden soil once cooled.
Challenges and Common Mistakes
Natural dyeing is an organic process, which means it can be unpredictable. Here are the pitfalls that often trip up beginners.
Using synthetic fabrics. Polyester, nylon, and acrylic are essentially plastic. They do not have the microscopic “pores” needed to hold natural pigments. If you try to dye a polyester shirt, the color will simply slide off. Stick to 100% natural fibers like cotton, wool, silk, or linen.
Skipping the mordant. Many parents want to skip the alum or vinegar to save time. Without a mordant, your “dye” is really just a “stain.” It might look great today, but it will fade to a dull grey after one wash.
Crowding the pot. If you stuff too much fabric into a small jar or pot, the dye won’t be able to circulate. This leads to “mottling,” or splotchy, uneven color. Ensure your fabric has plenty of room to “swim” in the liquid.
Limitations: When Nature Stays Wild
It is important to manage expectations. Natural dyes are beautiful, but they are not industrial products.
Fugitive colors. Some plants are “fugitive,” meaning their color fades quickly in sunlight or through washing. Beetroots and blackberries are famous for this. They create stunning pinks and purples initially, but these colors often shift to brown or disappear entirely over time. These are best used for temporary art projects rather than heirloom clothing.
Color variation. You can harvest dandelions from the same spot two weeks apart and get two different shades. Soil pH, rainfall, and the age of the plant all change the pigment. You have to embrace the “perfect imperfection” of the results.
Equipment constraints. You should never use your “good” cooking pots for dyeing. While many plants are safe, some mordants and certain wild plants can leave residues that aren’t food-safe. Always have a dedicated set of “dyeing-only” pots and spoons.
Practical Tips for Best Results
Apply these professional tips to ensure your first project is a success.
- Use Rainwater: If your tap water is “hard” (full of minerals like calcium), it can dull your colors. Use filtered water or collect rainwater for a brighter result.
- The Soy Milk Trick: If you are dyeing cotton or linen, soaking the fabric in a mixture of one part soy milk to five parts water before dyeing creates a protein coating that helps the dye stick much better.
- Iron Shift: If your yellow or green dyes look a bit too bright, try adding a few rusty nails to a jar of vinegar to create an “iron liquor.” Adding a splash of this to your dye bath will “sadden” the color, turning yellows into deep olives and golds.
- Harvest in the Morning: Plants are most hydrated and have the highest pigment concentration in the early morning before the sun gets too hot.
Advanced Considerations: Scaling Up
Once your kids have mastered the basics, you can move into more complex systems.
Building a Dye Garden. Instead of just foraging, you can intentionally plant “dye-crops” like Marigolds, Weld, and Madder. This allows you to plan out a specific color palette for the year and teaches kids about the life cycle of a product from seed to shirt.
Indigo Vats. Indigo is the “king of dyes” and works differently than other plants. It requires an oxygen-free vat and a “reduction” process. It is a fantastic advanced project for older children because the fabric comes out of the liquid yellow and turns blue right before their eyes as it hits the oxygen in the air.
Eco-Printing. This involves tightly rolling leaves and flowers inside fabric and steaming the entire “bundle.” The heat and pressure create high-definition prints of the actual leaf veins and petal textures. It requires more precision and longer “cook” times but produces professional-quality textiles.
Example Scenario: The Summer Solstice Shirt
Imagine a Saturday afternoon in June. You give your children a basket and ask them to find “five things that don’t belong” (weeds). They return with a pile of dandelions, some wild clover, and a few handfuls of yellow onion skins you saved from lunch.
You spend 30 minutes simmering the mix while the kids prepare their 100% cotton t-shirts by soaking them in an alum bath. After lunch, you strain the weeds and submerge the shirts. By Sunday morning, the shirts have transformed from boring white to a deep, glowing honey-gold.
The kids didn’t just get a new shirt; they learned that their environment is a source of creation. They understand that those “pesky” dandelions are actually a hidden resource. The next time they walk through the yard, they won’t just see a lawn—they will see a palette.
Final Thoughts
Natural dyeing is a bridge between the digital world and the physical one. It takes the “nuisances” of the garden and turns them into a child’s most prized asset. By shifting our perspective from “killing weeds” to “harvesting color,” we teach our children to look closer at the world around them.
The practical value is clear: you save money on expensive art supplies while reducing your environmental footprint. But the real value is in the connection. Every time your child wears a shirt they dyed themselves using the plants from their own backyard, they carry a piece of that landscape with them.
Experiment with the plants in your specific region. Every zip code has its own unique color signature waiting to be discovered. Whether you start with a simple jar on a windowsill or a big pot on the stove, the goal is the same: to stop seeing the headache and start seeing the masterpiece. What color is hiding in your lawn today?
Sources
1 patriciamnewman.com | 2 tcv.org.uk | 3 lewisandclarknpa.org | 4 kidsgardening.org | 5 fabrics-store.com | 6 lacreativemama.com | 7 thimbleandtwig.com | 8 learningherbs.com | 9 rebeccadesnos.com | 10 pburch.net | 11 permies.com