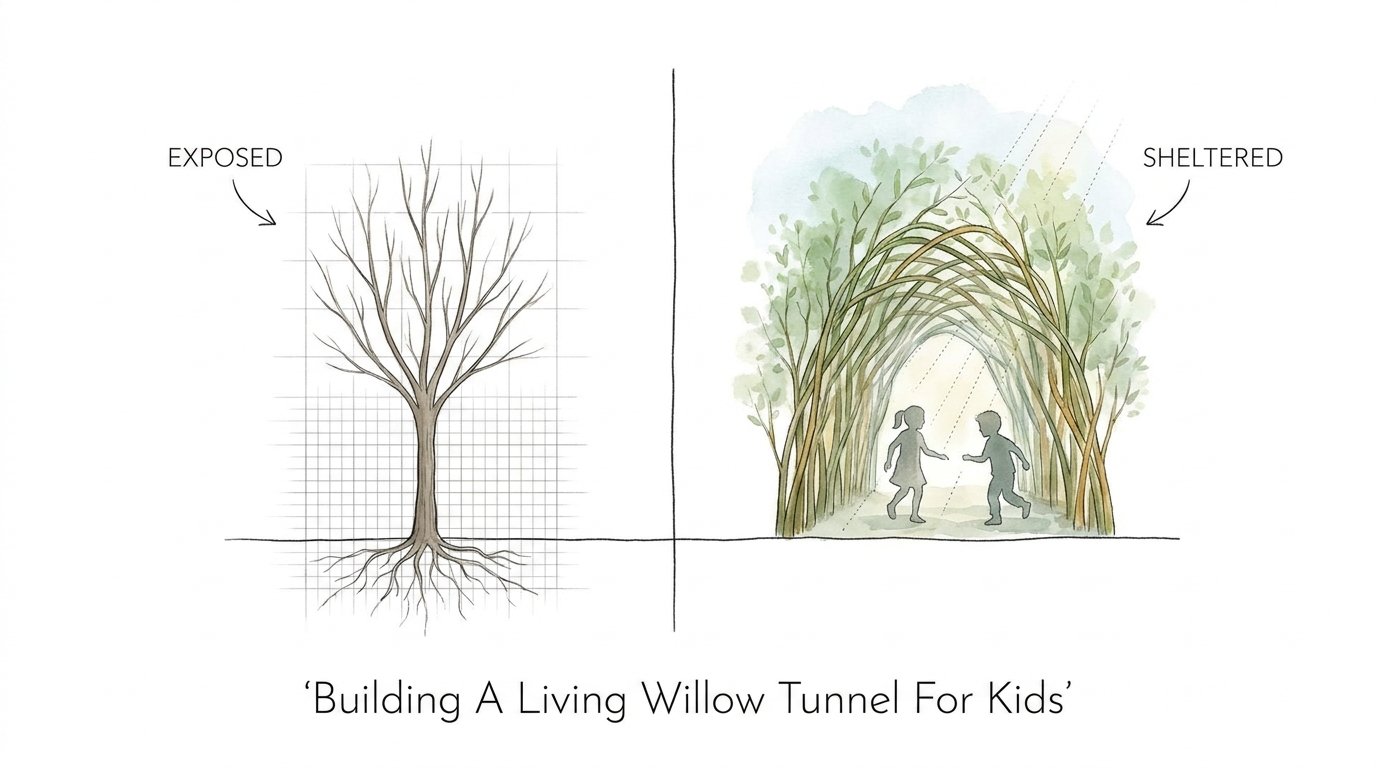
Building A Living Willow Tunnel For Kids
We build plastic playhouses that trap heat, when we could be growing living sanctuaries that breathe. A living willow structure isn’t just a place to play; it’s a micro-climate. It stays 10 degrees cooler than the rest of the yard and teaches children that nature is a partner, not just a backdrop.

Imagine a playground that grows with your child. Most outdoor toys end up in a landfill after five years of sun damage and cracked plastic. A willow tunnel does the opposite. It gets stronger, thicker, and more beautiful every season. It creates a literal “oxygen room” where the air is fresher and the shade is deep.
Building one of these is easier than you think. You don’t need a degree in horticulture or a truckload of expensive tools. You just need a few bundles of dormant willow rods and a weekend of effort. Let’s look at how you can transform a flat patch of grass into a magical, living architecture.
Building A Living Willow Tunnel For Kids
A living willow tunnel is a structural garden feature made from unrooted willow whips (long, flexible branches) planted directly into the ground. Because willow is incredibly resilient, these rods take root and continue to grow, forming a permanent, leafy walkway. It is “focussed planting” at its finest.
These structures are staples in European forest schools and eco-friendly public parks. They offer a physical space for imaginative play that feels entirely different from a static wooden fort. In the real world, these tunnels serve as windbreaks, visual screens, and biodiversity hubs.

Think of it as a bridge between a hedge and a building. While a standard hedge takes years to shape, a willow tunnel provides an immediate “skeleton” that greens up within weeks of the first spring thaw. It creates a sheltered environment that protects kids from the wind while remaining open enough for parents to keep a watchful eye.
The Step-by-Step Blueprint: From Sticks to Sanctuary
Success with living willow depends on timing and technique. If you follow the natural rhythm of the tree, the process is almost foolproof.
1. Timing is Everything
You must plant your tunnel while the willow is dormant. This window usually runs from November to early March. During this time, the “sap is down.” The rods can focus all their energy on pushing out roots before the leaves demand water in the spring.
2. Preparing the Site
Choose a spot with plenty of sunlight. Willow is a sun-lover and will struggle in deep, permanent shade. Use pegs and string to mark out two parallel lines. A width of 1 to 1.5 meters is usually perfect for a kids’ tunnel. Clear the grass along these lines to reduce competition for nutrients.
3. The Foundation: Weed Suppression
This is the most skipped step, and it’s the most common cause of failure. Lay down a heavy-duty weed-suppressing membrane along your marked lines. Willow rods are essentially “cuttings” in their first year. They cannot fight off aggressive grass or weeds. Secure the matting with pegs.
4. Planting the Main Uprights
Use a metal bar or a “dibber” to create holes through the membrane and into the soil. Aim for a depth of 30cm to 45cm. Insert your thickest willow rods (the “uprights”) into these holes at 30cm intervals. Firm the soil around them with your heel. These are the pillars of your tunnel.
5. The Magic of the Lattice Weave
Don’t just plant everything vertically. To create a strong, dense wall, you need to plant “diagonals.” Insert two thinner rods at 45-degree angles between each upright. Weave them in a “diamond” pattern, crossing them over the uprights and each other. This lattice provides immediate structural integrity.
6. Securing the Roof
Once the walls are woven, take the tops of the uprights from opposite sides and bend them toward each other. Overlap them to form an arch. Secure these with natural jute twine or biodegradable ties. Avoid using wire, as it will eventually “strangle” the growing branches.
The Practical Benefits of Growing Your Playground
Why choose a living structure over a store-bought kit? The advantages go far beyond aesthetics.
Natural Cooling: Through a process called transpiration, willow leaves release moisture into the air. This creates a genuine cooling effect. On a scorching July afternoon, the temperature inside a leafy willow tunnel can feel significantly lower than the open lawn.
Carbon Sequestration: Every inch of growth in your tunnel represents carbon pulled from the atmosphere. While plastic playhouses contribute to carbon emissions during manufacturing, a willow tunnel is a carbon sink.
Biodiversity Support: Willow is one of the best plants for supporting local ecology. It provides early-season nectar for bees and a habitat for hundreds of insect species. It turns your backyard into a living classroom for your children.
Sensory Development: Kids experience the texture of the bark, the sound of wind through the leaves, and the smell of the damp earth. It is a full-sensory environment that stimulates the brain in ways a smooth plastic slide cannot.
Common Mistakes and How to Avoid Them
Even though willow is tough, beginners often make a few critical errors that can stall or kill the project.
Mistake 1: Planting Too Shallow. If the rods aren’t deep enough, they won’t reach consistent moisture. They will dry out and die before the roots can establish. Always aim for at least 30cm of depth.
Mistake 2: Forgetting the Water. In the first year, your tunnel is a group of giant cuttings. They need a “good drench” once a week during dry spells. If the soil dries out completely in July, you might lose the whole structure.
Mistake 3: Using the Wrong Variety. Not all willows are equal. Avoid weeping willows (Salix babylonica) for tunnels; they are too brittle and grow too large. Use Salix viminalis (Common Osier) or Salix purpurea. These varieties produce the long, straight, flexible “whips” needed for weaving.
Environmental and Practical Limitations
Transparency is key to a successful garden. A living willow tunnel isn’t right for every single yard.
Root Proximity: Willow roots are notoriously “thirsty.” They will seek out moisture with aggressive efficiency. Never plant a living structure within 10 meters of drains, septic tanks, or house foundations. The roots can find small cracks in pipes and cause expensive blockages.
Seasonal Changes: This is a deciduous structure. In the winter, the leaves will fall. While the “skeleton” of the weave is still beautiful and provides a great place for winter play, it won’t offer the same privacy or shade during the cold months.
Maintenance Requirements: Unlike a plastic playhouse, you cannot “set and forget” a willow tunnel. It requires an annual “haircut” every winter to maintain its shape and keep the walkway clear. If you hate pruning, this might not be the project for you.
Comparison: Living Willow vs. Traditional Playhouses
| Feature | Living Willow Tunnel | Plastic Playhouse |
|---|---|---|
| Upfront Cost | Low (approx. $100-$300 for kits) | Medium to High ($300-$1,000+) |
| Lifespan | Decades (indefinite with care) | 5-10 years (weather dependent) |
| Temperature | Cools the air via transpiration | Traps heat (greenhouse effect) |
| Eco-Impact | Carbon negative / Biodiversity boost | Petroleum-based / Landfill at end-of-life |
| Maintenance | Annual pruning and weaving | Minimal (occasional cleaning) |
Practical Tips for a Lush Result
If you want your tunnel to look like a professional landscape feature, focus on these small adjustments.
- Soak the rods: Before planting, stand the “butt ends” (the thick ends) of your willow rods in a bucket of water for 24-48 hours. This hydrates the rod and “wakes up” the root buds.
- Use a Mulch Layer: Once your membrane is down and the willow is planted, cover the area with 5-10cm of wood chips or bark. This regulates soil temperature and keeps the area looking neat.
- Double up at the entrance: The entrance takes the most “abuse” from kids running in and out. Use your thickest, sturdiest rods here and consider tying three rods together for extra strength.
Advanced Considerations for the Serious Builder
For those who want to take their willow architecture to the next level, consider the concept of anastomosis. This is a botanical term for “fusing.”
As your willow rods grow and press against each other at the crossover points of your lattice, they will eventually graft together. This creates a solid, one-piece wooden structure. To speed this up, you can lightly scar the bark where two rods touch and tie them tightly together. Within two growing seasons, the two branches will become one.
You can also incorporate “windows” into your tunnel. Instead of a solid lattice, leave a circular gap in the weaving. Frame this gap with flexible rods bent into a hoop. It creates a “porthole” for kids to look through and allows more light to reach the interior, preventing the tunnel from feeling too dark.
Real-World Scenario: The 5-Meter School Tunnel
Let’s look at a practical example. A local preschool wants to add a 5-meter tunnel to their play area.
They order a “Living Willow Tunnel Kit” which includes 150 rods of Salix viminalis. On a Saturday morning, four volunteers lay down the 5-meter strip of membrane. They use a sledgehammer and a metal spike to create 30cm-deep holes.
By 1:00 PM, the uprights are in. By 4:00 PM, the lattice is woven and the roof arches are tied. Total cost: $250. Within three months (by June), the “sticks” have sprouted 1-meter long green shoots. The kids now have a private, shaded “secret passage” that will last long after they’ve graduated to middle school.
Final Thoughts
Building a living willow tunnel is an act of legacy gardening. You are creating a space that breathes, changes with the seasons, and provides a direct connection to the natural world. It is a rebellion against the “plastic-wrapped” childhood, offering instead a sanctuary of cool air and rustling leaves.
Success doesn’t require a green thumb; it requires a bit of patience and a commitment to that first year of watering. Once established, the willow is incredibly forgiving. It will reward your minimal efforts with vigorous growth and a sturdy structure that can withstand wind, rain, and the rowdiest play.
Start small if you need to, perhaps with a simple arch. But don’t be surprised if you find yourself wanting more. Once you see the first green buds bursting from what looked like dead sticks, you’ll realize the true power of working with nature rather than trying to contain it.
Sources
1 underwoodsman.co.uk | 2 woodworkersinstitute.com | 3 musgrovewillows.co.uk | 4 rhs.org.uk | 5 musgrovewillows.co.uk | 6 careinthesun.org | 7 deesidewillow.com | 8 deesidewillow.com | 9 youtube.com | 10 thrive.org.uk | 11 yorkshirewillow.co.uk | 12 creativestarlearning.co.uk