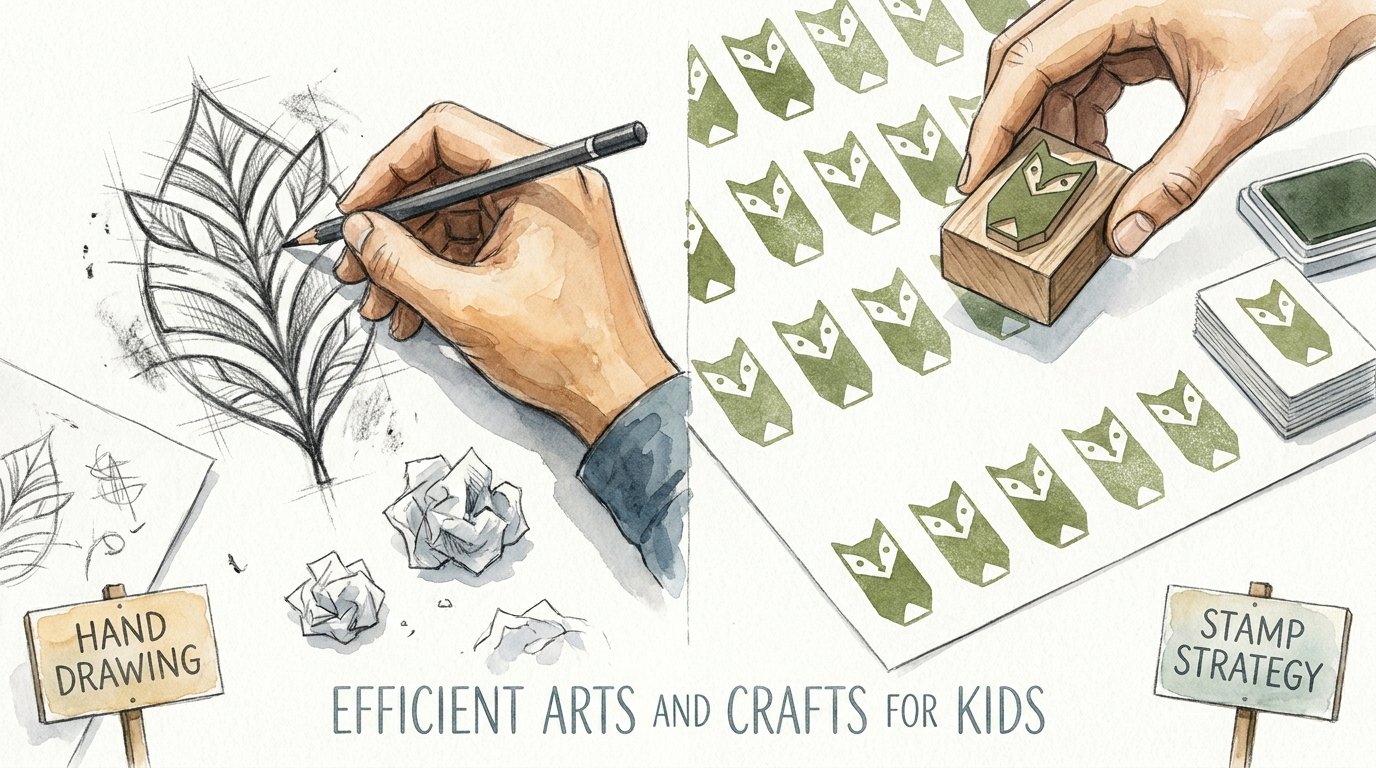
Efficient Arts And Crafts For Kids
Why spend 4 hours fighting hand cramps when 15 minutes of strategic design creates a masterpiece factory? We often mistake ‘hard work’ for ‘good art’ in our kids’ crafts. While hand-drawing is great for focus, teaching your child the ‘Strategic’ power of printmaking transforms them from a tired laborer into a master designer. One leads to frustration; the other leads to a professional-level output that builds true creative confidence.

Most parents watch their children struggle to draw the same flower thirty times for a set of birthday invitations. The lines get wobbly, the hands get tired, and the joy evaporates by the fifth attempt. This is the “labor” trap of art. We assume that because it takes a long time, it must be valuable.
Strategic design flips this script entirely. Instead of focusing on the final mark on the paper, we teach the child to build a system. By creating a single, high-quality “matrix”—a stamp, a block, or a stencil—they can produce dozens of identical, high-fidelity artworks in a fraction of the time. This shift in mindset moves them from a worker bee to a production manager of their own creative studio.
Efficient Arts And Crafts For Kids
Efficient arts and crafts for kids is the practice of prioritizing process and “production systems” over repetitive manual labor. In the real world, this is known as printmaking. It is the same technology used to create everything from the patterns on your favorite t-shirt to the wallpaper in your home. It exists to bridge the gap between a single creative idea and the need for multiple, high-quality copies.
In a kid-friendly context, this usually involves creating a “plate” or a “stamp.” This is a physical object that holds a design. Once that design is carved, glued, or etched, it becomes a permanent asset. The child no longer has to “draw” the art; they simply have to “transfer” it. Think of it like a cookie cutter for images. Once you have the cutter, you can make a hundred cookies that all look professional, rather than trying to hand-sculpt every individual treat from dough.

This approach is used everywhere from professional graphic design studios to high-end textile manufacturing. By introducing it early, you are teaching your child how to scale their ideas. They learn that their creativity isn’t limited by how many times their hand can move across a page, but by how well they can design a single, powerful tool.
How To Build Your Masterpiece Factory
The transition from drawing to printing requires a few specific steps that emphasize planning over execution. You aren’t just making a picture; you are building a machine that makes pictures. Here is how to set up a basic relief printing station at home.
Step 1: Choose Your Matrix Material. For beginners, foam is the gold standard. You can use specialized “scratch foam” or simply the clean, flat bottom of a recycled foam grocery tray. For a more organic, temporary option, a halved potato works brilliantly. The goal is to have a surface that is soft enough to be indented but firm enough to hold its shape under pressure.
Step 2: Etch the Design. Using a dull pencil or a ballpoint pen, have the child “draw” their design directly into the foam. They need to press down hard enough to create deep grooves without puncturing the material. These grooves will not hold ink, meaning they will appear as white lines in the final print. This introduces the concept of “negative space”—the idea that what you remove is just as important as what you leave behind.
Step 3: Inking the Plate. Use a brayer (a small hand roller) to apply a thin, even layer of water-based ink or slightly thickened tempera paint to the surface. If you don’t have a brayer, a flat sponge can work in a pinch. The ink should cover the flat areas of the foam but stay out of the grooves you etched in Step 2.
Step 4: Pulling the Print. Lay a clean piece of paper over the inked foam. Rub the back of the paper firmly with a clean hand or the back of a wooden spoon. Carefully peel the paper back to reveal the transferred image. This is the “magic moment” where the child sees their design come to life in high-contrast, professional-looking detail.
The Benefits Of The Strategic Approach
Choosing a strategic design approach over traditional repetitive drawing offers several measurable advantages for a child’s development. It moves the needle from simple motor practice to high-level cognitive planning.
Building Creative Confidence: Many children become discouraged when they feel they “can’t draw” as well as their peers. Printmaking levels the playing field. Because the stamp provides a consistent, bold result, the child is often shocked at how professional their work looks. This “win” encourages them to experiment further rather than giving up.
Pattern and Rhythm Recognition: Once a stamp is created, the child naturally begins to explore repetition. They learn how to create borders, tessellations, and complex patterns that would be nearly impossible to draw by hand with perfect consistency. This builds a foundational understanding of geometry and visual rhythm.
Spatial Reasoning: Printmaking is a lesson in mirror images. Whatever is on the left of the stamp will be on the right of the paper. Learning to think in reverse is a powerful mental exercise that strengthens spatial awareness and problem-solving skills. It forces the brain to visualize a process several steps ahead of the current action.
Economic Efficiency: From a practical standpoint, this method is incredibly efficient for large-scale projects. If a child wants to make 20 holiday cards, they can spend 10 minutes making one great stamp and 5 minutes printing all 20 cards. The alternative is two hours of drawing, which usually results in the 20th card looking much worse than the first one due to fatigue.
Common Pitfalls and Challenges
While printmaking is highly efficient, it does have a learning curve. Most mistakes happen in the “transfer” phase rather than the “design” phase. Understanding these pitfalls ahead of time will save you a lot of cleanup.
The “Too Much Ink” Problem: Beginners often think more ink equals a better print. In reality, too much ink fills in the fine lines of the design, resulting in a blurry, unrecognizable blob. The ink should look like “orange peel” texture on the roller—tacky and thin, not dripping or thick.
The Slippage Smear: When pressing the paper onto the plate, any slight movement will cause a ghosted or smeared image. Teaching the child to keep one hand steady while the other rubs the paper is essential. This is a great way to build bilateral coordination and focus.
The Mirror Trap: Forgetting that images flip is the most common frustration. If a child carves their name into a stamp, it will print backward. Always remind them that if they want letters or specific directional symbols to look “right,” they must carve them in their “wrong” orientation on the plate.
Realistic Limitations
Strategic design is a powerhouse, but it isn’t the solution for every art project. There are trade-offs to consider when choosing this method over free-form drawing. Awareness of these boundaries prevents frustration.
Loss of Fine Detail: Foam and potato stamps cannot handle the microscopic details of a sharp pencil on paper. Designs must be bold and simplified. If your child wants to draw a hyper-detailed forest with tiny individual leaves, a stamp may not be the right tool unless they are working on a very large scale.
Setup and Cleanup Overhead: Drawing requires a pencil and a piece of paper. Printing requires ink, rollers, trays, and a designated “wet area.” For a quick 5-minute creative burst, the overhead of printmaking might not be worth the effort. It is a method best suited for dedicated project sessions.
Material Permanence: Some materials, like potatoes, are temporary. They shrivel and change shape within 24 hours. If a child creates a masterpiece on a potato, they need to print it immediately, as the “matrix” will not survive for a second session next week.
Comparison: Hand Drawing vs. Stamp Strategy
To understand which method fits your current goal, consider the measurable factors of each approach. Both have their place in a well-rounded creative diet.
| Feature | Hand Drawing (Labor) | Stamp Strategy (Printmaking) |
|---|---|---|
| Skill Level | High (depends on hand control) | Moderate (focuses on planning) |
| Production Speed | Slow and linear | Exponentially fast |
| Consistency | Low (each copy is different) | High (identical replicas) |
| Mental Focus | Execution and persistence | Strategy and spatial logic |
| Physical Strain | High (hand cramps) | Low (press and pull) |
Practical Best Practices for Success
Applying these optimization techniques will turn a messy afternoon into a professional studio experience. These tips help bridge the gap between “play” and “process.”
- Use a “Baren” for Even Pressure: If you don’t have a professional baren, a clean, dry tennis ball or a smooth wooden spoon is perfect. Rubbing in small circles ensures every corner of the design transfers to the paper.
- Keep a “Test Sheet” Nearby: The first print from a new stamp is rarely the best. Use a piece of scrap paper for a “proof” print to see if the design is clear or if there is too much ink. Adjust based on the proof before moving to the good paper.
- Tape Your Paper Down: To prevent the “slippage smear,” use a small piece of masking tape to create a “hinge” for your paper. This allows you to lift and check the print while keeping the paper perfectly aligned for a second press if needed.
- Manage the Drying Zone: Since you will be producing art quickly, you need a place for it to go. Clear a large flat area or set up a temporary clothesline with clips to hang the wet prints. This prevents them from sticking together and ruining the production run.
Advanced Considerations for Growth
Once a child masters the basic single-color stamp, they can move into “Advanced Strategy.” This is where art meets engineering. These techniques keep the process challenging for older kids or serious practitioners.
Multi-Block Registration: This involves creating two or more different stamps that are meant to be printed on top of each other. For example, one stamp provides the green leaves of a flower, and a second stamp provides the red petals. The challenge is “registration”—lining them up perfectly so they fit together like a puzzle.
Gradient Inking (Rainbow Rolls): Instead of using one color of ink, apply two colors side-by-side on the inking tray. As you roll the brayer back and forth, the colors blend in the middle, creating a beautiful gradient effect on the stamp. This teaches color theory and blending in a tactile, immediate way.
Subtractive Monoprinting: This is the ultimate “strategic” experiment. Ink a flat surface completely. Then, use a Q-tip or a cloth to “draw” by removing the ink. This forces the child to think entirely in highlights. It is a sophisticated way to understand lighting and contrast without the pressure of permanent carving.
Real-World Scenarios
Let’s look at how this works in a practical household situation. Imagine it is December, and your child wants to give personalized wrapping paper to all their relatives. They have ten large sheets of butcher paper to cover.
Scenario A: Hand Drawing. The child starts with markers. They draw a snowman. Then another. By the middle of the first sheet, the snowmen are getting smaller and less detailed. By sheet three, the child is bored and wants to watch TV. The project is abandoned, and you end up buying generic paper at the store.
Scenario B: The Stamp Strategy. You spend 15 minutes helping the child carve a simple snowman and a snowflake into a foam block. You set up a tray of blue ink and a tray of white ink. The child spends the next 45 minutes “thumping” the stamps across the paper in a rhythmic, satisfying pattern. They cover all ten sheets with a professional, cohesive design. They aren’t tired; they are proud. They have effectively run a small design business for an hour.
The difference isn’t just in the output; it’s in the child’s self-perception. In Scenario B, they are an efficient creator who knows how to use tools to achieve a massive goal. That confidence carries over into schoolwork, chores, and future hobbies.
Final Thoughts
Teaching your child the “Strategic” power of printmaking is about more than just making pretty pictures. It is about shifting their perspective from being a consumer of labor to a designer of systems. When a child learns that they can create a tool to multiply their efforts, they gain a sense of agency that hand-drawing alone cannot provide. They learn to value the “brain work” of planning as much as the “hand work” of execution.
This approach transforms the home art table from a place of potential frustration into a masterpiece factory. It builds fine motor skills, spatial logic, and an early understanding of how the industrial and digital worlds operate. Most importantly, it keeps the creative spark alive by removing the physical barriers that lead to burnout.
Start small with a potato or a piece of foam. Focus on the process of the transfer rather than the perfection of the image. Once your child sees that first crisp, bold print emerge from a design they planned and executed, they won’t want to go back to the labor trap. They will be too busy designing their next big production run.
Sources
1 friendsartlab.com | 2 wordpress.com | 3 preschoolofthearts.com | 4 ipaintmymind.org | 5 imthecheftoo.com | 6 thegreenmadhouse.com | 7 montmarte.com.au | 8 nga.gov | 9 artfulparent.com | 10 theartofeducation.edu | 11 youtube.com | 12 muzartschools.com | 13 artwithtrista.com | 14 discountartncraftwarehouse.com.au