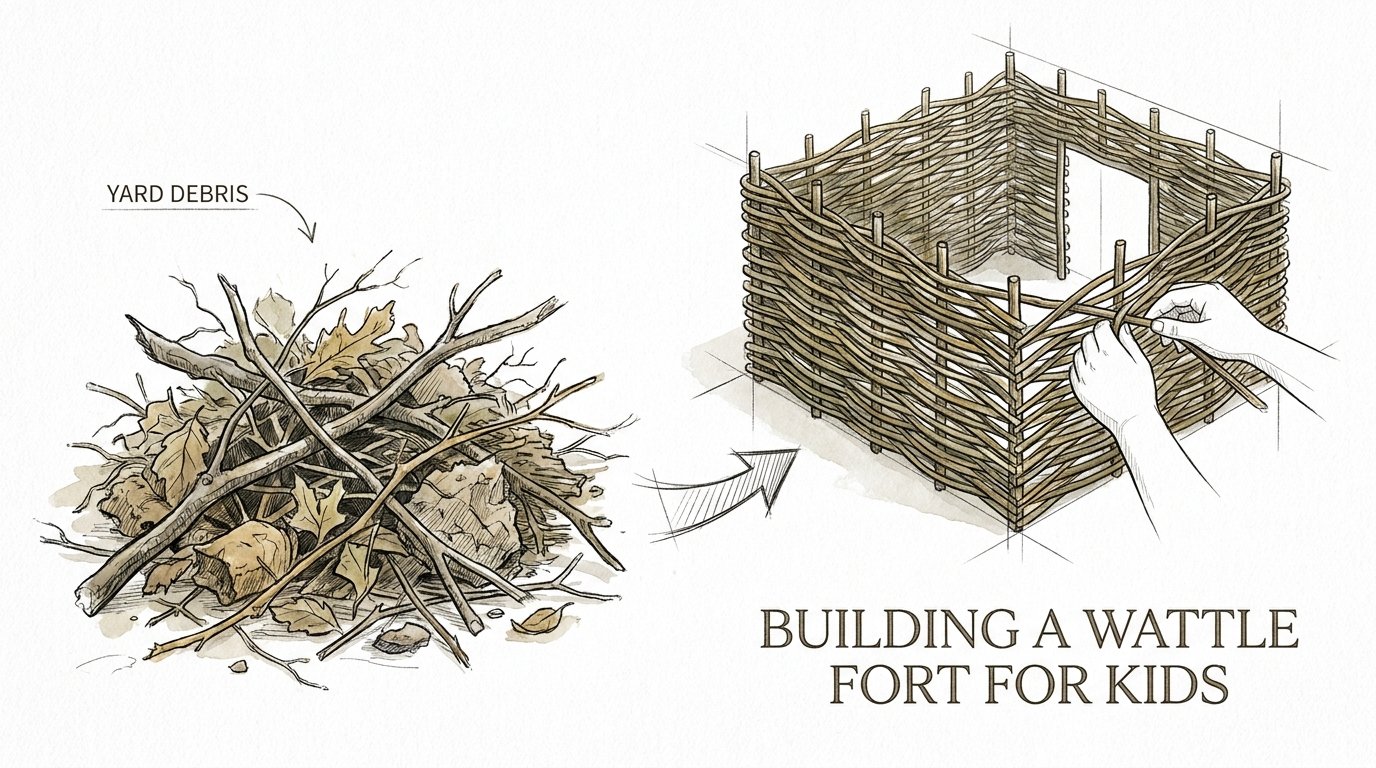
Building A Wattle Fort For Kids
Your yard isn’t messy; it’s currently storing the raw materials for your child’s first architectural masterpiece. We spend our weekends bagging up ‘yard waste’ and then head to the store to buy plastic building sets. What if the ‘nuisance’ of fallen branches is actually the ultimate asset for a child’s imagination? A stick is a tool, a beam, and a legacy all at once.

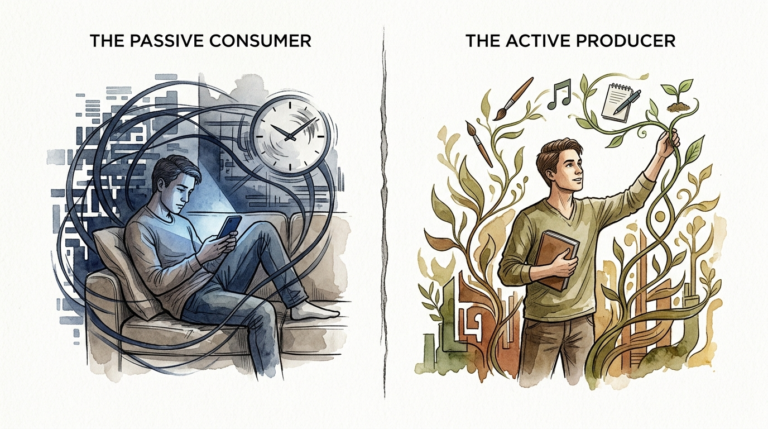
Building a wattle fort transforms a chore into a construction site. It moves the child from being a consumer of toys to a creator of structures. Instead of snapping together pre-molded plastic parts, they are learning the tension of wood and the geometry of support. This is ancient technology brought to the modern backyard, and it is more engaging than anything found in a cardboard box.
This guide will walk you through the process of turning those fallen branches into a sturdy, woven sanctuary. You will learn the best materials to use, the physics of the weave, and how to involve your children in every step of the process.
Building A Wattle Fort For Kids
A wattle fort is a structure created through an ancient building technique known as wattle and daub. The “wattle” refers to the lattice of flexible wooden branches (called “withies” or “weavers”) that are woven around vertical stakes (called “sales”). This method dates back at least 6,000 years to the Neolithic period and was used across the globe from Iron Age Britain to the Mississippian cultures of North America.
In a real-world architectural context, wattle and daub provided the infill for timber-framed houses. It was the “drywall” of the Middle Ages, offering a lightweight, flexible, and surprisingly durable barrier against the elements. For a child, a wattle fort is essentially a life-sized basket they can sit inside. It uses the natural tension of the wood to create a rigid wall without the need for nails, screws, or glue.

The beauty of this project is its accessibility. You don’t need a workshop full of power tools. You need a patch of ground, a collection of sticks, and a bit of patience. It’s a perfect example of raw architecture—using the materials provided by the land to solve a human need for shelter and privacy.
How It Works: Step-by-Step Construction
Building a wattle fort is a process of managing tension. You are bending wood to your will, using the resistance of the vertical stakes to hold the horizontal weavers in place.
1. Site Selection and Preparation
Choose a flat area of the yard with well-drained soil. If the ground is too rocky, you will have trouble driving your vertical stakes deep enough to provide a stable foundation. Clear the area of any trip hazards like large stones or hidden roots. If you want the fort to last several seasons, look for a spot that is slightly elevated to prevent the base of the wood from sitting in standing water.
2. Selecting the “Sales” (Vertical Stakes)
The vertical stakes are the skeleton of your fort. These should be sturdy, straight branches about 1 to 2 inches in diameter. Hardwoods like oak or rot-resistant woods like cedar and black locust are ideal for the stakes because they need to withstand the pressure of the weave. Sharpen the bottom of each stake with a hatchet or a sturdy knife to make them easier to drive into the earth.
3. Setting the Foundation
Space your vertical stakes about 10 to 12 inches apart in the shape of your fort (a circle or rectangle). Use a mallet to drive them at least 8 to 12 inches into the ground. If the stakes are loose, the entire fort will wobble as you weave. Ensure they are plumb (vertical) as you go. For a standard child-sized fort, a height of 3 to 4 feet is usually sufficient.
4. Gathering the “Weavers” (Withies)
This is the part where children can truly help. You need long, slender, flexible branches. The best species for weaving include:
- Willow: The gold standard of weaving wood. It is incredibly pliable and stays flexible for a long time.
- Hazel: Traditionally used in Europe for hurdles, hazel is strong and holds its shape well.
- Dogwood: Provides beautiful color and excellent flexibility.
- Birch or Maple: Use these only when they are very fresh (“green”), as they become brittle quickly once they dry out.
Avoid using dead, dry wood found on the forest floor for the weavers; it will snap the moment you try to bend it around a stake.
5. The Weaving Process
Start at the bottom of the stakes. Take a long weaver and tuck the thick end behind the first stake. Weave it in front of the second, behind the third, and so on. When you reach the end of a branch, tuck the tip behind a stake. Start the next weaver one stake over from where the previous one started to stagger the joints. This staggering is crucial for the structural integrity of the wall.
6. Compressing the Rows
After every three or four rows, use a hammer or a heavy block of wood to “beat” the weavers down. This closes the gaps and tightens the structure. A well-beaten wattle wall is remarkably strong and can eventually support the weight of a light thatched roof.
7. Optional: The “Daubing” Phase
If you want a “real” mud hut experience, you can mix a daub. This is a slurry of clay, sand, and straw (or dried grass). Children love this part because it is messy and tactile. Smear the daub over the woven wattle to seal the gaps. Once it dries, it creates a hard, insulating shell that makes the fort feel like a permanent home.
Benefits of Wattle Construction
Building with natural materials offers measurable advantages over buying pre-fabricated play equipment. It engages the child’s mind and body in ways that plastic toys simply cannot.
Cognitive Development and Problem Solving
Children must assess each stick. Is it long enough? Is it too brittle? How much force can it take before it snaps? These are early lessons in physics and engineering. They are learning about structural integrity through trial and error. If a wall leans, they must figure out why and how to brace it.
Physical Coordination and Gross Motor Skills
The act of harvesting, carrying, and weaving wood is a full-body workout. It requires “heavy work,” which is excellent for sensory regulation and building core strength. Pushing the weavers down and bending them around stakes develops fine motor control and hand-eye coordination.
Connection to Natural Cycles
Using “yard waste” teaches children that the environment is a resource. They begin to see the beauty in a fallen branch or a pile of willow whips. It fosters a sense of stewardship. They aren’t just playing in nature; they are collaborating with it to create something useful.
Aesthetic and Environmental Impact
Unlike a bright blue and orange plastic playset, a wattle fort blends into the landscape. It is entirely biodegradable. When the child outgrows it, the fort can be dismantled and composted or used as kindling for a backyard fire pit. It leaves no “plastic footprint” behind.
Challenges and Common Mistakes
Even though this is a primitive technique, there are several pitfalls that can frustrate a first-time builder.
Using Brittle Wood
The most common mistake is trying to weave with wood that has already dried out. Dead wood lacks the internal moisture to bend without snapping. If you cannot find fresh willow or hazel, you can soak your branches in a trough or a bathtub for 24 hours to restore some of their pliability.
Insufficient Stake Depth
If the vertical stakes aren’t deep enough, the tension of the horizontal weavers will pull them inward or push them outward, causing the fort to collapse into a pile of sticks. Always ensure the “bones” of the structure are rock-solid before you start the “skin.”
Starting Too Big
A four-foot by four-foot fort requires hundreds of individual weavers. It is easy to underestimate the amount of material needed. Start with a small “fairy house” or a simple three-foot windbreak to get the hang of the technique before committing to a multi-room fortress.
Ignoring Soil Contact
Untreated wood will rot when it stays in contact with damp soil. If you want the fort to last more than one summer, you must use rot-resistant wood for the stakes. You can also char the bottom of the stakes in a fire before driving them into the ground; the carbon layer acts as a natural preservative.
Limitations of Wattle Forts
While wattle is a fantastic building material, it has realistic constraints that users should understand before beginning.
Longevity and Maintenance
A wattle fort is not a permanent structure like a brick-and-mortar playhouse. Over 2 to 3 years, the wood will dry, shrink, and eventually decay. This is actually a benefit for many parents, as the child’s interests change quickly, but it means the fort requires annual “tightening” and the addition of new weavers to fill gaps.
Seasonal Material Availability
The best time to harvest weavers is in late winter or early spring before the leaves bud out. During mid-summer, the wood is often too stiff, and the presence of leaves makes weaving difficult. This makes the project somewhat seasonal unless you have a stored supply of willow.
Space Requirements
Wattle construction is best suited for larger yards or wooded lots. It requires a significant “staging area” for sorting sticks by length and thickness. If you have a tiny urban patio, the mess of branches might become a point of contention with neighbors or homeowners’ associations.
Comparing Backyard Building Approaches
When deciding how to create a play space, it helps to look at the measurable factors of cost, effort, and impact.
| Factor | Wattle Fort | Plastic Playset | Lumber-Built Fort |
|---|---|---|---|
| Cost | Near Zero (Found Materials) | $300 – $1,500+ | $150 – $500 (Lumber/Hardware) |
| Skill Level | Beginner/Primitive | Moderate (Assembly) | Intermediate (Carpentry) |
| Sustainability | 100% Biodegradable | Low (Plastic/Microplastics) | Moderate (Treated Wood) |
| Child Involvement | High (Harvest to Build) | Low (Recipient only) | Moderate (Help with painting/nails) |
Practical Tips and Best Practices
Follow these tips to ensure a smoother building process and a more durable final structure.
- The Finger Test: If you can bend a branch around your finger without it snapping, it is perfect for weaving. If it snaps, it’s either too dry or the wrong species.
- Harvesting Ethics: If you are harvesting from the wild, never take more than one-third of the branches from a single plant. This ensures the shrub or tree remains healthy. In your own yard, this is the perfect time to “coppice” or hard-prune your willows and dogwoods.
- Bark On or Bark Off? Leaving the bark on provides a more rustic look and helps protect the wood from the elements. Peeling the bark makes for a cleaner, “white” finish but requires significantly more labor and makes the wood dry out faster.
- Safety First: Teach children to handle sticks with the tips pointing down. Wear gloves to avoid splinters, and always do a quick sweep of the yard for poison ivy before you start gathering “raw materials.”
- Grounding the Frame: If you find it hard to keep the stakes vertical, you can tie a “top rail” (a horizontal branch) across the top of all the stakes before you start weaving. This creates a rigid frame that won’t move as you apply pressure.
Advanced Considerations
For those who want to take their backyard architecture to the next level, consider these advanced techniques.
The Living Wattle Fort
If you use fresh willow stakes and drive them deep into moist soil in the early spring, there is a high probability they will take root. Instead of a dead stick fort, you will eventually have a living sculpture. You can weave the new growth back into the structure every year, creating a “fedge” (fence-hedge) that grows stronger and denser over time.
Structural Hybrids
You don’t have to use wattle for the entire structure. You can build a sturdy tripod of large logs (the “spine”) and use wattle weaving only for the walls. This provides more interior space and allows for a higher ceiling. This is often referred to as a “wigwam” or “tepee” style wattle fort.
Integrating Stone
In areas with rocky soil, you can build a dry-stack stone base about 6 inches high and then “drill” your stakes into the gaps between the stones. This keeps the wood away from the wet earth and adds a beautiful, ancient aesthetic to the structure.
Example Scenario: The Weekend Build
Imagine a Saturday morning after a windstorm. Instead of dragging the fallen branches to the curb, you and your child sort them by size.
You select six 4-foot oak branches for the corner posts and drive them into a 3-foot circle. Your child gathers the “whips”—the long, thin maple and birch branches. You spend the next three hours weaving.
By lunchtime, the wall is two feet high. The child realizes that if they weave the sticks closer together, the “house” gets darker and more private. They decide to leave a gap on the south side for a window. By Sunday afternoon, the fort is complete, topped with an old tarp and a layer of pine needles. The total cost was $0.00, but the child now owns a piece of architecture they designed and built with their own hands.
Final Thoughts
Building a wattle fort is about more than just giving a child a place to hide. it is about reclaiming the backyard as a place of production rather than just consumption. It proves that the “mess” we often try to hide away is actually a treasure trove of opportunity.
By choosing natural building over plastic alternatives, you are giving your child a tangible connection to history and a deep understanding of the materials that make up our world. They learn that they can shape their environment using nothing but their hands and the gifts of the trees.
Start small, experiment with different types of wood, and don’t be afraid to let the structure be imperfect. The value isn’t in the finished product; it’s in the hours spent under the canopy, weaving a legacy of creativity and resourcefulness.
Sources
1 insteading.com | 2 britannica.com | 3 wikipedia.org | 4 moderndaytimetraveler.com | 5 beginningsearlylearners.com.au | 6 liveouter.com | 7 mosquitojoe.com | 8 trademarkinteriors.com | 9 hgtv.com | 10 bopn.org | 11 umaine.edu | 12 pdxparent.com | 13 medium.com | 14 sungazette.com | 15 youtube.com | 16 nwf.org | 17 ontarioparks.ca