Upcycled Paper Mache Ideas For Kids
Your recycling bin is actually a hidden supply of sculpting clay. Most parents see a disposal fee; a pro parent sees the raw material for a three-day project. Paper mache isn’t just a craft; it’s a lesson in transformation. Pulping waste and shaping it into form teaches kids they don’t need a store to provide their materials—they only need a little water and flour.
Stop tossing those egg cartons. Quit throwing away the Sunday circulars. You are sitting on a mountain of creative potential that costs exactly zero dollars. Paper mache is the ultimate “slow craft” that builds grit, fine motor skills, and an eye for engineering.
Upcycled Paper Mache Ideas For Kids
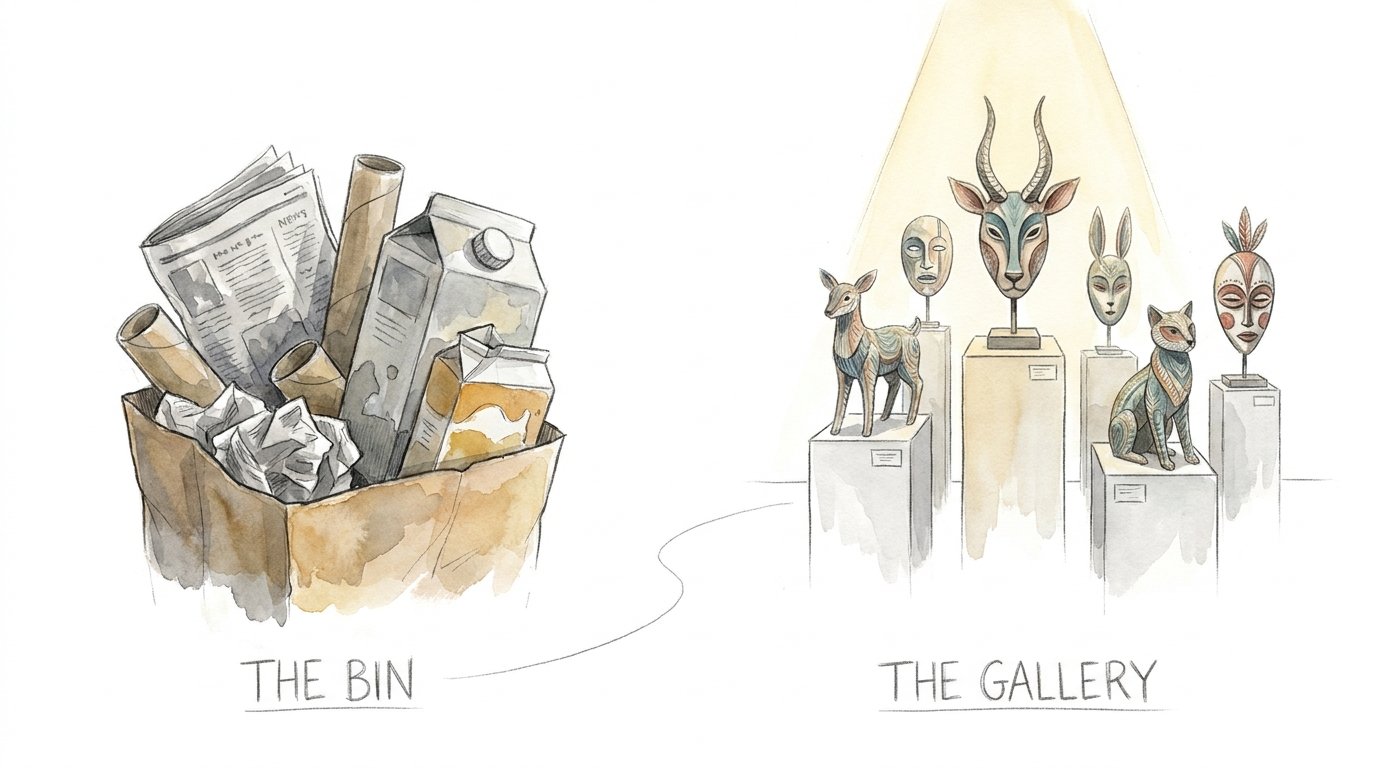
Upcycled paper mache is a technique that uses discarded paper and a simple binder to create hard, durable sculptures. It is one of the oldest forms of recycling in human history. Han Dynasty warriors used it for helmets, and Victorian designers used it to build actual furniture. Today, it serves as the perfect bridge between “The Bin” and “The Gallery.”
At its core, this craft turns trash into treasure. It exists to prove that creativity isn’t limited by a budget. You use it anywhere you need a lightweight, custom shape—from school dioramas to home theater props. It is essentially DIY plywood for kids.
The process involves two main methods: the strip method and the pulp method. The strip method uses long pieces of paper dipped in paste to “skin” an object. The pulp method involves mashing paper into a dough-like “paper clay” for more detailed modeling. Both transform flimsy waste into rock-hard art.
How to Master the Mess: The Process
Success in paper mache starts with the right armature. An armature is the skeleton of your sculpture. Before you touch a single drop of paste, you need a solid foundation. Raid your recycling bin for these essentials:
- Cardboard tubes: Perfect for limbs, necks, or towers.
- Plastic bottles: Ideal for bodies or structural cores.
- Egg cartons: Use individual cups for eyes, noses, or bumps.
- Masking tape: The “glue” that holds your skeleton together.
Once your skeleton is built, you need the “skin.” Traditional paste is a 1:2 ratio of flour to water. Whisk it until it looks like thick pancake batter. For extra strength and mold resistance, add a tablespoon of salt. Pro Tip: Use warm water to help the flour hydrate faster and create a smoother bond.
Tear your paper; do not cut it. Tearing creates feathery edges that blend seamlessly into one another. If you cut the paper, you get sharp ridges that make the finished product look blocky. Dip a strip into the paste, use your fingers as a “squeegee” to remove the excess, and lay it flat. Smooth out every air bubble as you go.
The Benefits of Creating with Waste
Practical, measurable benefits make paper mache a staple in early childhood development. Fine motor skills get a massive workout. Tearing paper and smoothing wet strips requires precision and hand strength. This translates directly to better penmanship and tool handling later in life.
The cognitive benefits are just as significant. Building an armature requires spatial reasoning. A child has to figure out how to make a heavy head stay on a thin neck using only cardboard and tape. This is early-stage engineering. They are learning about weight distribution and structural integrity without even knowing it.
Sustainability is the most obvious takeaway. When a child transforms a cereal box into a dragon, their relationship with “trash” changes forever. They begin to see objects for their potential rather than their utility. This mindset shift is the foundation of an eco-conscious life.
Common Mistakes and How to Avoid Them
The biggest enemy of paper mache is moisture. Most beginners try to finish a project in one sitting by adding ten layers of wet paper. This is a recipe for disaster. If the inner layers never dry, they will grow mold. Your hard work will literally rot from the inside out.
Patience is your best tool. Apply two or three layers, then stop. Let the project dry completely—until it is hard to the touch and no longer feels cold—before adding more. Use a fan to speed up the process. Never seal or paint a project that feels even slightly damp.
Another frequent error is using too much paste. A “gloopy” strip won’t stick better; it will just take longer to dry and might slide off the armature. Always squeegee the strip between your fingers. You want the paper saturated, not drowning.
Limitations: When to Put the Paste Away
Paper mache is powerful, but it isn’t indestructible. Realistic constraints exist. It is not a waterproof medium. Even with heavy varnish, a paper mache piñata left in the rain will eventually turn back into mush. If you are building something for a garden, paper is the wrong choice.
Weight limits also matter. While paper mache is surprisingly strong, it cannot support heavy loads. Do not try to build a chair for a human out of newspaper strips unless you are following very advanced industrial techniques. It is a medium for forms, not for heavy-duty structural support.
Environmental humidity can also be a dealbreaker. If you live in a tropical climate with 90% humidity, your drying time might stretch from 24 hours to four days. In these conditions, you must use a dehumidifier or a low-heat oven (around 150°F) to ensure the project survives the drying phase.
The Bin vs. The Gallery: A Comparison
Choosing between raw recycled materials and store-bought sculpting alternatives often comes down to the goal of the project.
| Factor | Upcycled Paper Mache | Store-Bought Air Dry Clay |
|---|---|---|
| Cost | Near Zero | $15 – $30 per bucket |
| Weight | Ultralight | Heavy / Dense |
| Detail Level | Moderate | High |
| Sustainability | High (Recycled) | Low (New Materials) |
Practical Tips for Pro Parents
Efficiency in the craft room keeps kids engaged and prevents burnout. One of the best techniques is alternating paper types. Use standard newspaper for the first layer and brown paper grocery bags for the second. This visual cue tells the child exactly where they have already worked, preventing thin spots in the sculpture.
Preparation is key to a smooth experience. Pre-tear all your paper before you mix the paste. Once your hands are covered in flour and water, you don’t want to be fighting with a stubborn magazine page. Set up a dedicated “drying station” with a cookie rack to allow airflow to reach the bottom of the sculpture.
To get a professional finish, use gesso or a flat white primer as your first coat of paint. Newspaper print is notoriously difficult to cover with thin craft paints. A solid white base makes the final colors pop and hides the “breaking news” headlines from showing through your art.
Advanced Considerations: Taking It Further
Experienced practitioners often move beyond flour and water. Using PVA glue (white school glue) mixed with water creates a plastic-like finish that is significantly stronger and more resistant to moisture. This is the preferred method for items that need to last for years, like holiday ornaments or custom masks.
Another advanced move is creating paper clay. By soaking shredded paper in boiling water and then blitzing it in an old blender, you create a pulp. Squeeze out the water, mix in some glue and a little joint compound, and you have a moldable clay that can be sculpted like stone. This allows for incredible detail that strips of paper simply cannot achieve.
Scaling is the final frontier. For large-scale projects like life-sized statues or parade floats, incorporate chicken wire into the armature. The paper mache bonds to the wire mesh, creating a skin that is incredibly rigid. This is how professional scenic designers build “rock” walls for theater and film.
Examples: From Trash to Trophies
Imagine a child wants to build a giant dinosaur. Instead of buying a kit, you start with a two-liter soda bottle for the body. You tape four toilet paper rolls to the bottom for legs and use a rolled-up newspaper for the neck. A crumpled ball of foil becomes the head.
Layer one: The child applies newspaper strips to the whole structure. It looks messy, but the skeleton is now hidden.
Layer two: After drying, they use paper towel strips. The texture of the paper towel starts to look like “dino skin.”
The result: Once painted green and brown, that soda bottle is unrecognizable. It is a lightweight, hard-as-rock centerpiece that they built from scratch.
Another scenario involves the Upcycled Bowl. Take a plastic mixing bowl from the kitchen and wrap it in plastic wrap. Apply five layers of paper mache to the outside. Once dry, pop the plastic bowl out. You now have a custom, eco-friendly storage bowl that can be sanded smooth and painted with intricate patterns.
Final Thoughts
The true magic of paper mache isn’t in the finished object; it is in the shift of perspective. When a child realizes that a pile of old mail and some kitchen staples can become a dragon, a mask, or a planet, the world looks different. They stop being passive consumers and start being active creators.
Experimentation is the only way to master this medium. Try different papers, play with the paste thickness, and push the boundaries of what your armatures can hold. There is no “wrong” way to upcycle, provided the layers stay thin and the drying time stays long.
Encourage your kids to look at the recycling bin as a treasure chest. Today it’s a cereal box; tomorrow, it’s the foundation of a masterpiece. The skills they build through these “slow projects”—patience, engineering, and resourcefulness—will serve them long after the flour paste has dried.
Sources
1 artefarte.com | 2 treasurie.com | 3 artbarblog.com | 4 teachingideas.ca | 5 imthecheftoo.com | 6 papiermache.co.uk | 7 myartlesson.com | 8 reddit.com