How To Design A Custom Diy Playground
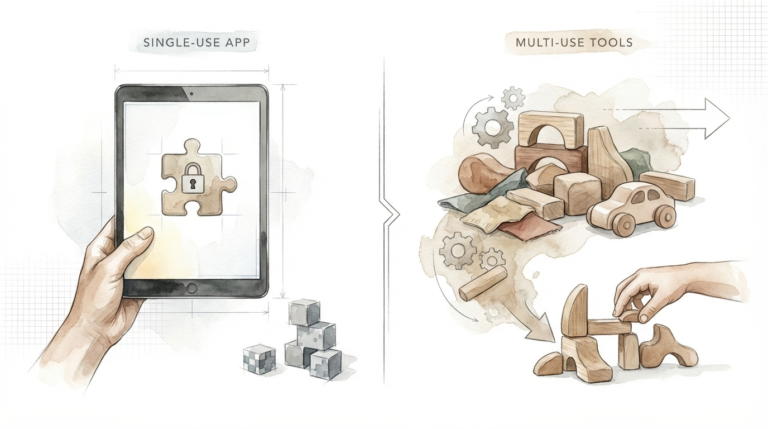
When you buy the kit, you’re buying a task; when you design the fort, you’re building a mind. The biggest mistake we make in DIY play is skipping the design phase with our kids. A store-bought kit turns the parent into a tired assembly-line worker and the child into a passive observer. Starting with a “Blueprint Session” taught our kids about scale, load-bearing points, and creative problem solving. The resulting fort isn’t just a toy—it’s a physical manifestation of our family’s shared vision.

Designing a backyard structure is the ultimate rite of passage for the modern family. It moves you from being a mere consumer of plastic goods to a producer of lasting value. You aren’t just putting together a puzzle designed by a corporation. You are engineering a landscape for adventure.
This process requires a shift in mindset. You must stop looking at the backyard as a flat surface and start seeing it as a three-dimensional playground of possibilities. Every tree, slope, and corner is a potential feature. When you take the lead on design, you control the quality, the safety, and the longevity of the project.
How To Design A Custom Diy Playground
A custom DIY playground is a bespoke outdoor structure engineered to fit a specific landscape and the unique developmental needs of the children using it. Unlike mass-produced kits, these structures are built with higher-grade materials like Western Red Cedar or Redwood. They ignore the “one size fits all” approach. Instead, they integrate with your yard’s natural topography.
Designers in this space focus on three pillars: structural integrity, play value, and safety compliance. You are building a platform for physical growth. Real-world applications range from simple tree-mounted platforms to complex, multi-tier fortresses with integrated climbing walls and zip lines. This is where engineering meets imagination.

Custom designs allow you to account for specific site challenges. If you have a steep slope, a store-bought kit won’t work without massive excavation. A custom design uses that slope to create a multi-level experience. This approach turns a “problem” into a “feature.” It is the difference between a house and a home.
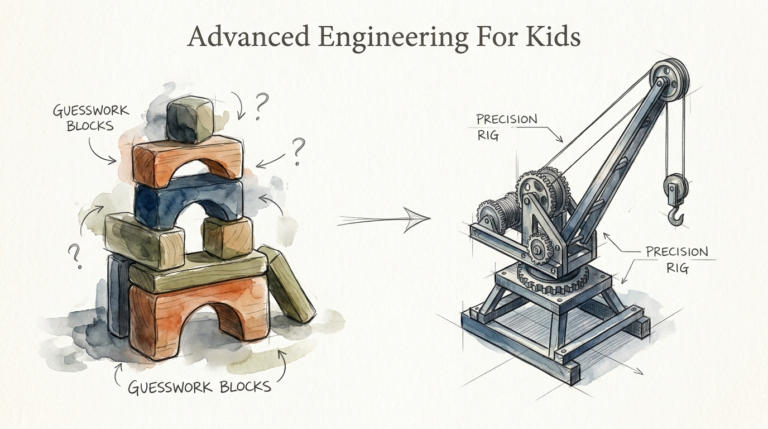
The Blueprint Session: How To Map Your Vision
Planning starts with a tape measure and a piece of graph paper. You need to identify your “use zones.” These are the buffer areas around equipment that must remain clear to prevent injury. Most safety standards, including ASTM F1148 for home playgrounds, suggest a minimum 6-foot clearance in all directions.
Swings require even more respect. You must provide a clearance zone that is twice the height of the swing beam both in front and behind the seat. If your beam is 8 feet high, you need 16 feet of clear space in both directions. Mapping this out on paper prevents “spatial regret” later.
Site analysis is your next move. Look for drainage patterns. Water is the enemy of wood. Placing your main posts in a low-spot where water pools will rot even the best cedar in a few years. Ensure your site is level or that your design accounts for the grade. Using a transit level or a simple line level is a professional requirement here.
Selecting your primary structure type comes after site analysis. Will it be a “Tower” design with a small footprint and high verticality? Or a “Linear” design that spreads activities across the yard? Custom builds often use a “Hub and Spoke” model, where a central fort connects to various exits like slides, bridges, and climbers.
Choosing Your Armor: Materials and Chemistry
Lumber choice determines the lifespan of your legacy. Western Red Cedar is the gold standard for many because it is naturally resistant to rot, decay, and insect damage. It smells incredible and doesn’t require the heavy chemical treatments found in standard construction lumber.
Redwood is another premium option. It offers exceptional longevity and a deep, rich aesthetic that ages beautifully. It is often more expensive and harder to find in some regions, but its performance in outdoor environments is legendary.
Pressure-treated pine is the budget-friendly alternative. Ensure you select “Ground Contact” rated lumber for posts. Modern treatments are safer than the old CCA (Chromated Copper Arsenate) versions, but many parents still prefer the natural resistance of cedar. If you use treated pine, let it “dry” or “weather” for a few weeks before applying a stain or sealer.
Hardware is where most DIYers fail. Standard deck screws don’t have the shear strength to hold a heavy swing beam. You need 3/8-inch or 1/2-inch galvanized lag bolts or through-bolts for structural joints. Through-bolts are the most secure because they pass entirely through the wood and are fastened with a nut and washer.
Benefits of the Custom Legacy Approach
Bespoke playgrounds offer measurable advantages over the “kit in a box.” First is structural weight. A custom-built 4×4 or 6×6 cedar frame is significantly more stable than the thin, 2×2 “Chinese Cedar” (which is actually a type of fir) used in many big-box store kits. This stability means less sway and a higher weight capacity for adult participation.
Skill development for your kids is the hidden benefit. When they help you measure, level, and design, they learn the “Producer” mindset. They see a project move from a sketch to a physical reality. This builds confidence that no screen or plastic toy can replicate.
Long-term value is another win. A well-designed, aesthetically pleasing cedar structure can actually add to your home’s curb appeal. Cheap plastic or thin-wood kits often become eyesores within two seasons. A custom structure is an architectural addition to your property.
Safety is also under your control. You can choose the highest quality slides and swings—industrial grade stuff that feels solid. You aren’t limited by the “weakest link” components included in a manufacturer’s bundle. You can over-engineer for peace of mind.
Challenges and Common Design Pitfalls
Soil quality is the most overlooked challenge. If you are building a heavy tower on soft, loamy soil, it will sink unevenly. Using concrete footings or large “paver” bases for your posts is a must. Many people skip this and end up with a leaning tower of pisa by mid-summer.
Hardware corrosion is a silent killer. Standard steel will rust and fail when it contacts the chemicals in pressure-treated wood or simply from the moisture in the air. Always use hot-dipped galvanized or stainless steel hardware. The extra $50 you spend on quality fasteners is the best insurance policy you can buy.
Entrapment hazards are a serious design risk. Avoid any gaps between 3.5 inches and 9 inches. These are “head-sized” gaps where a child’s body can pass through but their head cannot. Checking your railings and ladder rungs with a simple template ensures you aren’t creating a dangerous trap.
Leveling the ground is hard work. Many DIYers try to “eyeball” it. This leads to swings that don’t track straight and slides that have “dead spots” where water collects. Use a string line and a line level at a minimum. Digging out the high spots is a labor-intensive but necessary step.
Limitations and Environmental Constraints
Zoning laws and Homeowners Associations (HOAs) are your biggest legal hurdles. Many HOAs have strict rules about the height of structures and the colors you can use. Some even require the playground to be hidden from the street. Always check your CC&Rs before you buy a single board.
Environmental trade-offs are part of the game. If you live in a high-humidity area, wood requires more maintenance. You may need to clean and re-seal the structure every 18 to 24 months. If you aren’t willing to do the maintenance, the wood will eventually grey and crack.
Space is a finite resource. You might want the 12-foot slide, but if your yard is only 20 feet deep, you won’t have the required 6-foot safety landing zone. Forcing a design into a space that is too small leads to collisions with fences, trees, or the house itself.
Tree-mounted structures have their own limits. Trees are living organisms. They grow, they sway, and they can be damaged by bolts. If you are building a treehouse-style fort, you must use specialized hardware like TABs (Treehouse Attachment Bolts) that allow the tree to move and grow without destroying the structure.
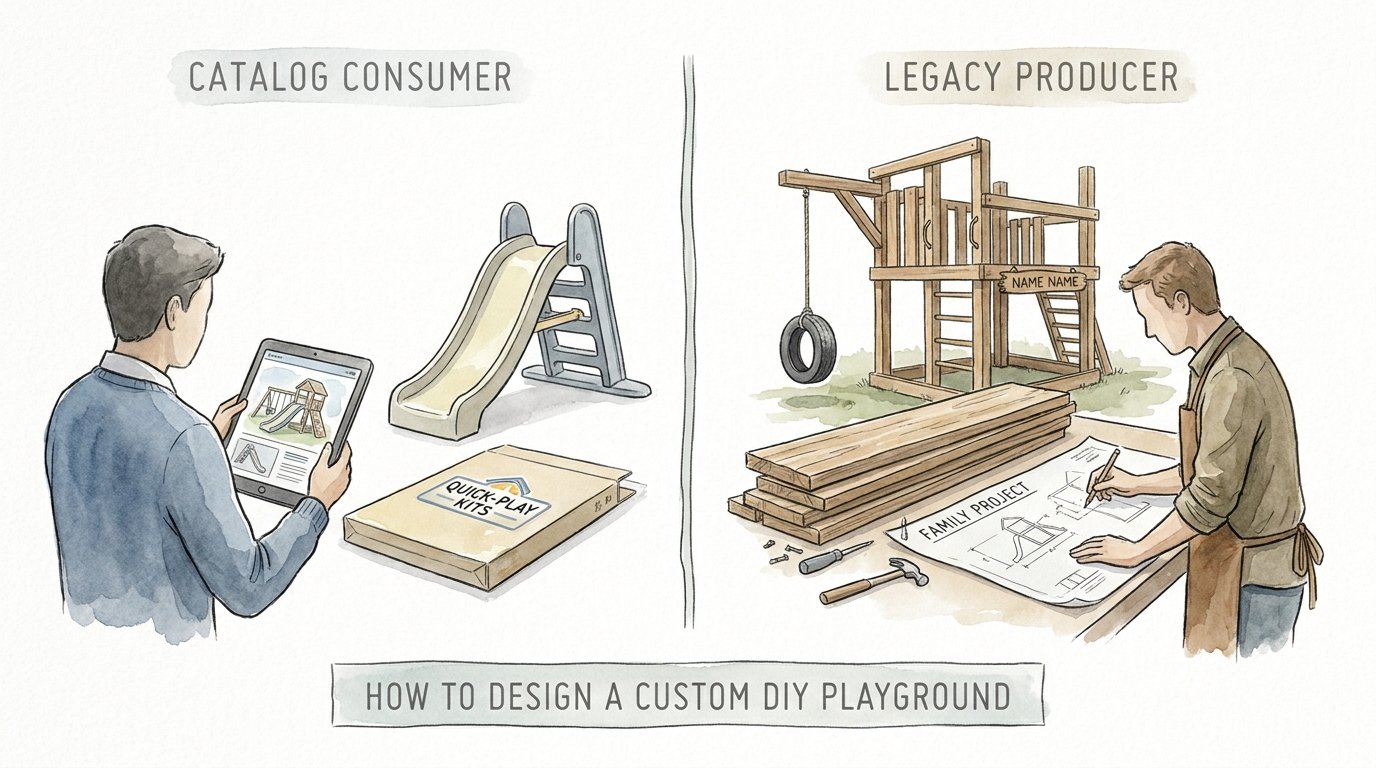
Legacy Producer vs. Catalog Consumer
The table below highlights the differences between these two approaches.
| Feature | Catalog Consumer (Kit) | Legacy Producer (Custom) |
|---|---|---|
| Material Quality | Thin, pre-drilled softwoods. | Thick-cut Cedar or Redwood. |
| Design Flexibility | Fixed layout, no adjustments. | Fully adapted to topography. |
| Fastener Strength | Small wood screws. | Heavy-duty lag and through-bolts. |
| Lifespan | 3–5 years average. | 15+ years with maintenance. |
| Ownership Feel | Temporary toy. | Family heirloom/Legacy. |
Practical Tips for a Successful Build
Pre-drilling is your best friend. Cedar and Redwood are prone to splitting near the ends of boards. Always drill a pilot hole that is slightly smaller than your screw or bolt. This ensures a tight grip without ruining the wood. It takes longer, but the structural results are worth it.
Use structural screws for framing. Brands like GRK or Spax make heavy-duty screws that are heat-treated and code-approved. They often don’t require pre-drilling and offer incredible holding power. They are more expensive than standard deck screws but will save you hours of labor.
Ground cover is the most important safety feature. Do not build over grass or dirt. Falling from 5 feet onto hard-packed dirt is like falling onto concrete. Use at least 9 inches of wood mulch, rubber mulch, or pea gravel. This cushioning material should extend at least 6 feet in all directions from the structure.
Drainage is the secret to longevity. If you are setting posts in concrete, don’t wrap the concrete around the bottom of the post like a cup. This traps water against the wood and causes rot. Instead, use a “post base” bracket that keeps the wood a few inches above the concrete or gravel.
Advanced Considerations for Serious Builders
Think about sensory integration. A playground isn’t just for climbing. Adding a “Mud Kitchen” at the base of the tower or a chalkboard wall on one of the railings adds hours of creative play. These elements cost very little but significantly increase the “dwell time” of your kids.
Lighting can extend play into the evening and add a beautiful glow to your yard. Solar-powered LED strips under the railings or a single solar floodlight inside the fort make the space feel magical at night. It also increases safety by illuminating steps and edges.
Future-proofing is a pro move. Design your main tower so that it can be modified. Maybe it’s a sandbox now, but in five years, that space becomes a lower-level lounge with a hammock. Using 4×4 or 6×6 posts gives you the structural headroom to make these changes later.
Acoustics matter more than you think. If you install a metal slide, it will be loud. If you put a bell or a “steering wheel” on a thin wooden panel, it will rattle. Using rubber washers between metal accessories and the wood frame can dampen noise and prevent the structure from feeling “cheap.”
Example Scenario: The Slope-Hugging Fortress
Imagine a yard with a 15-degree slope. A standard kit would require a massive retaining wall or a flat pad. Instead, a Legacy Producer designs a “Multi-Level Bridge” system. The main tower sits at the top of the hill. A 10-foot bridge connects it to a second, smaller platform halfway down the slope.
The slide is mounted to the lower platform, meaning the slide itself follows the natural grade of the hill. This allows for a much longer, faster slide than a standard kit could provide. Underneath the bridge, the slope is used to create a “Secret Tunnel” or a terraced garden.
The structure uses six 4×4 cedar posts anchored into the hill with concrete piers. The bridge is reinforced with 2×6 joists to handle the dynamic load of kids running across it. The result is a structure that looks like it grew out of the landscape, providing three times the play area of a flat-ground kit.
Final Thoughts
Building a custom playground is about more than just wood and screws. It is about reclaiming the role of the “Producer” in your family’s life. It is an opportunity to show your children that if the world doesn’t provide exactly what they want, they have the power to design and build it themselves.
Using high-quality materials and following safety standards ensures that this project remains a source of joy rather than a liability. Take your time with the design phase. Measure twice, cut once, and involve your kids in every decision. They will remember the “Blueprint Session” as much as they remember the first time they went down the slide.
Experiment with the layout and don’t be afraid to over-engineer. A structure that feels solid under an adult’s weight is a structure that children will trust instinctively. This trust leads to bolder play, better physical development, and a lifetime of backyard memories. Start your blueprint today and build something that lasts.
Sources
1 allaboutplaygrounds.com | 2 playgroundequipment.com | 3 playgroundequipment.com | 4 kingdomplayground.com | 5 sfdec.org | 6 lifetime.com | 7 cpsc.gov | 8 playsetservices.com | 9 woodlit.eu | 10 playgroundequipment.com | 11 rainbowplay.com | 12 aaastateofplay.com | 13 playsetservices.com | 14 discountplaygroundsupply.com | 15 homedepot.com | 16 mrcrec.com