How To Make A Herbarium With Kids
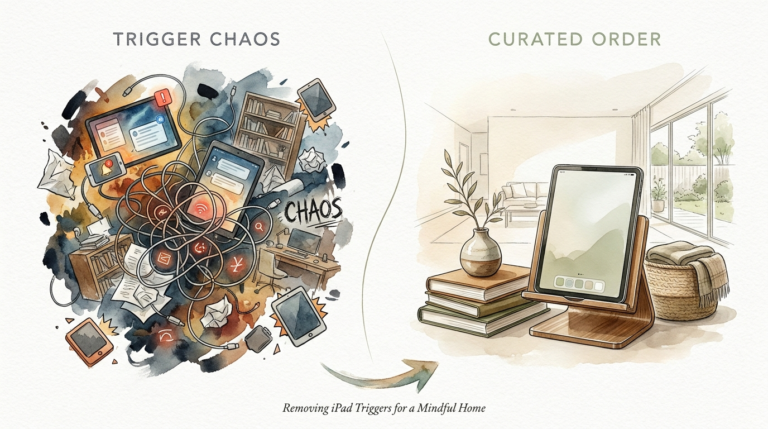
Are we teaching our kids to produce trash or to preserve history? My recycling bin used to be overflowing with half-colored thin paper. We realized we were training our kids to treat art as disposable. Now, we carry a flower press. Our bookshelf holds a ‘living library’ of every meadow we’ve walked. We aren’t just passing time; we are building a legacy.

Creating a herbarium is the ultimate bridge between art and science. It transforms a simple walk in the park into a high-stakes scavenger hunt for history. Most childhood crafts end up in a landfill within a week. A herbarium specimen, if handled correctly, can last for hundreds of years. You aren’t just drying weeds; you are curating a museum.
How To Make A Herbarium With Kids
An herbarium is a collection of preserved plant specimens that are dried, pressed, and mounted for long-term study. It is essentially a library where the “books” are actual biological samples. Botanists have used this method since the 16th century to document the earth’s biodiversity. For a child, it is a gateway to understanding the permanence of nature.
In the real world, herbaria are critical scientific hubs. They allow researchers to track how climate change affects flowering times and how certain species migrate over decades. When you make one with your kids, you are using the exact same methods as professional naturalists. It turns a backyard exploration into a legitimate scientific contribution.
This process involves more than just sticking a leaf in a book. It requires careful collection, controlled drying, and precise labeling. The goal is to preserve the plant’s features—like its color, shape, and structure—so someone can identify it years from now. It’s a project that teaches patience, observation, and respect for the living world.
The Five Steps to Botanical Legacy
Success in herbarium making depends on a specific, repeatable process. You cannot rush nature, but you can certainly optimize it. Follow these steps to ensure your specimens don’t just rot in a drawer.
1. Ethical Collection
The first rule of the herbarium is the “1 in 20” rule. Only pick a plant if you can see at least 20 others of the same kind nearby. This ensures you aren’t damaging a fragile population. Always check local laws; picking wildflowers in national parks is often illegal and carries heavy fines.
2. Immediate Pressing
Plants begin to wilt the moment they are cut. Carry a field press or a heavy folder with you. Lay the plant out exactly how you want it to look on the final page. Flip at least one leaf over to show the underside, as the bottom of a leaf often has different hairs or vein patterns essential for identification.
3. Controlled Drying
Moisture is your biggest enemy. Place your specimen between sheets of absorbent paper, like unprinted newsprint or blotting paper. Sandwich these between layers of corrugated cardboard to allow air to circulate. Apply heavy pressure using a dedicated press or a stack of heavy encyclopedias.
4. Archival Mounting
Once the plant is “crispy” and completely dry—usually after 7 to 14 days—it is ready for mounting. Use acid-free cardstock to prevent the paper from yellowing and brittle-ing over time. Secure the plant using small dabs of pH-neutral PVA glue or thin strips of archival tape.
5. Scientific Labeling
A plant without a label is just a dead leaf. A plant with a label is data. The label should go in the bottom-right corner. It must include the plant’s name, the exact date of collection, the location (GPS coordinates are great for kids to learn), and a brief description of the habitat.
Benefits of Botanical Preservation
Teaching kids to build a herbarium offers measurable educational advantages. It moves beyond passive screen time and into active, tactile learning.
The most immediate benefit is attention to detail. To identify a plant, a child must look at the serration of the leaf edges, the arrangement of the stems, and the structure of the petals. This sharpens their observational skills in a way that digital games never will.
Patience is another critical takeaway. In a world of instant gratification, a herbarium requires waiting. You cannot see the results for weeks. This slow-build reward system is vital for developing long-term focus.
Finally, it builds local environmental literacy. Kids start to recognize the “green wall” of the forest as a collection of individual species. They learn which plants are native, which are invasive, and how the seasons change the landscape.
Challenges and Common Mistakes
Most beginners fail because they treat the process like a casual craft rather than a scientific endeavor. Avoid these frequent errors to keep your collection from ending up in the bin.
Excessive Moisture: If you don’t change the drying papers, your plants will mold. Check your press every 24 hours for the first three days. Replace damp paper with fresh, dry sheets. This “wicking” process is what preserves the vibrant colors.
Missing Metadata: Families often forget to write down where they found the plant. Months later, the memory fades. Always carry a small field notebook and record the details immediately. Without the “when” and “where,” the specimen loses its scientific value.
Using the Wrong Tape: Standard clear tape or masking tape will fail. The adhesive dries out and turns yellow, eventually detaching from the paper and staining the specimen. Only use archival-quality materials if you want the project to last.
Limitations of the Herbarium Method
While the herbarium is a powerful tool, it isn’t perfect for every situation. Understanding its boundaries helps you choose the right subjects.
Certain plants are simply too “fleshy” for standard pressing. Succulents, thick cacti, and large fruits like berries often rot before they can dry. These require specialized techniques, such as slicing the specimen in half or using silica gel to speed up the process.
Rare and endangered species are strictly off-limits. If you find something beautiful but unique, take a high-resolution photo instead. A digital herbarium is a valid alternative for plants that shouldn’t be disturbed.
Environmental conditions also play a role. If you live in an extremely humid climate, you may need a heat source, like a low-wattage lightbulb in a drying cabinet, to prevent fungal growth.
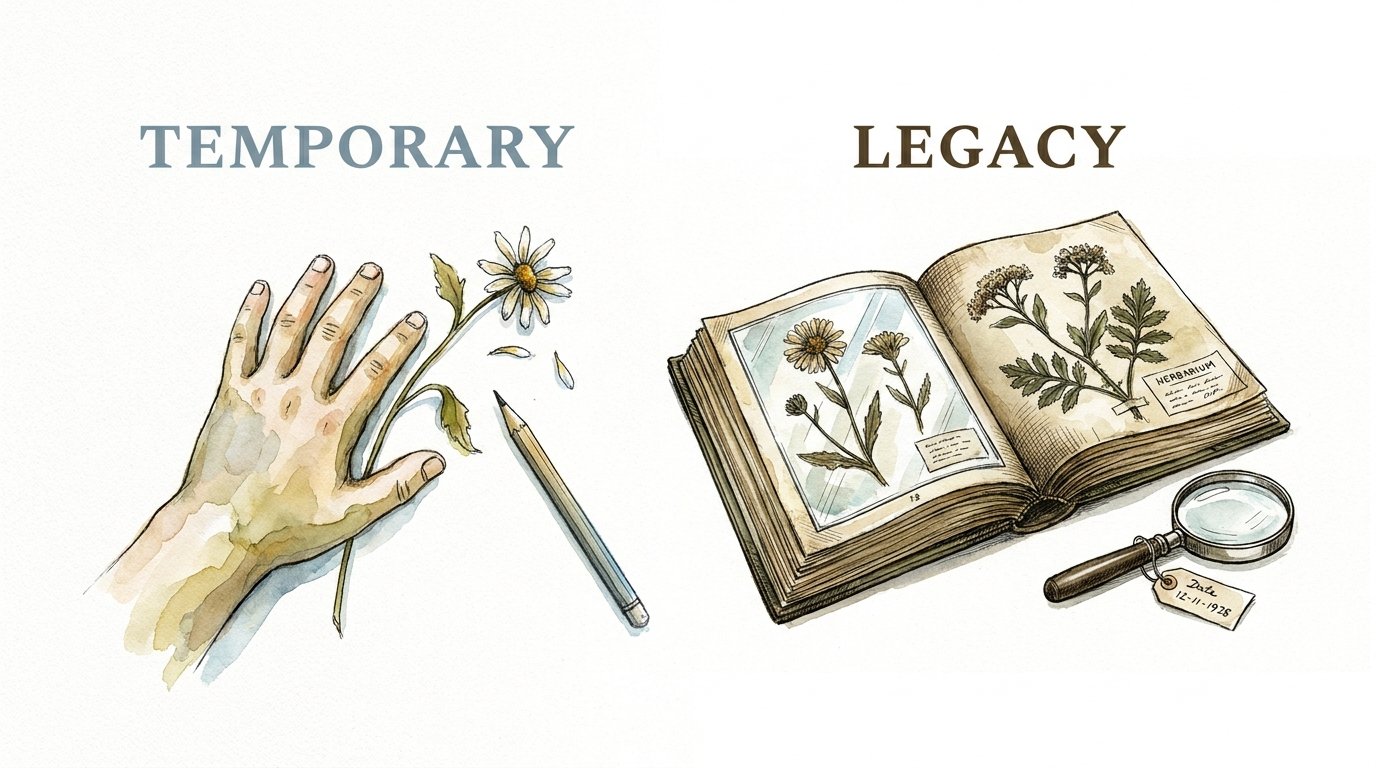
Legacy vs. Temporary Collections
It is helpful to distinguish between a “scrapbook” approach and a “herbarium” approach. One is for fun; the other is for history.
| Feature | Temporary Scrapbook | Legacy Herbarium |
|---|---|---|
| Paper Quality | Standard construction paper | Acid-free, pH-neutral cardstock |
| Adhesive | Glue sticks or clear tape | PVA glue or linen tape |
| Documentation | “Pretty flower” | Scientific name, Date, Location, Habitat |
| Lifespan | 1–5 years | 100+ years |
Practical Tips for Success
To get the best results, think like a professional curator. These minor adjustments make a massive difference in the quality of your finished sheets.
- The Freezer Trick: After your plants are dry and mounted, place the entire sheet in a sealed plastic bag and freeze it for 48 hours. This kills any microscopic “biscuit beetles” or pests that might eat your collection later.
- Corrugated Cardboard is King: Never skip the cardboard layers. The “tunnels” in the cardboard allow air to move through the press. Without this, you are just making a damp sandwich.
- Sandbag Weights: When gluing your plant to the final cardstock, place a small sandbag or a bag of rice on top of it. This ensures every part of the plant makes contact with the glue as it dries.
- Zig-Zag Stems: If a plant is too long for the page, don’t cut it. Bend the stem into a sharp “V” or “N” shape. This preserves the entire length of the specimen, which is vital for scientists studying growth patterns.
Advanced Considerations for Serious Collectors
If your kids become obsessed, you can scale the project into a professional-grade archive. This involves moving beyond basic binders and into archival storage.
Invest in acid-free folders. In professional herbaria, specimens are not kept in binders where they can be turned like pages. They are kept in individual folders and stacked horizontally in cabinets. This prevents gravity from pulling the specimens off the sheets.
Consider digitization. Use a flatbed scanner to create high-resolution images of your sheets. You can then upload these to platforms like iNaturalist. This connects your child’s hobby to a global network of scientists. Their backyard find might actually help a researcher across the country.
Specialized mounting techniques, like “strapping” with gummed linen tape, provide extra security for woody stems. This is much more durable than glue alone for heavy samples like oak branches or pine cones.
Scenario: The “Backyard Bio-Blitz”
Imagine a Saturday morning. Instead of turning on the TV, you grab the “specimen bag.” You and your child walk to the edge of your property. You find a common Dandelion (Taraxacum officinale).
Your child doesn’t just rip it out. They dig deep to get the taproot. They shake off the dirt. You record the data: “Backyard, sandy soil, full sun, 10:30 AM.” You put it in the press.
Two weeks later, that dandelion is a stunning, paper-thin piece of gold. You mount it. Your child writes the label in their best handwriting. You’ve just turned a “weed” into a family heirloom. That specimen will still be there when your child is an adult, a perfect snapshot of a single morning in their childhood.
Final Thoughts
Building a herbarium is about more than just plants. It is about teaching our children that the world is worth observing and that their efforts can produce something permanent. It moves the needle from “disposable art” to “preserved history.”
This project offers a rare combination of physical activity, scientific rigor, and artistic expression. It costs very little but provides a wealth of knowledge and a physical legacy that grows over time.
Start small. Find one common plant in your yard today. Press it correctly. Follow the rules of the archive. You might find that you aren’t just collecting plants; you are collecting the very best version of your family’s time together.
Sources
1 msu.edu | 2 arizona.edu | 3 frontiersin.org | 4 duke.edu | 5 inaturalist.org | 6 rbge.org.uk | 7 kiddle.co | 8 homesciencetools.com | 9 npsot.org | 10 royalexaminer.com | 11 hollingermetaledge.com | 12 theboxplymouth.com | 13 usu.edu | 14 theherbalacademy.com | 15 ufl.edu | 16 rhs.org.uk | 17 rhs.org.uk | 18 ufl.edu | 19 botanicalartandartists.com | 20 centerofthewest.org