Diy Cardboard City Projects For Families
Your recycling bin is currently holding the raw materials for a million-dollar imagination. We used to buy the ‘latest’ kits only to see them finished and forgotten in an hour. Now, we harvest the ‘Blue Bin’ to build entire civilizations. The cardboard city didn’t cost a dime, but it’s held their attention for three weeks straight.
You are standing in front of a pile of Amazon boxes and cereal cartons. Most people see trash. Architects and parents see the infrastructure of a thriving metropolis. DIY cardboard city projects are more than just crafts; they are immersive engineering experiences that turn living rooms into urban hubs.
This guide will show you how to transform those everyday recyclables into a functional, sprawling city. We are moving beyond the simple “tape two boxes together” phase. We are diving into structural integrity, urban planning, and the sheer joy of creating something from nothing.
Diy Cardboard City Projects For Families
A DIY cardboard city is a miniature urban environment built entirely from repurposed paper products. It is a hands-on construction project where families use boxes, tubes, and scrap cardboard to design houses, skyscrapers, roads, and parks. In a world dominated by pre-molded plastic toys, these projects offer a “blank canvas” for architectural experimentation.
In the real world, architects and urban planners use similar physical modeling techniques to visualize massive projects. When your family builds a cardboard city, you are practicing spatial reasoning and structural engineering. It is a way to teach children how a community fits together—where the post office goes, how roads connect, and why a city needs green space.
These projects exist at the intersection of play and education. They are often used in “Makerspace” environments or STEAM (Science, Technology, Engineering, Art, and Math) curricula to foster creativity and problem-solving. It is a sustainable alternative to traditional toys that allows for infinite expansion as long as you have more cardboard.
The Blueprint: How to Build Your Cardboard Metropolis
Building a city requires a balance of planning and spontaneous creativity. You can’t just throw boxes on the floor and call it a downtown. You need a foundation.
First, secure a large, flat base. A flattened appliance box or a few medium shipping boxes taped together works best. This provides a clear boundary for the city and prevents it from migrating across the entire house.
Second, think about zoning. Ask your kids where the residential area should be and where the “industrial” zones (the toy box or the garage) are located. Sketch out main roads with a thick black marker directly onto the base. This gives everyone a framework to build within.
Third, start with the “anchor” buildings. These are the larger structures like hospitals, schools, or the city hall. Use cereal boxes or shoe boxes for these. For skyscrapers, stack multiple smaller boxes and secure them with a “paper hinge” or heavy-duty masking tape.
Fourth, add the infrastructure. Use toilet paper rolls for support pillars or water towers. Egg cartons make excellent multi-unit housing or textured rooftops. Bottle caps can serve as traffic lights or decorative fountains.
Finally, focus on the details. Use markers to draw windows and doors. Cut out small rectangles for signs. If you want to get fancy, use “slotting” techniques—cutting a slit in two pieces of cardboard and sliding them together—to create 3D trees or freestanding people.
The Big Payoff: Benefits of Construction Play
The advantages of cardboard construction go far beyond just saving money. You are building a child’s brain as much as you are building a cardboard tower.
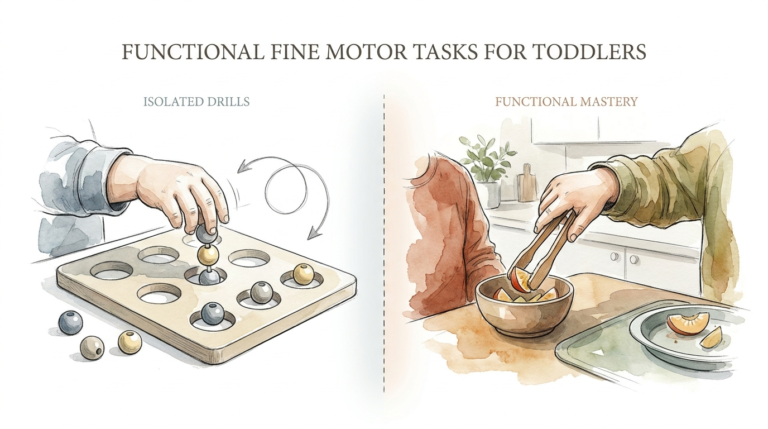
One of the most measurable benefits is the development of fine motor skills. Handling scissors, applying tape, and carefully positioning small “windows” requires precise hand-eye coordination. It is a workout for the small muscles in the hands that are essential for writing and other complex tasks.
Spatial awareness is another heavy hitter. As children try to fit a “garage” onto the side of a “house,” they are learning about volume, scale, and geometry. They begin to understand that a tall, thin box is less stable than a wide, flat one. This is intuitive physics in action.
Collaboration and social skills thrive in a city project. Families must negotiate who builds what and where the boundaries lie. If one person wants a park and the other wants a stadium, they have to find a compromise that benefits the “city” as a whole.
There is also the concept of “Free Wealth.” Instead of being limited by the pieces in a $100 plastic kit, children are empowered to create whatever they need. If the city needs a library, they make one. This fosters a sense of agency and resourcefulness that pre-made toys simply cannot match.
Common Pitfalls: Avoiding the Cardboard Collapse
The most frequent mistake in cardboard construction is over-relying on cheap tape. Transparent office tape is the enemy of structural integrity. It peels off, loses its stickiness, and looks messy. Always opt for masking tape, painters’ tape, or a hot glue gun (operated by an adult).
Another pitfall is the “Saggy Roof” syndrome. If you use a thin piece of cardboard for a large roof without support, it will eventually dip. Teach your kids about “I-beams” or central pillars. A simple cardboard tube placed inside a building can prevent the entire structure from collapsing under the weight of decorations.
Impatience with drying times is a major cause of construction frustration. If you are using white craft glue, the pieces will slide around for at least 15 minutes. This is where “tack welding” with a tiny dot of hot glue can help hold things in place while the stronger white glue sets.
Lastly, watch out for the “One-Scale Wonder.” If your house is huge and your car is tiny, the play experience feels disconnected. Encourage your kids to find a “reference figure”—like a favorite Lego person or action figure—and build everything to fit that specific scale.
Reality Check: When Cardboard Isn’t the Answer
Cardboard is a fantastic material, but it has its limits. It is fundamentally a paper product, which means moisture is the ultimate destroyer. If you live in a high-humidity environment or try to keep the city in a damp basement, the structures will warp and soften over time.
Space is another major constraint. A thriving cardboard city can easily take up a 6-foot by 6-foot area. If you don’t have a dedicated playroom or a corner that can be “off-limits” to foot traffic, you might find the project more stressful than fun.
Longevity is also a factor. Cardboard cities are meant to be temporary monuments. They collect dust, and they eventually wear out. If you are looking for a toy that will be passed down to grandchildren, cardboard isn’t the medium. This is a “living” project that is eventually recycled to make room for the next big idea.
Cardboard Wealth vs. Plastic Debt: The Comparison
Many families feel the pressure to buy expensive, branded building sets. While those sets have their place, the comparison with cardboard is eye-opening.
| Factor | Store-Bought Plastic Kits | DIY Cardboard City |
|---|---|---|
| Initial Cost | High ($50 – $200+) | Zero (Recycled materials) |
| Creativity Level | Limited by specific parts | Infinite and open-ended |
| Skill Development | Following instructions | Engineering and problem-solving |
| Durability | Extremely high | Low to Medium |
| Expansion | Requires more purchases | Requires more “trash” |
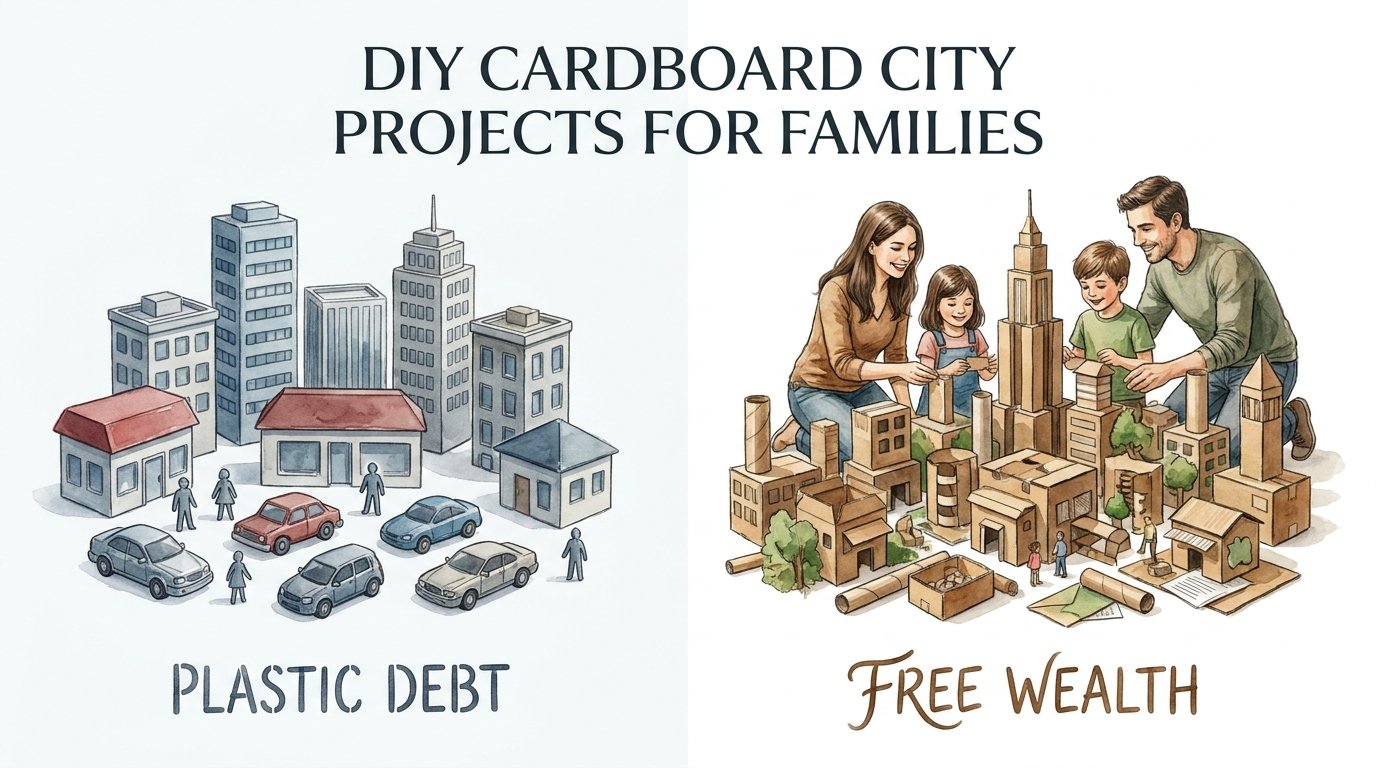
The “Plastic Debt” comes from the constant need to buy “expansion packs” to keep a child’s interest. “Cardboard Wealth” is the realization that you already have everything you need to build a world.
Pro Tips for Master Builders
To take your city from “craft project” to “architectural marvel,” you need to adopt a few pro techniques.
- Pre-cut your connectors: Spend 20 minutes cutting small cardboard triangles and L-brackets. These are “joinery” pieces that make connecting walls ten times easier.
- Use a “Makerspace” toolkit: Keep a dedicated bin with masking tape, a ruler, markers, a hole punch, and string. Having everything in one place prevents the “Where are the scissors?” momentum killer.
- Double-walling: For large structures, glue two pieces of cardboard together with the “grain” (the internal corrugation) running in opposite directions. This creates an incredibly stiff panel that won’t bend.
- The “Texture Map”: Don’t just paint everything flat. Use bubble wrap for “cobblestone” streets or the inside of a corrugated box (the wavy part) for “metal” roofing.
Going Pro: Advanced Engineering for Kids
Once the basics are mastered, you can introduce advanced concepts that turn play into a masterclass in physics.
Structural shapes are the first place to start. Explain why triangles are stronger than squares. Show them how to “brace” a tall tower by adding diagonal supports. This simple lesson in tension and compression will immediately improve the durability of their buildings.
Moving parts add a whole new layer of engagement. You can create a working elevator using a string and a cardboard tube pulley. You can make “hinged” garage doors using a strip of duct tape as the pivot point. These mechanical elements keep older children interested long after the “coloring” phase is over.
Lighting is the ultimate “wow” factor. If you have old holiday lights or cheap LED tea lights, you can cut small holes in the back of the buildings to create a glowing skyline at night. This transforms the project from a toy into a piece of room decor.
From Sketch to Skyline: A Practical Scenario
Let’s look at how a typical “Sunday City” project unfolds in a real household.
The project starts at 10:00 AM with a “City Council Meeting” at the kitchen table. The “planners” (the kids) decide they need a pizza shop, a fire station, and a bridge. Dad flattens a large refrigerator box in the corner of the den to serve as the “site.”
By 11:30 AM, the pizza shop is built from a shoe box. The “engineers” realize the bridge keeps collapsing because the span is too long. They pivot and use two sturdy Pringles cans as “piers” for the bridge. Problem solved through iteration.
At 2:00 PM, the “Art Department” takes over. They use green sponges for bushes and silver Sharpies to draw “solar panels” on the roofs. The city now has a “Green Energy” initiative. By 4:00 PM, the toy cars move in, and the first “traffic jam” occurs on Main Street.
This scenario demonstrates that the project is a cycle of planning, failing, fixing, and decorating. It isn’t a static task; it’s a dynamic story that evolves as they build.
Final Thoughts
DIY cardboard city projects represent the pinnacle of high-value, low-cost family engagement. You are not just disposing of boxes; you are investing in your child’s ability to see potential in the mundane. The skills they learn—patience, structural logic, and creative negotiation—will serve them long after the city is broken down for the recycling truck.
Don’t worry about making it look “perfect.” The beauty of a cardboard city lies in its imperfections and the stories that grow within its walls. A crooked tower is just a lesson in balance waiting to be learned. A messy road is a sign of a city that is growing too fast to keep up.
Start small with a single street or a single house. Let the project grow organically as you find more “raw materials.” Before you know it, you won’t be looking at your recycling bin as a chore—you’ll be looking at it as the next great expansion for your family’s cardboard empire.
Sources
1 dcmoms.com | 2 heyfriendfoundation.org | 3 myteachingcupboard.com | 4 petitarchitect.com | 5 littlesunshine.com | 6 packingsolution.co.uk | 7 crayola.com | 8 imthecheftoo.com | 9 woodshopcowboy.com | 10 familyhandyman.com | 11 lmnoplay.com | 12 hgtv.com