Best Workstations For Screen Free Kids
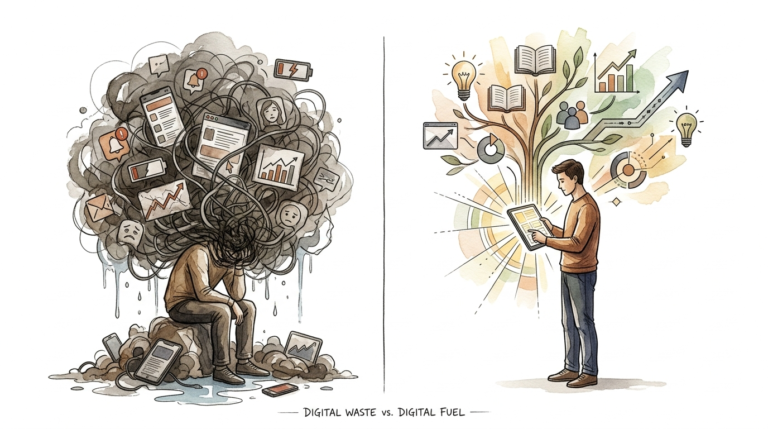
The tablet changes the image, but the workbench changes the child. Apps promise variety but offer only one physical action: sitting still. A real workbench offers infinite outcomes through physical transformation. It’s time to trade the flat screen for a 3D world. You are looking for a way to pull your child back into reality. You want them to feel the weight of a hammer and the texture of raw wood. This guide will show you how to build a space where creativity is not limited by a software update.

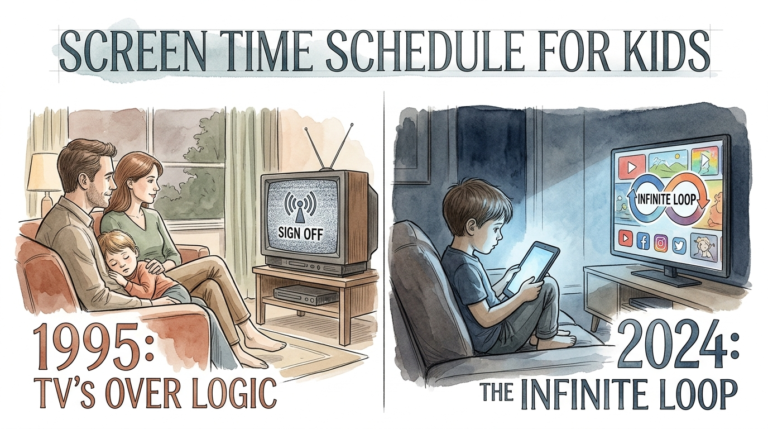
Every parent knows the glazed look of the “screen trance.” It is a passive state where the world shrinks to a five-inch rectangle. A workstation breaks that spell immediately. It demands focus, coordination, and physical effort. When a child stands at a workbench, they are no longer just a consumer. They become a designer, an engineer, and a maker.

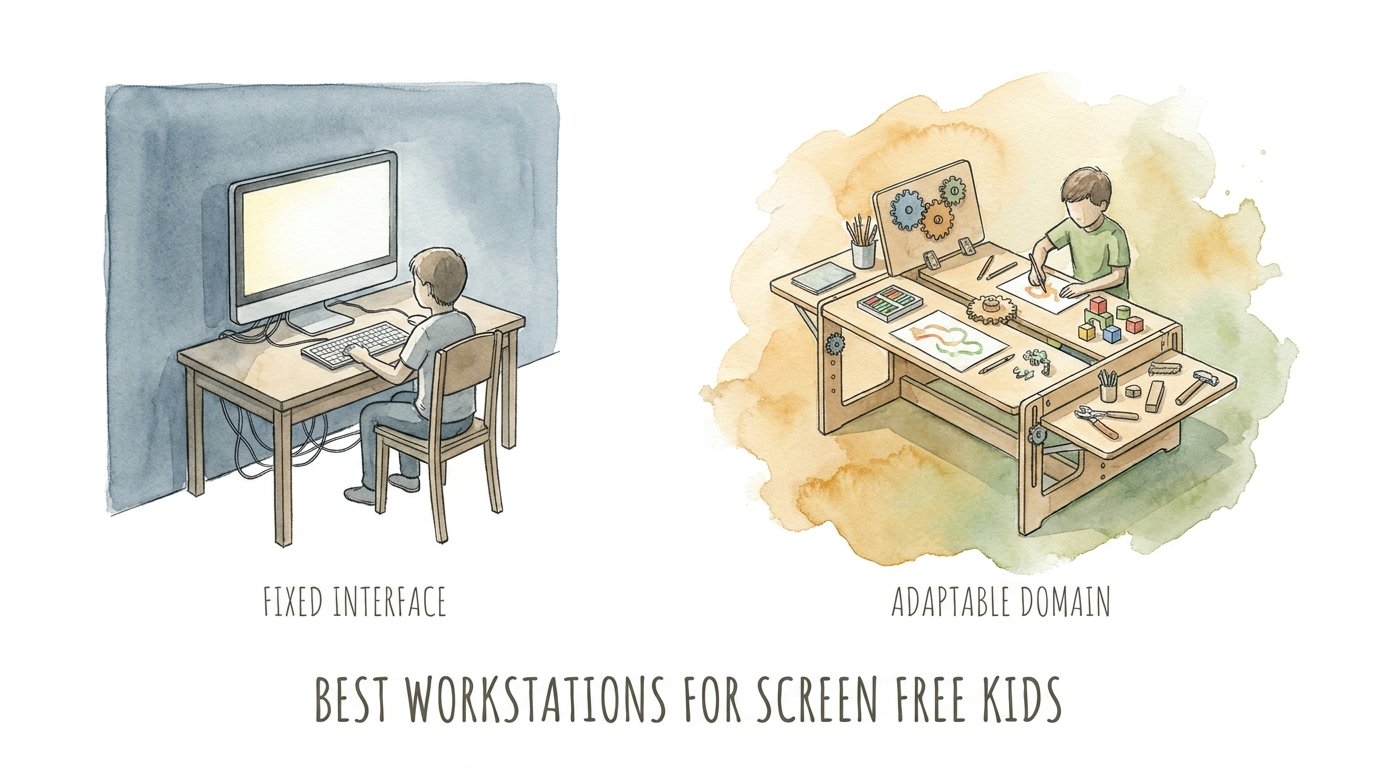
Practicality is the soul of this transition. You do not need a massive garage or a professional shop to start. You simply need a dedicated zone that says “this is where we make things.” This space acts as an Adaptable Domain where the child controls the outcome. Unlike a Fixed Interface, there are no “invisible walls” here. If they want to build a rocket or a birdhouse, the only limit is their own persistence.
Best Workstations For Screen Free Kids
Choosing the right foundation is the first step toward a screen-free lifestyle. A workstation is more than just a table. It is a specialized environment designed to handle the friction of real work. It must be sturdy, sized correctly, and inviting enough to compete with high-definition graphics.
The best workstations fall into three main categories: pretend-play benches, junior woodworking stations, and multifunctional art centers. For toddlers, the Step2 Pro Play Workshop is a legendary starting point. It offers a mix of realistic textures and safe, oversized tools. It creates a bridge between toys and tools without the risk of real splinters.
As kids grow, they need more resistance. The Hape Master Workbench is a classic wooden choice for the preschool and kindergarten years. It uses height-adjustable legs to grow with the child. This is a critical feature because a workbench that is too low causes back strain, while one that is too high makes it impossible to apply downward force for sawing or hammering.
For the older child ready for real craftsmanship, look at the Sjobergs Junior/Senior Workbench. This is not a toy. It is a professional-grade bench scaled down for smaller frames. It features a heavy top and a real vise. A vise is the most important “second set of hands” a child can have. It holds the project steady so they can focus on tool safety and precision.
Multifunctional stations like the Guidecraft Art Center or the Martha Stewart Living & Learning System provide a different kind of screen-free value. These are designed for “Adaptable Domain” play where the child might switch from drawing to clay modeling to small-scale assembly. They prioritize storage and surface area, making them ideal for kids who love to tinker with diverse materials.
How It Works: Setting Up the Flow of Creation
A workstation works by organizing the chaos of the physical world. It provides a “Fixed Location” for an “Adaptable Process.” When a child knows exactly where the hammer lives, they spend less time searching and more time building. This builds a psychological state called “flow,” which is the ultimate antidote to screen-induced distraction.
Start by measuring your child’s height. The ideal workbench surface should sit right at or slightly below their elbow height. This allows them to use their body weight to drive tools rather than just relying on arm strength. If the bench is too high, they will struggle with leverage. If it is too low, they will hunch over and tire quickly.
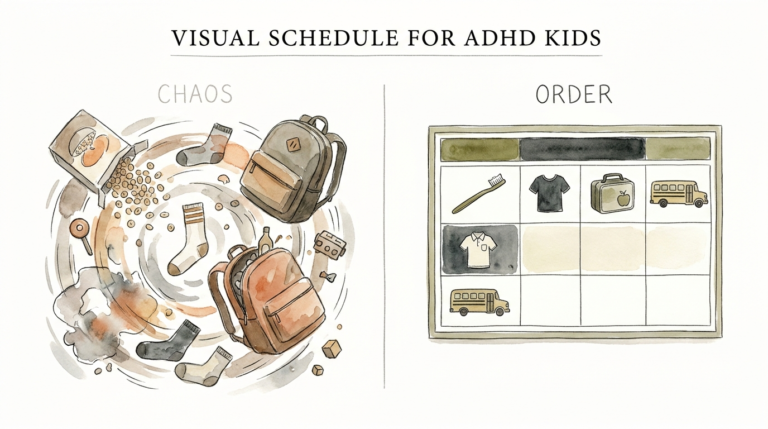
Organization is the next pillar of a functional station. Use a pegboard system with high-contrast outlines of the tools. This “shadow board” technique teaches children where things belong. It also provides an instant visual inventory. If a spot on the wall is empty, the tool is still out. This simple visual cue builds responsibility without the need for constant parental nagging.
Introduce the “Zone of Operation.” This is the central workspace on the bench. Keep it clear of clutter. Use bins or drawers for fasteners like nails, screws, and glue. When the child approaches the bench, the clean surface acts as a blank canvas. It invites them to start something new rather than feeling overwhelmed by the mess of the last project.
Benefits of a Physical Workstation
The advantages of a physical workbench are measurable and profound. While screens often lead to sedentary behavior, a workstation demands movement. This movement translates directly into neurobiological development.
1. Fine Motor Precision: Handling small nails or using a screwdriver develops the small muscles in the hands. These are the same muscles needed for handwriting and eventually for complex tasks like surgery or high-end engineering.
2. Spatial Reasoning: Screens present 3D worlds on a 2D plane. This is a cognitive shortcut. A workbench forces a child to understand volume, weight, and structural integrity. If they build a base that is too small, the tower falls. This is a real-world physics lesson that no app can replicate.
3. Resilience and Grit: Digital mistakes are fixed with an “undo” button. Physical mistakes require problem-solving. If a piece of wood splits, the child must decide how to repair it or change the design. This builds a “growth mindset” where failure is seen as a data point rather than a dead end.
4. Focus and Longevity: The satisfaction of finishing a physical object creates a durable dopamine hit. Unlike the “flash-and-trash” dopamine of social media, the pride of holding a finished birdhouse lasts for years. This encourages longer attention spans as the child learns to value multi-day projects.
Challenges and Common Mistakes
The biggest challenge is the “Parental Fear Factor.” We live in a world of rounded corners and safety labels. Handing a child a real hammer feels risky. However, the mistake is not the tool; it is the lack of training. Over-protecting a child at the workbench leads to boredom, and boredom leads back to the screen.
Another common pitfall is buying “toy” tools that don’t actually work. Plastic saws that can’t cut and hammers that are too light to drive a nail are frustrating. They teach the child that physical work is impossible or pointless. Always aim for high-quality, scaled-down real tools. A small steel hammer is safer than a plastic one because it actually performs the task it is designed for.
Mess management is a frequent point of friction. Wood shavings, paint drips, and stray nails can migrate through the house. Many parents abandon the workbench because they hate the cleanup. You can avoid this by using a shop vac as part of the “fun” or by placing the workstation in a garage or on a porch where the mess is less stressful.
Finally, avoid the “instruction trap.” If you give a child a kit with 50 steps, you have turned the workbench into a 3D version of a screen—a fixed path with a single outcome. Instead, provide raw materials. Let them build something “ugly” that is entirely theirs. The goal is independence, not a perfect product.
Limitations: When This May Not Be Ideal
A workstation is a powerful tool, but it requires space and supervision. If you live in a tiny apartment with no outdoor access, a traditional woodworking bench might be a logistical nightmare. In these cases, you might need to pivot to a smaller “tinkering tray” or a portable art desk.
Age is another natural constraint. A child under three generally lacks the impulse control for real metal tools. While they can benefit from pretend-play stations, you must be realistic about their physical limits. Forcing a toddler to use a real saw is a recipe for injury and a lifelong fear of the workshop.
Environmental factors also play a role. A garage workstation in the middle of a brutal winter will go unused. If the space is uncomfortable, the child will gravitate back to the warm couch and the glowing screen. You must ensure the “Adaptable Domain” is a place where they actually want to spend time.
Fixed Interface vs. Adaptable Domain
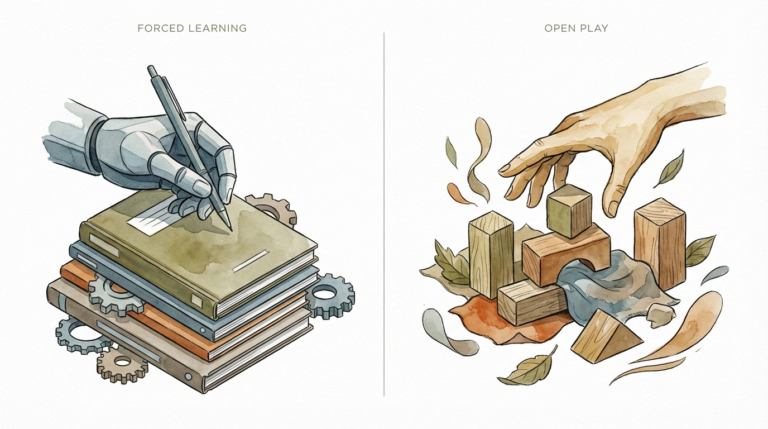
Understanding the difference between these two concepts helps you prioritize your child’s environment. A screen is a Fixed Interface. The boundaries are set by a developer. The child moves through a pre-ordained world. A workbench is an Adaptable Domain. The child is the developer.
| Feature | Fixed Interface (Screen) | Adaptable Domain (Workbench) |
|---|---|---|
| Physical Action | Sitting still / Tapping | Full-body engagement |
| Outcome Range | Limited by code | Infinite / Material-based |
| Sensory Input | Visual and Auditory only | Tactile, Olfactory, Weight |
| Problem Solving | Logical puzzles | Material physics & Structural logic |
Practical Tips for Success
Start small to build confidence. You do not need to buy every tool on day one. A hammer, a small saw, and some wood glue are the “holy trinity” of the beginner’s workbench. Add new tools as the child masters the previous ones. This creates a sense of “leveling up” in real life.
Use scrap wood from your own projects or visit a local hardware store. Most stores have a “cull bin” of offcuts that are sold for pennies. These random shapes are perfect for creative play. A triangle of plywood and a block of 2×4 can become a boat, a plane, or a skyscraper in the mind of a child.
Invest in high-quality eye protection. Safety goggles are the most important piece of gear. Make a rule: “No goggles, no work.” This establishes a professional boundary and teaches the child that their body is a valuable tool that needs protection.
Consider lighting. Most kid-sized workstations are tucked into dark corners. Add a simple LED clamp light to the bench. Good visibility reduces frustration and prevents accidents. It also makes the workspace look more like a “real” laboratory or studio, which increases the child’s buy-in.
Advanced Considerations for Serious Practitioners
If your child shows deep interest, it is time to upgrade the “Adaptable Domain.” Consider adding a drill press or a scroll saw under close supervision. These tools allow for a level of precision that hand tools cannot match. The move to power tools is a major milestone in a child’s development, signaling a shift toward adult-level responsibility.
Integrate STEM principles directly into the bench. Add a ruler or a measuring tape as a permanent fixture. Encourage them to draw “blueprints” before they start. This teaches the relationship between abstract planning and physical reality. It bridges the gap between math and making.
Think about “Multi-Medium Tinkering.” A great workstation can handle more than just wood. Add a soldering station for electronics or a vice for metalwork. The goal is to make the workstation a “Swiss Army Knife” of creation. The more materials the child understands, the more ways they have to interact with the world around them.
Examples of Screen-Free Projects
Imagine a Saturday morning. Instead of reaching for the tablet, your child heads to the workbench. They have a “Project Box” filled with scrap wood, bottle caps, and old wire. Today’s goal: The Kinetic Sculpture.
First, they use the vise to hold a long piece of wood. They saw off three small blocks to act as “cams.” They drill holes through the center of the blocks and slide them onto a dowel rod. As they turn the rod, the blocks wobble. They spend an hour adjusting the spacing so the blocks don’t hit each other.
Next, they glue cardboard figures onto the tops of the blocks. When the handle turns, the figures “dance.” This project requires measurement, friction management, and artistic design. It is a four-hour deep dive into mechanical engineering. By lunch, they have a working toy they built themselves. The tablet is still on the charger, forgotten.
Another scenario is The Backyard Birdhouse. This classic project teaches “Squareness.” If the corners aren’t 90 degrees, the roof won’t fit. The child has to use a square tool, mark their lines, and cut accurately. The reward is watching a real bird move into something they created with their own hands.
Final Thoughts
The tablet changes the image, but the workbench changes the child. By choosing a physical workstation, you are giving your child the gift of reality. You are moving them from a world of “likes” and “swipes” to a world of “effort” and “outcomes.” This transition is not always easy, but it is always worth it.
A real workbench offers infinite outcomes through physical transformation. It builds a foundation of competence that will serve your child in every area of life. Whether they become an artist, a scientist, or a carpenter, the lessons learned at the workbench stay with them. They learn that they have the power to change their environment rather than just reacting to it.
It is time to trade the flat screen for a 3D world. Start with a simple bench, a few good tools, and a pile of scrap wood. Watch as the “screen trance” fades and the light of true curiosity returns. Your child’s future is being built one hammer blow at a time. Go find a workbench and start building.
Sources
1 youtube.com | 2 kidsusamontessori.org | 3 littlepeoplescove.com | 4 instructables.com | 5 flexispot.com | 6 reddit.com | 7 bestproducts.com | 8 national-hardware.com | 9 progressivedesk.com | 10 primecables.ca | 11 21twelveinteractive.com