Solar Food Dehydrator For Kids
Why pay the utility company to dry your snacks when the sun is offering to do it for free? Most snacks come from a factory and a loud machine. This weekend, show your kids how to harvest the sun’s energy to preserve their own food. It’s not just about the fruit; it’s about understanding the thermal mass and airflow that makes life possible.

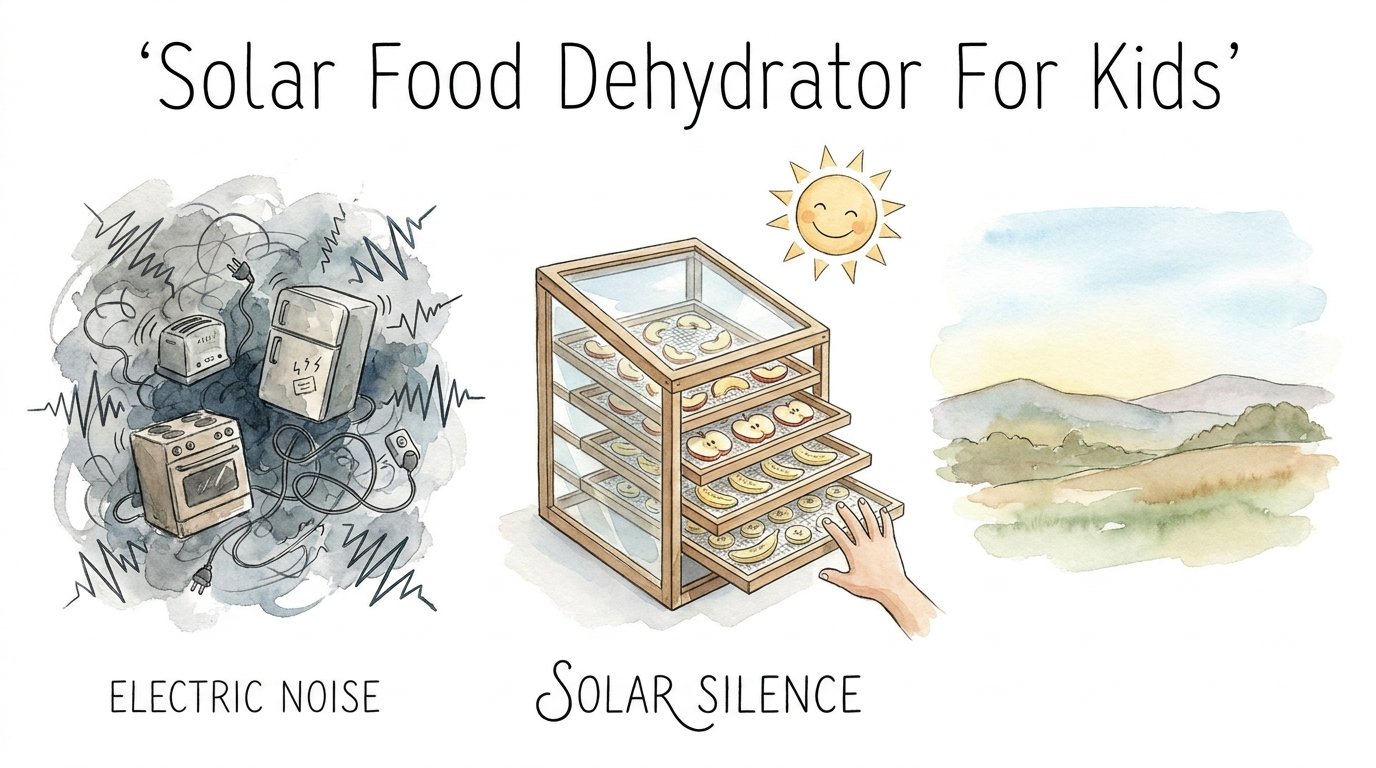
The hum of a kitchen appliance is the sound of money leaving your wallet. Sunlight is the sound of silence and self-reliance. Transitioning from processed store-bought chips to sun-dried treats is a massive win for health and home economics. You are not just making a snack. You are teaching the next generation how to live off the land with simple physics.
Solar Food Dehydrator For Kids
A solar food dehydrator is a specialized tool that uses sunlight to remove moisture from food. It creates a controlled environment where air stays hot and moves constantly. Think of it as a miniature greenhouse with a specific job. This device allows you to keep the bounty of your garden or local market without using any electricity.
Kids love this project because it is a science experiment they can actually eat. It demonstrates how light transforms into heat. It shows how air moves based on temperature changes. In the real world, large-scale solar dryers help farmers in sun-rich regions save their harvests from rotting. At home, it serves as a gateway to sustainable living.
Visualizing the concept is easy. Imagine a box sitting in the driveway. The sun hits it, and the inside starts to glow with warmth. Fresh apple slices sit on a mesh screen inside. As the air heats up, it drinks the moisture right out of the fruit. The humid air then floats away through a vent, leaving behind a chewy, sweet snack that lasts for months.

The Physics of Solar Silence: How It Works
Dehydration relies on three main principles: heat, airflow, and low humidity. Each part of the system has a job. The solar collector captures the light. The absorber plate turns that light into thermal energy. Finally, the chimney or vent creates a natural draft.
Solar energy enters the box as shortwave radiation. This light passes through clear glass or plastic easily. When it hits a dark surface inside, like black-painted metal or paper, it changes. It becomes longwave thermal radiation. Heat cannot escape the clear cover as easily as light entered. This is the classic greenhouse effect.
Air inside the box warms up and expands. Warm air is less dense than cool air, so it begins to rise. This creates a natural vacuum at the bottom of the device. Fresh, cool air is pulled in through the intake vents. It heats up, passes through the food trays, and exits through the top. This constant stream of air carries away water vapor.
Moisture migration happens inside the food cells. Heat provides the energy for water to evaporate from the surface. Capillary action then pulls deeper moisture toward the skin of the fruit. If the air is stagnant, the fruit will simply steam and rot. If the air is moving, the fruit dries into a stable, shelf-stable form.
How to Build the Cardboard Quick-Build
Building a solar dehydrator does not require a workshop full of tools. You can start with basic household materials. This is the perfect entry point for children to see immediate results.
Step 1: The Collection Chamber
Find a sturdy cardboard box. A medium-sized shipping box works best. Cut a large rectangular window in the top lid. Leave a small border so the box maintains its structural integrity.
Step 2: The Heat Absorber
Line the bottom and interior sides of the box with black construction paper or non-toxic black paint. Darker colors absorb more solar radiation. Avoid glossy finishes that reflect light. You want the box to soak up every photon.
Step 3: Creating the Vents
Cut a small slit at the bottom of one side. This is your air intake. On the opposite side, cut a similar slit near the very top. This creates a cross-flow of air. Cover these slits with a fine mesh or cheesecloth to keep out flies.
Step 4: The Drying Rack
Construct a simple frame using popsicle sticks or small twigs. Stretch a piece of food-safe mesh over the frame. This rack should sit about two inches above the bottom of the box. Use small blocks of wood or rolled-up cardboard to prop it up.
Step 5: The Glazing
Stretch clear plastic wrap over the window you cut in the lid. Tape it down tight so no air escapes from the top. The seal must be firm. This clear layer traps the heat while allowing the sun to do its work.
Benefits of Choosing Solar Over Electric
Sun drying is a tradition that predates the lightbulb. Choosing this method offers practical advantages that modern machines cannot match.
- Zero Operating Cost: The sun does not send a bill at the end of the month. You can dry hundreds of pounds of food for free.
- Nutrient Retention: Low-temperature drying preserves vitamins and enzymes better than high-heat industrial processes.
- Quiet Operation: Electric dehydrators have loud fans that run for 24 hours. Solar systems are completely silent.
- Zero Carbon Footprint: You are using renewable energy directly. No fossil fuels are burned to power your snack time.
- Better Flavor: Slow drying in the sun often concentrates natural sugars more effectively than rapid electric heat.
Sunlight also provides natural UV sanitization for certain types of food. High-acid fruits like berries and apples are particularly well-suited for this environment. They become intensely sweet and remain vibrant in color.
Common Challenges and How to Solve Them
Novice dryers often run into a few predictable hurdles. Understanding these pitfalls early saves your fruit from the compost bin.
Case Hardening: This happens when the outside of the food dries too quickly. A hard shell forms, trapping moisture inside. The food looks dry but will mold in storage. To avoid this, ensure your vents are open enough to prevent the temperature from spiking too high too fast.
The Nighttime Moisture Trap: Humidity rises when the sun goes down. If you leave your food outside overnight, it will reabsorb moisture from the air. Always bring your trays inside or into a dry garage at sunset. Put them back out as soon as the dew burns off the next morning.
Insect Intruders: Flies and wasps love sugary fruit. If your vents are not screened, they will find their way in. Use fine window screening or several layers of cheesecloth. Make sure there are no gaps in your tape or seals.
Limitations of Solar Dehydration
The sun is powerful, but it is not always predictable. Geography and weather dictate your success.
People living in high-humidity coastal areas will struggle with solar drying. If the air is already saturated with water, it cannot absorb the moisture coming off the fruit. In these climates, a solar-powered fan may be necessary to force enough air through the system to overcome the humidity.
Cloudy days are another constraint. A solar dehydrator needs a minimum of 85°F (29°C) to be effective for most fruits. If the sky is overcast for three days straight, your food will likely spoil before it dries. Always check a 72-hour forecast before starting a big batch of produce.
Size is the final trade-off. To dry the same amount of food as a large electric unit, a solar dehydrator often needs to be significantly bigger. This requires more space in your yard or on your balcony.
Solar Silence vs. Electric Noise
Deciding between a DIY solar build and a store-bought electric unit depends on your priorities. Both have their place in a modern pantry.
| Feature | Solar Dehydrator | Electric Dehydrator |
|---|---|---|
| Energy Source | Free Sunlight | Paid Electricity |
| Sound Level | Silent | Constant Fan Hum |
| Drying Time | 1 to 3 Days | 6 to 12 Hours |
| Reliability | Weather Dependent | Consistent |
| Initial Cost | Low (DIY) | Moderate to High |
Electric units offer precision. You can set a specific temperature for beef jerky or delicate herbs. Solar units offer freedom. They allow you to process large volumes of garden waste during the peak of summer when the sun is at its strongest and electricity prices are highest.
Practical Tips for Best Results
Preparation is the secret to high-quality dried food. Follow these best practices to ensure your snacks are professional grade.
- Uniform Slicing: Use a mandoline or a sharp knife to ensure every piece is the same thickness. Aim for 1/8 to 1/4 inch. Uneven slices result in some pieces being burnt while others are still raw.
- Lemon Juice Bath: Dip light-colored fruits like apples, bananas, and pears in a mixture of water and lemon juice. This prevents oxidation and keeps the fruit from turning brown.
- Tray Rotation: The top of the dehydrator is usually the hottest. Move your bottom trays to the top halfway through the day to ensure even drying.
- Spacing: Never overlap your food. Air must be able to circulate 360 degrees around every single slice.
Test for dryness by letting a piece cool down. Warm fruit always feels softer than it actually is. Once it reaches room temperature, it should feel leathery or brittle, depending on the variety. If you can squeeze moisture out of it, it is not finished.
Advanced Considerations for Serious Practitioners
If you want to move beyond cardboard boxes, look into thermal mass. Adding dark rocks or water-filled jugs painted black to the bottom of your dehydrator helps. These materials soak up heat during the day and slowly release it when a cloud passes by. This keeps the internal temperature stable.
Airflow optimization is another pro move. Use a “solar chimney” design. A tall, black-painted pipe on top of your unit creates a stronger draft. As the air in the chimney gets incredibly hot, it pulls air through the drying chamber with more force. This speeds up the process significantly.
For those in humid climates, consider a hybrid system. A small solar-powered fan can be mounted in the vent. It runs only when the sun is out, providing the extra push needed to move moist air out of the box. This allows you to dry food even when the ambient humidity is high.
Scenario: The Great Apple Chip Project
Imagine it is a sunny Saturday morning. You have a bag of apples that are slightly past their prime. You and your kids set up your solar dehydrator in a spot that gets full sun from 10 AM to 4 PM.
You slice the apples into thin rings and dip them in cinnamon water. You lay them on the mesh trays. By noon, the internal thermometer reads 135°F. You can smell the sweetness in the air as you walk past the box. By 5 PM, the slices have shrunk and turned a deep golden color.
You bring the trays inside for the night. Sunday morning, you put them back out for another four hours. By lunch, the chips are crisp. You store them in a glass jar. You have just created a week’s worth of healthy school snacks for $0.00 in energy costs. The kids saw the science happen in real-time.
Final Thoughts
Harnessing the sun to preserve food is a foundational skill. It bridges the gap between modern convenience and ancient wisdom. While a factory-made snack is easy, a sun-dried snack is an accomplishment. It represents a deeper understanding of how the environment provides for us.
Building a solar food dehydrator is more than a weekend project. It is an investment in your family’s health and resilience. You are reducing your reliance on complex supply chains and noisy machines. You are choosing the silence of the sun over the hum of the grid.
Start small with a cardboard box and a handful of fruit. Experiment with different vent sizes and locations. Once you see the power of passive solar energy, you will never look at a sunny day the same way again. Every ray of light is a chance to preserve your harvest and feed your family for free.
Sources
1 betterbushcraft.com | 2 aspirationenergy.com | 3 motherearthnews.com | 4 comsol.com | 5 motherearthnews.com | 6 clemson.edu | 7 instructables.com | 8 ctc-n.org | 9 usu.edu | 10 diy.org | 11 ucanr.edu | 12 permies.com | 13 youtube.com