Teaching Advanced Paper Cutting To Kids
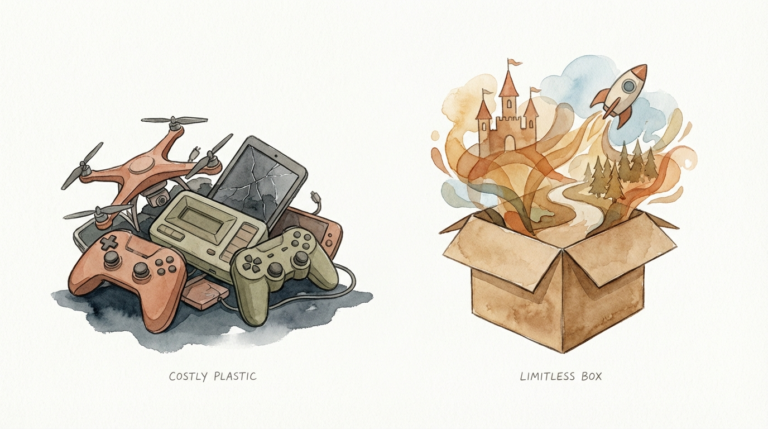
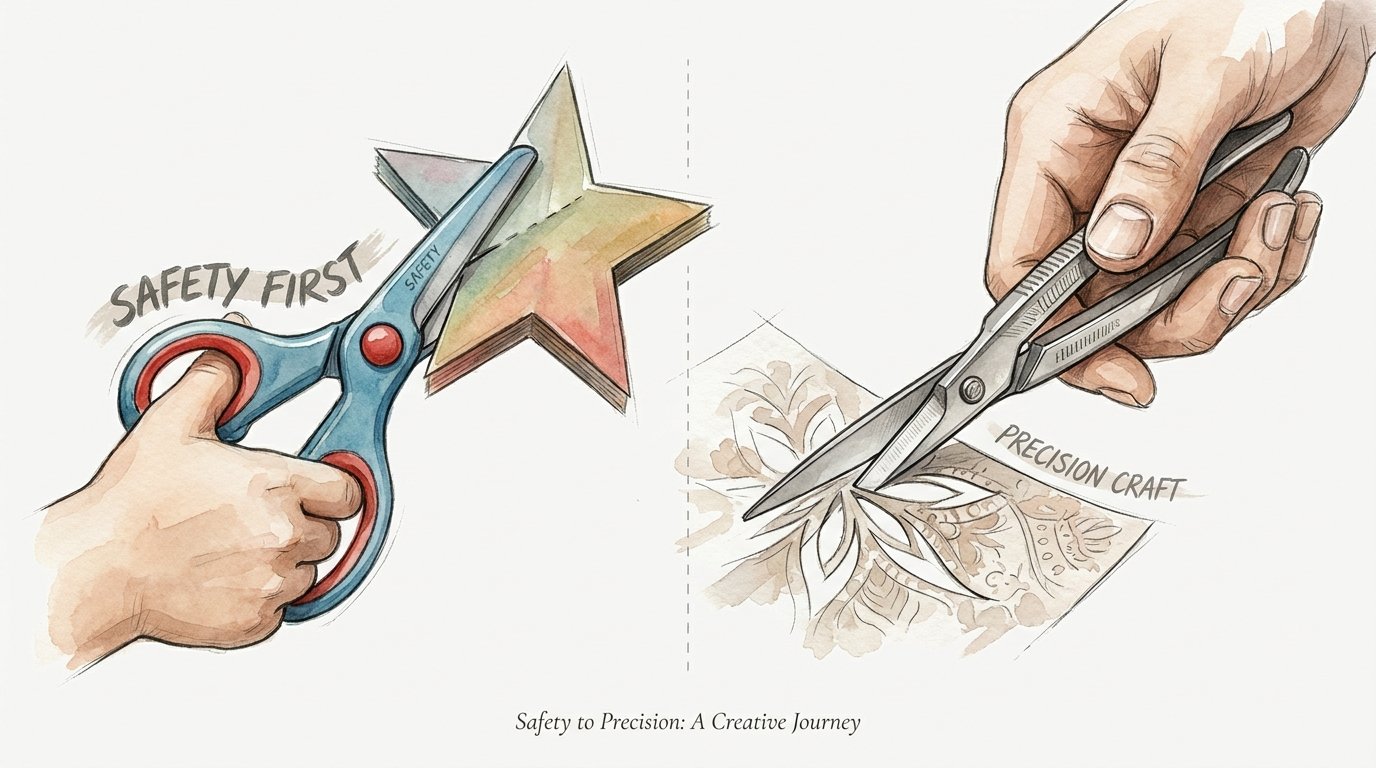
Are ‘safety’ tools actually hindering your child’s hand-eye coordination and confidence? Safety scissors are often just ‘frustration tools.’ Safety scissors are often just ‘frustration tools.’ Introducing high-quality, sharp-tipped precision snips under supervision transitions your child from ‘playing’ at art to mastering a craft. The tactile feedback of a clean cut changes the way their brain maps movement.

Most parents reach for the plastic-coated, blunt-tipped “safety” scissors the moment a child shows interest in crafting. These tools have a noble goal: preventing nicks. However, they often fail to actually cut paper, leading to jagged edges, torn projects, and a child who feels “bad” at art. Precision snips solve this by rewarding correct movement with immediate, satisfying results.
This guide explores how to move beyond the basics. We will dive into the world of advanced paper cutting. You will learn why real tools matter and how to teach your child to use them responsibly. This is about building more than just a craft; it is about building a capable mind.
Teaching Advanced Paper Cutting To Kids
Advanced paper cutting is the deliberate practice of using precision tools to create intricate designs, patterns, and representational art. It moves beyond the “fringe cutting” or “random snipping” seen in early toddlerhood. Instead, it focuses on intentionality. The child learns to follow complex paths, manage internal cutouts, and understand the relationship between positive and negative space.
In the real world, paper cutting exists as a prestigious art form across many cultures. In China, the art of Jianzhi has been a recognized masterpiece for over 1,500 years. Japanese Kirigami combines the folding of origami with precise cuts to create 3D structures. In Germany and among the Pennsylvania Dutch, Scherenschnitte (meaning “scissor cuts”) creates delicate, symmetrical silhouettes.

Teaching this to children is a form of “risky play.” This concept involves letting children engage with tools or environments that have a controlled level of risk. This exposure builds respect for materials and tools. It also fosters a sense of agency. When a child realizes they are trusted with a “sharp” tool, their focus increases naturally. They stop “playing” and start “working,” which is a core tenet of Montessori education.
How It Works: Techniques for Precision
Mastering advanced paper cutting requires a shift in how the hands interact. Most beginners try to “drive” the scissors through the paper. Advanced practitioners do the opposite. They hold the scissors relatively still and “drive” the paper into the blades.
The Foundational Grip
The thumb always points up. This is the golden rule of scissor skills. If the thumb rotates downward, the elbow flares out, and the child loses leverage. You can draw a small “smiley face” on the child’s thumbnail to remind them to keep it visible. The index and middle fingers provide the “squeeze” from the bottom loop.
The Pivot and Rotate Method
The non-dominant hand is the most important part of the equation. This hand acts as the “steering wheel.” As the dominant hand performs small, controlled snips, the non-dominant hand must constantly rotate the paper. This keeps the line of the cut directly in front of the child’s eyes. Teaching a child to reposition their “helper hand” frequently prevents them from reaching across their body or cutting toward their own fingers.
Piercing and Internal Cuts
Advanced projects often require cutting a hole in the middle of a sheet without cutting through the border. One effective method is the “pinch and snip.” The child gently folds a small section of the area to be removed, makes a tiny snip on the fold, and then inserts the tip of the precision snips into the resulting hole. Another advanced trick is using a safety pin or a specialized piercing tool to create a starter hole, which allows the sharp tip of the snips to enter easily.
Benefits of Precision Paper Cutting
The benefits of moving to advanced paper cutting are measurable across several developmental domains. This is not just about making pretty decorations; it is a neurological workout.
Bilateral Coordination and Integration
Cutting requires the two sides of the brain to talk to each other. One hand performs a repetitive, rhythmic opening and closing motion. The other hand performs a fluid, navigational rotation. This “bilateral integration” is essential for later skills like typing, playing a musical instrument, or even complex athletics.
Fine Motor Strength and Pencil Grasp
The muscles used to open and close scissors are the same muscles needed for a mature tripod grasp when writing. Precision snips often require more “graded” movement—meaning the child must learn to close the blades only halfway for tiny details. This builds exceptional finger dexterity and muscle control.
Mathematical and Spatial Reasoning
Forms like Kirigami and paper snowflakes introduce children to geometry and symmetry in a tactile way. They learn that a cut made on a fold will be mirrored once the paper is opened. This builds a foundation for understanding spatial transformations, fractions, and architectural design.
Cognitive Focus and Self-Regulation
Advanced paper cutting is slow work. It requires “deep work” or “flow.” A child who is rushing will likely tear the paper or miss a line. The immediate feedback of a mistake teaches the child to regulate their speed and emotional response. Success in a complex project provides a massive boost to self-esteem and patience.
Challenges and Common Mistakes
The transition to real tools and complex patterns is not without hurdles. Recognizing these early helps prevent frustration.
The “Flared Elbow” Problem
When a child struggles to see where they are cutting, they often lift their elbow into the air. This creates a weak, unstable cutting position. A common fix is to have the child hold a small folder or a piece of paper between their upper arm and their ribs. If the folder falls, they know their elbow is flaring.
Tearing Instead of Cutting
This usually happens when the child tries to cut with the very back of the blades or when the paper is too thin. High-quality precision snips have sharp tips that allow for “micro-cuts.” If the paper is bunching up, the child likely needs to slow down and ensure the blades are perpendicular to the paper.
Assisting Hand Placement
Beginners often keep their non-dominant hand too far from the cutting line. This causes the paper to flop and bend. Alternatively, they may put their fingers too close to the blades. Use visual cues, like small stickers, to show the child exactly where to hold the paper for maximum stability.
Limitations: When to Wait
While sharp tools offer many benefits, they are not appropriate for every child at every moment. There are realistic boundaries to consider.
Age and Readiness
Most children are ready for basic snipping by age 2 and line cutting by age 3 or 4. Advanced paper cutting—involving internal cuts and intricate silhouettes—is typically better suited for children aged 5 to 7 and older. If a child cannot follow a simple straight line without constant supervision, they may not yet have the visual-motor integration required for precision snips.
Environmental Constraints
Advanced cutting requires excellent lighting and a stable surface. Attempting these projects on a couch or in a dimly lit room increases the risk of injury and reduces the quality of the work. If you cannot provide a dedicated, well-lit workspace, it is better to stick to simpler crafts.
Hand Fatigue
Precision work is tiring for small hands. Unlike “safety” scissors which are often bulky and stiff, precision snips are lighter but require more constant control. Limit advanced cutting sessions to 15 or 20 minutes to prevent muscle strain and the resulting loss of focus.
Comparison: Safety Scissors vs. Precision Snips
The choice between these two tools defines the child’s experience. This table breaks down the measurable differences in a workshop environment.
| Feature | Safety Scissors (Standard) | Precision Snips (Advanced) |
|---|---|---|
| Blade Material | Thick plastic or dull stainless steel. | Thin, high-grade hardened steel. |
| Cutting Edge | Designed to be “pinch” resistant; often fails on thin paper. | Micro-ground edge; cuts through paper like butter. |
| Tip Shape | Blunt, rounded “bullnose.” | Sharp, pointed tip for internal entry. |
| User Feedback | Vague; paper often bends between the blades. | Tactile and crisp; immediate sensory reward. |
| Skill Required | Low; requires brute force. | Moderate; requires control and respect. |
| Safety Risk | Low risk of nicks; high risk of frustration. | Moderate risk of nicks; high risk of engagement. |
Practical Tips for Success
Implementing advanced paper cutting at home requires a thoughtful setup. Follow these best practices to ensure a smooth transition.
- Choose the Right Paper: Standard 20lb printer paper is the best starting point. It is thin enough to cut easily but sturdy enough to hold its shape. Construction paper is often too “fibrous” and can dull precision blades quickly.
- Use High-Contrast Lines: When printing patterns, use thick, dark lines. As the child improves, move to dotted lines, and eventually to thin, grey lines that “disappear” into the final art.
- The “Resting” Rule: Teach the child that if they need to look away from their work, the scissors must be put down on the table. Never let a child talk or walk while holding open precision snips.
- Stabilize the Paper: For very intricate work, you can tape the edges of the paper to a light frame or a larger piece of cardstock. This provides more “meat” for the non-dominant hand to grab without getting too close to the blades.
Advanced Considerations for Serious Practitioners
Once a child has mastered the basics of precision snips, they can move into professional-level techniques. These strategies help scale the complexity of their work.
Design Hierarchy
Serious paper cutters always cut from the “inside out.” This means they finish all the small, internal detail cuts before cutting the final outer silhouette. This keeps the paper structurally sound for as long as possible. If you cut the outside first, the paper becomes flimsy, making the internal details much harder to manage.
Paper Weight and Direction
Different papers have different “grains.” Much like wood, paper can be easier to cut in one direction than another. Advanced students should experiment with cutting across the grain versus with it. Heavier cardstocks require “score and snap” techniques or multiple passes with a precision blade, though snips are generally preferred for curved work.
Negative Space Composition
Encourage the child to think about what is *not* there. In advanced paper cutting, the holes you create are just as important as the paper you leave behind. This shifts the child’s perspective from “drawing a line” to “shaping a void.” This is an essential skill for future studies in sculpture or architecture.
Scenarios and Examples
Seeing theory in practice helps solidify the concepts. Here are two common scenarios for teaching advanced paper cutting.
The Symmetric Snowflake Challenge
Standard snowflakes are made by folding a circle and cutting random shapes. In an advanced scenario, give the child a specific geometric goal. Ask them to create a snowflake that features six distinct “hearts” or a repeating “star” pattern. They must plan where to cut on the folded edges to ensure the shapes appear in the correct orientation when unfolded. This requires them to visualize the paper in its 3D, folded state before they ever make a cut.
The Silhouette Portrait
Place a lamp so it casts a child’s profile onto a piece of black paper. Trace the shadow. Now, instead of just cutting the outline, ask the child to add “internal features” using precision snips. This might include the texture of the hair or the line of a collar. They must use the piercing technique to enter the middle of the paper and create these details without breaking the outer border.
Final Thoughts
Moving from safety scissors to precision snips is a significant milestone in a child’s creative development. It signals a shift from supervised play to independent craftsmanship. By providing high-quality tools and structured guidance, you are giving them more than just an art supply; you are giving them a way to interact with the world with precision and confidence.
The tactile feedback of a sharp cut is a powerful teacher. It rewards focus, punishes haste, and builds a bridge between an idea and a physical reality. Children are often more capable than we give them credit for. When we trust them with real tools, they usually rise to the occasion with a level of seriousness and care that “safety” tools could never inspire.
Encourage your child to experiment with different cultures’ paper cutting traditions. Whether it is a German silhouette or a Japanese pop-up card, the skills they build today will serve them in every endeavor that requires a steady hand and a sharp mind. Turn off the screens, lay out the paper, and let the precision cutting begin.
Sources
1 constructiveplaythings.com | 2 excelblades.com | 3 kangarookids.in | 4 meganzeni.com | 5 bu.edu | 6 montessori-art.com | 7 griffinot.com | 8 themontessorijournal.com | 9 edquisitivemontessori.com | 10 bartlettparks.org | 11 montessorinature.com | 12 legrandcrafts.com | 13 empoweringotresources.com | 14 blogspot.com | 15 formeduc.ca | 16 montessorifromtheheart.com | 17 eviancare.com | 18 therapyshoppe.com | 19 blogspot.com | 20 jyroberts.info | 21 aspace.cat | 22 bridgetoindependence.info