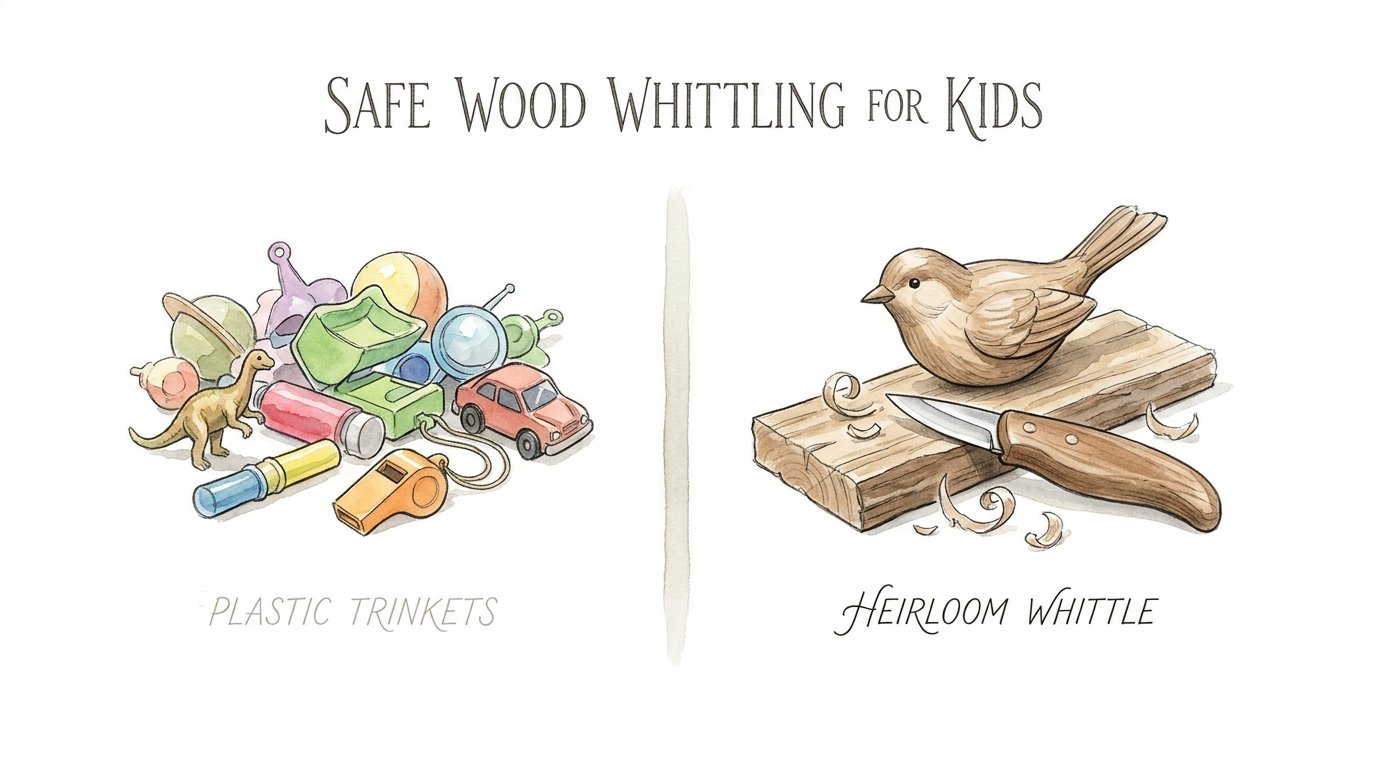
Safe Wood Whittling For Kids
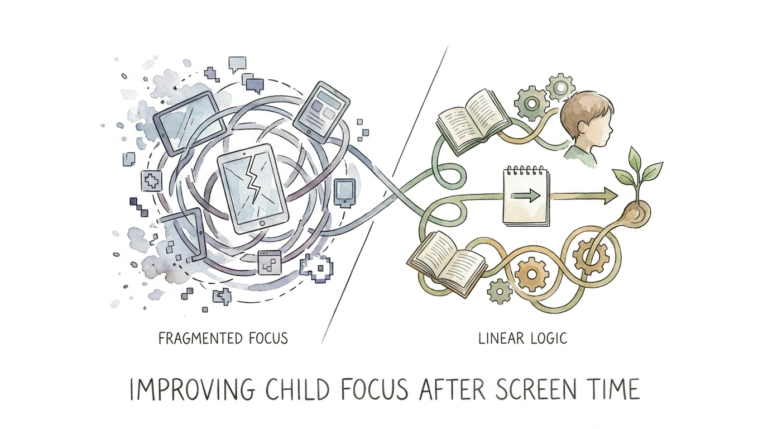
Will their summer toys end up in a landfill by August, or will they create something that survives for generations? Modern toys are designed to be consumed and discarded. Whittling teaches a child to see the potential inside a fallen branch, requiring patience, focus, and a strategic understanding of the grain. This timeless craft is more than just a hobby. It is a bridge between the physical world and a child’s imagination.

Whittling offers a unique sense of accomplishment that digital entertainment cannot replicate. Picking up a knife and a piece of wood might seem intimidating to parents. However, with the right guidance and safety protocols, it becomes one of the most rewarding skills a young person can acquire. You are not just giving them a tool; you are giving them the power to create.
Heirloom whittling stands in stark contrast to the flood of plastic trinkets that clutter most playrooms. Instead of a toy that breaks within hours, your child learns to produce a whistle, a wand, or a small animal that carries the marks of their own hands. This guide will walk you through everything you need to know to introduce your child to this legendary craft safely and effectively.
Safe Wood Whittling For Kids
Safe wood whittling for kids is the practice of removing small chips of wood from a stick or block using a controlled, knife-based technique. Unlike traditional wood carving, which often involves a workshop full of chisels, mallets, and gouges, whittling is portable and simple. It requires only a single sharp blade and a willing imagination.
This craft exists to bridge the gap between raw nature and finished art. In real-world terms, whittling serves as a foundational skill for bushcraft, sculpture, and fine woodworking. It teaches children to respect tools rather than fear them. It turns a walk in the park into a treasure hunt for the perfect branch.
Think of whittling as “subtractive drawing.” Instead of adding lines to a page, the child removes wood to reveal the shape hidden inside. This shift in perspective is powerful for cognitive development. It encourages a child to plan several steps ahead, visualizing the final product before the first cut is even made.
Safety is the heartbeat of this activity. When a child learns to whittle, they are learning a high-stakes lesson in responsibility. The environment must be calm, the tools must be appropriate, and the supervision must be active. This is not a “set it and forget it” activity. It is a shared journey of craftsmanship.
How It Works: The Fundamentals of the Blade
Whittling operates on the principle of controlled force. Most accidents happen when a child uses too much pressure because the knife is dull or the wood is too hard. Success depends on understanding how a sharp edge interacts with the fibers of the wood.
The first step is teaching the “Blood Circle.” Before opening a knife, the child must stand and swing their arms in a full circle. If they can touch anyone or anything, they are too close. This creates a dedicated “safety bubble” where the work can happen without interruption.
Once the circle is established, the child should sit down. Most instructors recommend sitting on a bench or a sturdy chair with feet flat on the ground. This provides a stable base. The “Blood Triangle”—the area between the knees and the lap—must be avoided at all costs. A slip in this zone can be dangerous. Instead, the carving should happen out to the side of the legs or over a dedicated work surface.
There are three primary cuts every child should master:
- The Push Cut: This is the most basic stroke. The child holds the wood in one hand and pushes the knife away from their body using the other. It is like peeling a carrot. The thumb of the knife hand can stay on the back of the blade for extra control.
- The Stop Cut: This is used to create sharp edges or boundaries. The child presses the knife straight down into the wood to create a vertical “wall.” Then, they carve toward that wall from another angle. When the blade hits the cut, the chip pops out cleanly.
- The V-Cut: This involves making two angled cuts that meet in the middle, forming a “V” shape. This is the secret to adding details like eyes, mouth lines, or decorative patterns on a wand.
The Benefits of Whittling for Children
Whittling provides a massive boost to fine motor skills. The precision required to peel a thin shaving of bark or carve a delicate point strengthens the small muscles in the hands and wrists. This direct physical feedback helps children develop better coordination, which often translates to improved handwriting and artistic ability.
Patience is perhaps the greatest mental benefit. In a world of instant gratification, whittling is slow. A project might take hours or even days to complete. Children learn that rushing leads to mistakes and that great things take time. This “slow-motion” activity acts as a natural digital detox, calming the nervous system and improving focus.
Building a sense of trust is a significant social benefit. When you hand a child a sharp tool and teach them how to use it, you are showing them that you believe in their maturity. This fosters a deep sense of responsibility. Kids who are trusted with “real” tools often rise to the occasion, exhibiting a level of discipline they might not show in other activities.
Nature connection is a byproduct of every whittling session. To be a good whittler, you have to understand trees. Children begin to notice the difference between the stringy bark of a cedar and the smooth skin of a birch. They learn to identify “green wood” that is easy to carve versus “dead wood” that might be brittle and difficult.
Challenges and Common Mistakes
The most frequent mistake is using a dull knife. Many parents assume a duller blade is safer for a child. This is a dangerous myth. A dull knife requires more force to cut, which increases the likelihood of the blade slipping and causing a deep injury. A razor-sharp knife glides through the wood with minimal effort, offering the child total control.
Using the wrong type of wood is another common hurdle. Picking up a piece of seasoned oak or maple from the firewood pile will lead to instant frustration. These woods are incredibly dense and will fight the child’s hands. Always start with softwoods like basswood or fresh “green” sticks from a recent pruning.
Ignoring the grain direction is a technical trap many beginners fall into. Wood is like a cat’s fur; if you pet it the wrong way, it gets rough. Carving “against the grain” causes the wood to tear or split unexpectedly. Teaching a child to “read” the wood grain—looking for the direction the fibers are growing—is essential for a smooth finish.
Over-complicating the first project often kills the hobby before it starts. A child who tries to carve a realistic dragon on day one will likely get frustrated and quit. Success in whittling is built on small wins. Start with bark-peeling and simple points before moving on to 3D shapes.
Limitations and Environmental Constraints
Whittling is not a universal activity for every age group. While some children as young as five or six can handle a vegetable peeler on a stick, most experts recommend waiting until age seven to nine for an actual knife. A child must have the hand strength to hold the wood firmly and the emotional maturity to follow safety rules without exception.
Physical environment plays a role in the success of the craft. Cold hands are stiff hands. Whittling in the middle of winter without gloves or a warm space can lead to accidents. Similarly, whittling in a crowded or chaotic area where people are running around is a recipe for a “popped” blood bubble.
Environmental ethics must also be considered. Children should be taught never to cut branches from living trees in public parks or protected forests. Sourcing wood should be a lesson in sustainability. Look for “storm-felled” branches or use trimmings from your own backyard. If you don’t have access to fresh wood, purchasing sustainably harvested basswood blocks is the best alternative.
Comparing Whittling to Traditional Wood Carving
While the terms are often used interchangeably, there are distinct differences that impact cost and complexity.
| Feature | Whittling | Wood Carving |
|---|---|---|
| Primary Tools | One knife (pocket or fixed) | Chisels, gouges, mallets |
| Portability | High (carve anywhere) | Low (requires a workbench) |
| Skill Entry Level | Beginner-friendly | Moderate to Advanced |
| Project Detail | Simple, rustic, “folky” | Highly intricate, smooth |
| Initial Cost | $20 – $50 | $100 – $500+ |
Whittling is the “gateway drug” to the world of woodworking. It allows a child to explore the medium without a massive investment in equipment. If they fall in love with the process, they can eventually transition to traditional carving as they grow.
Practical Tips and Best Practices
Always keep a first-aid kit within arm’s reach. Even the best whittlers get “nicked” occasionally. Having colorful Band-Aids and antiseptic wipes ready prevents a minor cut from ending the fun. Many parents also invest in “cut-resistant gloves” (Level 5) for the hand holding the wood, which provides an extra layer of security.
Stropping is a mandatory skill for the adult supervisor. A leather strop loaded with polishing compound is used to keep the knife edge razor-sharp. You don’t need to sharpen the knife on a stone every day, but you should strop it every 30 minutes of use. Show the child how the blade becomes shiny and “grippy” after a few passes on the leather.
Establish a “Knife License” system. Create a small card or certificate that a child “earns” after demonstrating the safety rules and the three basic cuts. If they break a rule, the license is “suspended” for a day. This gamifies safety and makes it a point of pride for the child.
Encourage “Green Wood” whittling. Freshly cut wood contains moisture, making it feel like carving through cold butter. If the wood starts to dry out and get hard, you can spray it with a mixture of 50% water and 50% rubbing alcohol. This softens the fibers and makes carving much easier on small hands.
Advanced Considerations for Maturing Whittlers
As your child grows more confident, introduce them to “carving in the round.” This is the shift from flat designs to 3D objects. This requires a deeper understanding of anatomy and proportions. Using a pencil to sketch the design directly onto all four sides of a wood block helps them visualize where the wood needs to be removed.
Detailing tools like V-tools or small gouges can be added to their kit once they have mastered the basic knife. These tools allow for “texture” carving, such as adding the look of fur to a wooden bear or the scales to a fish. This is where the transition from whittling to “carving” begins.
Finishing techniques add the “heirloom” quality to a piece. Teach your child how to sand their work using progressively finer grits (from 120 up to 400). After sanding, applying a food-safe finish like beeswax or mineral oil brings out the natural color of the wood and protects the object for years.
Example Scenario: The Magic Wand Project
Whittling a magic wand is the perfect first project for any child. It teaches bark removal, tapering, and decorative stop cuts.
Step 1: The Selection. Find a straight branch about 12 inches long and the thickness of a thumb. Willow, birch, or hazel are excellent choices.
Step 2: Peeling. Use the push cut to remove the bark from the top two-thirds of the wand. Leave the bark on the bottom third to serve as a natural “handle.”
Step 3: Tapering. Gradually shave wood away from the “tip” end. Focus on making long, thin slices. The goal is to make the wand thinner at the top than at the handle.
Step 4: The Grip. At the point where the bark handle meets the white wood, use a “stop cut” to create a clean, circular border. This makes the handle look intentional and professional.
Step 5: Detail. Use the tip of the knife to carve “spirals” or small notches into the shaft. This is where the child can personalize their wand with “magical runes.”
Step 6: Finishing. Sand the shaft until it is smooth to the touch and apply a little bit of olive oil or beeswax to make it shine.
Final Thoughts
Whittling is a journey back to the basics. It transforms a simple walk in the woods into a creative adventure. By focusing on safety first and providing the right materials, you give your child a skill that builds character, focus, and a deep appreciation for the natural world.
The transition from plastic trinkets to an heirloom whittle represents a shift in values. It is a move away from the “disposable” culture toward a mindset of creation and preservation. Even a simple pointed stick, carved with care, carries more weight than a dozen store-bought toys.
Encourage your child to experiment. Let them make mistakes. Let them feel the grain and learn the limits of the blade. In time, the shavings on the floor will become the memories of a childhood spent building things that last. Whether they become a master woodworker or simply enjoy a quiet afternoon on the porch, the lessons of the blade will stay with them forever.
Sources
1 carvingcentral.com | 2 youtube.com | 3 mokuomo.com | 4 asayasculpture.com | 5 beavercrafttools.com | 6 thegreenwoodguild.com | 7 youtube.com | 8 instructables.com | 9 pinewoodforge.com | 10 reddit.com | 11 the-leaky-cauldron.org | 12 deviantart.com | 13 youtube.com