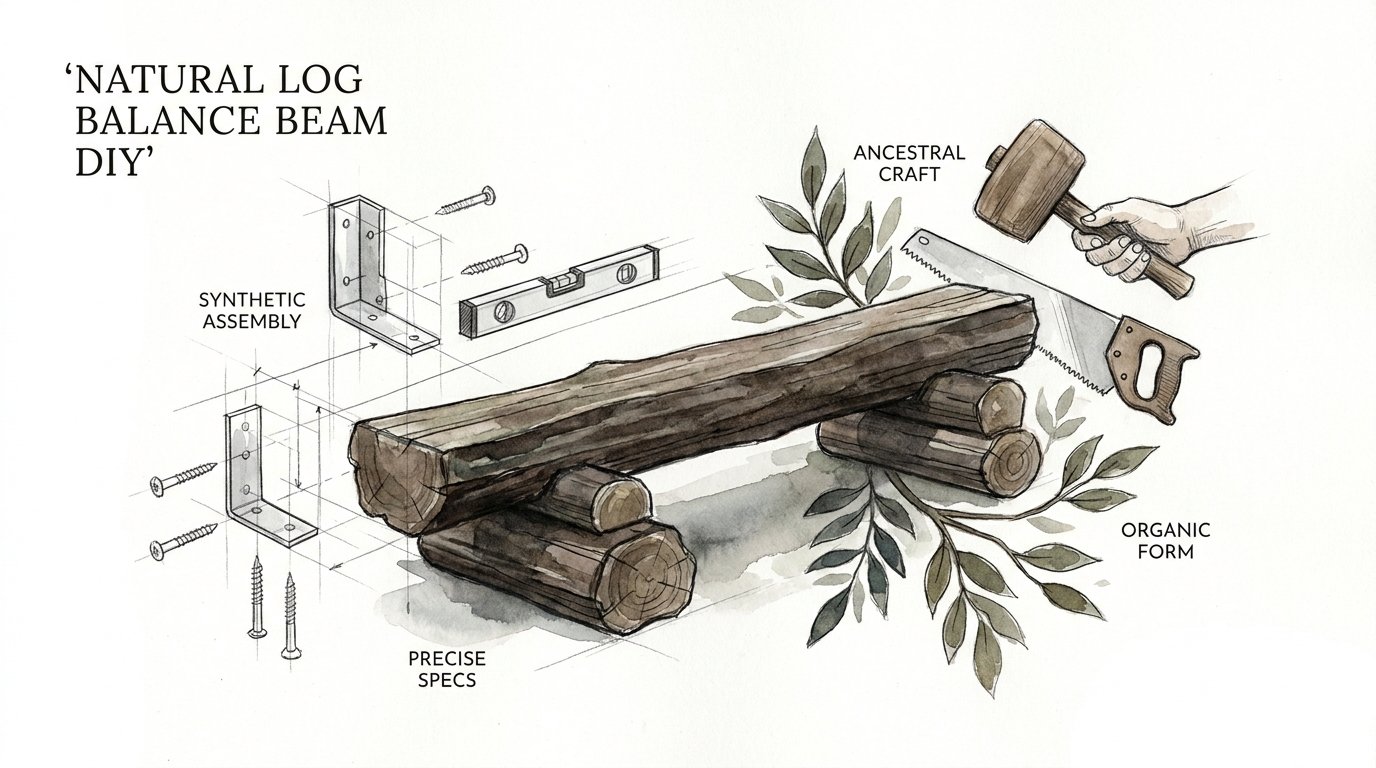
Natural Log Balance Beam Diy
We traded the grounding weight of the earth for the hollow ring of plastic—it’s time to bring the forest back to your backyard. Modern plastic play equipment offers zero sensory feedback. It’s light, slippery, and temporary. Our ancestors played on fallen timber and stone—materials that demand respect and offer real friction. A log circuit doesn’t just build balance; it builds a connection to the physical world that a plastic mold never could.

Building a natural play space is more than just a weekend project. It is an intentional shift away from the sterile and toward the tactile. You are not just providing a place for your children to move; you are providing a classroom of physics, texture, and grit. A natural log balance beam serves as the foundation for this ancestral playground.
Practicality meets play in these structures. They require few tools and often use materials that are literally falling from the trees around you. Whether you have a sprawling estate or a small urban patch, a log beam fits the landscape in a way that primary-colored plastic never will.
## Natural Log Balance Beam Diy
A natural log balance beam is exactly what it sounds like—a horizontal section of timber, either stripped of its bark or left raw, secured safely to the ground to act as a narrow walking path. It exists to challenge the vestibular system and provide the proprioceptive feedback that children need to understand where their bodies are in space.

In the real world, we see these in “nature playgrounds,” forest schools, and high-end landscape designs. They bridge the gap between a manicured garden and a wild forest. Unlike a standard gym beam, a natural log has slight variations in width, texture, and angle. These “imperfections” are actually the most important features. They force the brain to adapt to a changing environment with every step.
Visualize a fallen cedar log in a damp forest. It has moss, rough bark, and perhaps a slight taper. When a child walks across it, they aren’t just moving forward; they are feeling the friction of the wood, the temperature of the fibers, and the shift in weight required to stay upright. A DIY version brings this exact experience into a controlled environment where you can ensure the wood is stable and the landing is soft.
## How to Build Your Log Balance Beam Step-by-Step
Building this requires a mix of basic carpentry and a little bit of brute force. You can go the “simple route” with a single log on the ground, or the “elevated route” with notched stumps. Here is how to execute a professional-grade notched circuit.
### Phase 1: Sourcing and Preparation
You need at least two stumps for the base and one long log or a 4×4 beam for the walking surface. Stumps should ideally be 16 to 24 inches in diameter to provide a stable foundation. The walking beam should be 6 to 8 feet long.
Search for rot-resistant species like Western Red Cedar, Redwood, or Black Locust. If you can’t find these, White Oak or Larch are excellent alternatives. Avoid softwoods like Pine or Spruce if they will have direct ground contact, as they will rot within two seasons without heavy chemical treatment.
Debarking is your first real task. Use a drawknife or a flat-head shovel to peel the bark away. This reveals the smooth, beautiful grain underneath and prevents moisture from getting trapped against the wood, which accelerates decay. Bark also hides spiders and wood-boring insects you don’t want near little feet.
### Phase 2: Foundation and Leveling
Never place your logs directly onto raw soil. Soil is a sponge that will rot your hard work from the bottom up. Dig a hole roughly 4 inches deep where each stump will sit. Fill this hole with 3/4-inch crushed gravel.
Gravel provides two things: drainage and a level base. Tamp the gravel down until it is firm. Place your stumps on top and use a 4-foot level to ensure they are sitting flat. If one side is low, add a handful of gravel. It is much easier to level the ground than it is to level a 200-pound log.
### Phase 3: The Notching Process
To make the beam “ancestral” and sturdy, you want it to sit *inside* the stumps, not just on top of them. Place your walking log across the two stumps. Use a pencil to trace the width of the beam onto the top of the stump.
Use a chainsaw or a circular saw to make a series of parallel cuts (kerf cuts) about 4 inches deep within those pencil lines. Then, take a hammer and a heavy-duty chisel to pop out the “wafers” of wood. This creates a clean, square notch. Repeat this for the other stump.
### Phase 4: Securing the Structure
Drop your beam into the notches. It should be a snug fit. To lock it in, drill a pilot hole through the top of the beam into the stump. Drive a 6-inch heavy-duty timber screw or a lag bolt into the hole.
Ensure the head of the screw is countersunk—meaning it sits below the surface of the wood. You do not want a metal screw head catching on a child’s foot. If the wood feels rough, sand the top surface with 80-grit sandpaper followed by 120-grit.
## The Sensory Science: Why Wood Beats Plastic
The difference between synthetic play and natural play is the quality of information reaching the brain. This is often described as the “Synthetic vs. Ancestral” divide.
**Proprioceptive Feedback**
When a child walks on a hollow plastic beam, the material flexes and vibrates in a predictable, “dead” way. Wood is dense. It absorbs impact but offers a firm, unyielding resistance. This forces the muscles in the feet and ankles to fire more rapidly to maintain stability. This “micro-adjusting” is what builds real-world athleticism.
**The Vestibular System**
The slight irregularities in a natural log—a knot here, a slight curve there—keep the inner ear engaged. If every step is identical (as it is on plastic), the brain eventually goes on autopilot. On a natural beam, the brain must stay “switched on.”
**Texture and Temperature**
Plastic gets hot in the sun and dangerously slippery in the rain. Wood is a thermal insulator. It feels warm in the winter and stays cool in the summer. The texture provides “real friction.” A child learns the limits of their grip and the physics of their own weight through the varied grain of the timber.
## Safety and Standards: The Fall Zone Blueprint
In the world of DIY, safety is your responsibility. While we want “risky play” to build confidence, we want to avoid “hazardous play” that leads to injury.
**The 12-Inch Rule**
For a backyard balance beam, keep the height of the walking surface under 12 inches for toddlers and under 18 inches for older children. This height provides plenty of challenge without the risk of a high-velocity fall.
**Impact Attenuation (Mulch)**
The ground around the beam is as important as the beam itself. Grass is not a safety surface; it packs down like concrete over time. You need a “fall zone” that extends 3 to 6 feet in every direction. Fill this area with 9 to 12 inches of engineered wood fiber or playground-grade mulch.
**Fall Height vs. Mulch Depth**
| Fall Height | Required Mulch Depth (Compressed) |
| :— | :— |
| Up to 5 Feet | 9 Inches |
| Up to 7 Feet | 12 Inches |
| Balance Beam (<18") | 6-9 Inches |
## Challenges and Common Pitfalls
**The Rot Trap**
The most frequent mistake is skipping the gravel base. If wood touches dirt, it starts to die. Fungi and bacteria in the soil will eat through even "rot-resistant" wood if there is constant moisture. Always elevate the wood on a bed of stone.
**The Splinter Factor**
Natural logs will "check" or crack as they dry. This is normal. However, you must check the beam monthly for splinters. Use a palm sander to smooth out any edges that become sharp. If a crack gets wider than a child’s finger (roughly 1/2 inch), it can become an entrapment hazard.
**Fastener Failures**
Do not use standard deck screws. They are too thin and will snap under the shear force of a heavy log shifting. Use structural timber screws (like GRK or Spax) that are designed for heavy loads. Always drill pilot holes to prevent the wood from splitting when the screw enters.
## Limitations: When This May Not Be Ideal
A natural log balance beam is a permanent or semi-permanent fixture. It is heavy. If you are renting a home or plan to move the play area frequently, this isn't the right choice. Moving a 150-pound notched stump is a two-person job with a dolly.
**Climate Constraints**
If you live in an extremely humid or swampy environment, wood requires significantly more maintenance. Even the best cedar will eventually succumb to rot if it never has a chance to dry out. In these cases, you might need to apply a non-toxic, food-grade wood sealer every year.
**Space Requirements**
A proper balance beam needs a clear "fall zone." If your yard is full of concrete, bricks, or low-hanging branches, you may not have the safety clearance required. You cannot simply "tuck" a log beam into a tight corner of a patio.
## Advanced Log Circuit Designs
Once you have mastered the single beam, you can scale the concept into a full "log circuit."
**The Zig-Zag Path**
Instead of a straight line, connect three beams at 45-degree angles. This forces the child to change direction mid-balance, which is a significantly more complex neurological task.
**Vertical Log Scrambles**
Install a series of stumps of varying heights (8", 12", 16", 10") close together. The goal is to move from one to the other without touching the ground. This mimics the experience of navigating a rocky riverbed or a fallen log jam.
**The Step-Down Challenge**
Angle the beam so that one end is slightly higher than the other. Walking "downhill" on a narrow surface requires intense core stabilization and control of momentum.
## Practical Tips and Best Practices
– **Use a Drawknife:** If you are serious about the "ancestral" look, a drawknife is the best tool for removing bark. It is satisfying to use and leaves a hand-hewn texture that no machine can replicate.
– **Seal the End Grain:** The ends of a log are like the ends of a bunch of straws; they suck up moisture. Apply a heavy coat of wax-based end-grain sealer to prevent the logs from splitting (checking) too aggressively.
– **Go Barefoot:** Encourage your children to use the beam barefoot. The thousands of nerve endings in the feet will send much better data to the brain than a rubber-soled sneaker ever could.
– **Involve the Kids:** Let them help with the sanding or the gravel shoveling. When they help build the structure, they develop a sense of "stewardship" and are more likely to respect the equipment.
## Maintenance and Longevity
To get 20 years out of your natural log beam, you must be proactive. Every spring, give the wood a "check-up." Use a screwdriver to poke the wood near the ground line. If it feels soft or "punky," rot has set in.
Check for "checking" (cracks). If a crack is facing upward, it can collect rainwater, which accelerates rot. If possible, rotate the log so the crack faces the side or bottom, or fill the crack with a mixture of wood glue and sawdust if it’s a minor aesthetic issue.
Every two years, apply a fresh coat of non-toxic exterior oil. This keeps the wood fibers supple and helps shed water. If the wood has turned a silvery-gray, that is simply UV oxidation; it doesn't necessarily mean the wood is weak. You can pressure wash it gently to bring back the original color if you prefer the "new wood" look.
## Example Scenario: The Backyard Obstacle Course
Imagine a suburban backyard. Instead of a $2,000 plastic tower, the parents have installed a 12-foot cedar log salvaged from a local tree service.
They cut the log into one 8-foot beam and two 2-foot stumps. Following the notched method, they secured the beam 10 inches off the ground. Underneath, they dug out a 10×15 foot area and filled it with 9 inches of wood chips.
In practice, the children don't just "walk" on it. They use it as a bench for "nature tea parties." They use it as a bridge for their toy trucks. They practice "cat walks" on all fours, which builds shoulder stability. Because it is a natural material, it has become a multi-purpose tool for their imagination, not just a single-use piece of gym equipment.
## Final Thoughts
We have spent decades trying to make play "perfectly safe" and, in doing so, we made it perfectly boring. A natural log balance beam reintroduces the variable, the tactile, and the real. It is a simple piece of timber, but it represents a massive shift in how we view the development of our children.
By choosing wood over plastic, you are choosing durability over disposability. You are choosing the complex over the simple. Most importantly, you are giving your backyard a soul. The forest doesn't need to be a place you visit on the weekends; it can be the place where your children grow every single afternoon.
Start with one log. See how the light hits it. See how the kids gravitate toward it. You’ll soon realize that the "primitive" way was actually the more sophisticated way all along. Experiment with different layouts, add some stepping stones, and watch as your backyard transforms into a high-performance sensory landscape.
Sources
1 mosquitojoe.com | 2 thehomeschoolresourceroom.com | 3 mytoywagon.com | 4 amylanham.com | 5 thezoofamily.com | 6 kismetdesignco.com | 7 lilcrescent.com | 8 youtube.com | 9 youtube.com | 10 tierneyfamilyfarms.com | 11 sarabendrick.com | 12 atozwoodcompany.com | 13 houzz.com | 14 lrjlumber.com | 15 mulchpros.com | 16 weelittleones.co.nz | 17 tinylandus.com