Giant Bubble Wand Diy Tutorial
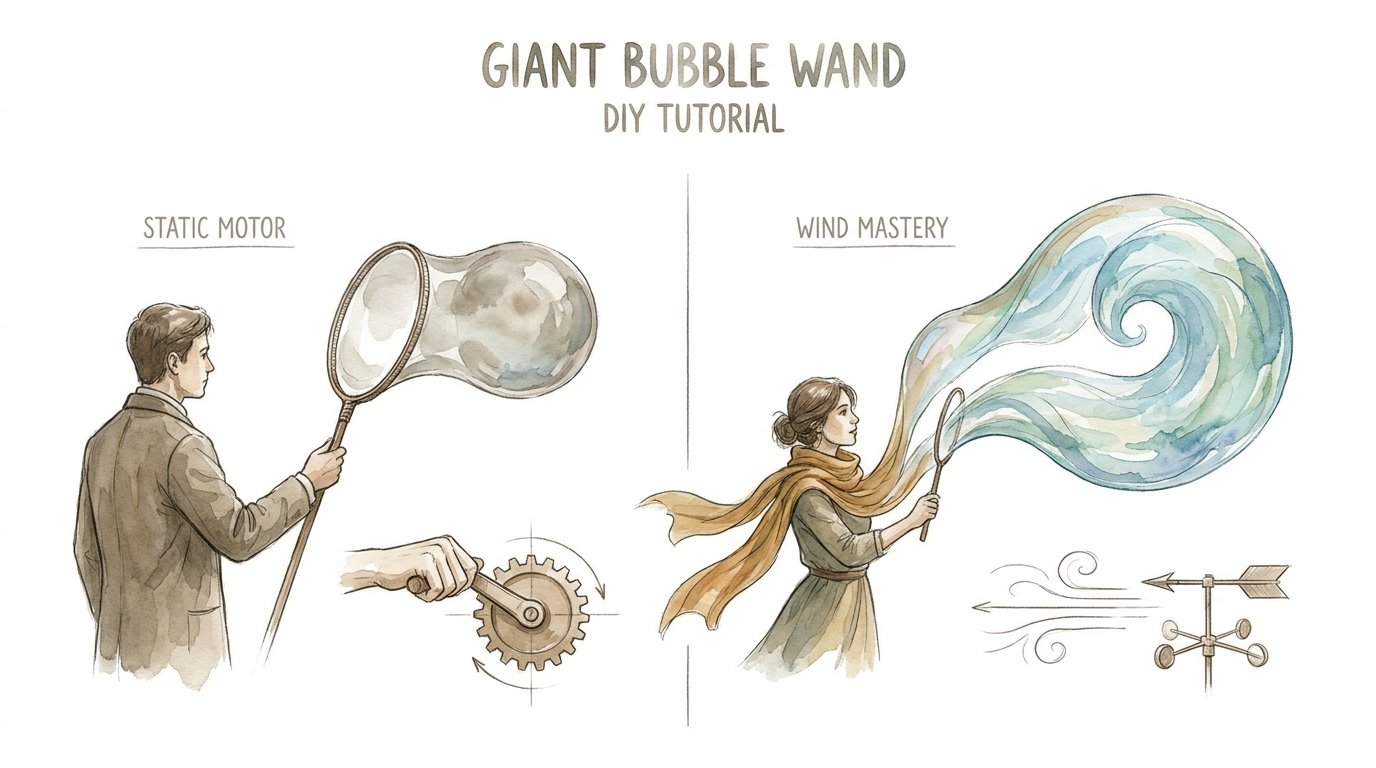
The machine provides the show, but the stick and string provide the skill and the wonder. An electric bubble machine turns your child into a spectator of a motor. A giant DIY wand turns them into a master of the wind. They have to learn the angle of the breeze, the tension of the rope, and the speed of the pull. One uses a battery; the other uses their brain.
There is something inherently hypnotic about a bubble the size of a small car floating across a backyard. It defies the expectations of what a bubble should be. Most of us grew up with tiny plastic rings and thin, watery soap. Those bubbles pop the moment they touch a blade of grass. Giant bubbles are different. They are iridescent, flexible, and surprisingly durable.
Creating these monsters of the air isn’t just about having the right soap. It is about the physics of surface tension and the mechanics of the wand itself. When you build your own equipment, you gain a level of control that a plastic toy can never provide. You become an architect of ephemeral art.
This guide will take you through the entire process of building a professional-grade giant bubble wand. We will cover the materials, the construction, and the specific techniques used by “bubbleologists” to create massive, shimmering tubes of air. Whether you are a parent looking for a weekend project or a hobbyist seeking the perfect shimmer, this is where the mastery begins.
Giant Bubble Wand Diy Tutorial
A giant bubble wand is a specialized tool designed to hold a large volume of bubble solution and release it slowly into the wind. Unlike standard wands, which are usually a single rigid loop, a giant wand typically uses a “tri-string” design. This setup involves two poles and a loop of absorbent string. This configuration allows the user to open and close the loop, controlling exactly when the bubble starts and ends.
The primary reason this DIY project exists is that commercial wands are often flimsy or too small. To get bubbles that are six, ten, or even fifteen feet long, you need a wand that can handle the weight of the liquid. A well-made DIY wand uses physics to its advantage. It relies on the capillary action of the string to “feed” the bubble film as it expands.
You will find these wands used by street performers in European plazas and by science educators in museums. They are the gold standard for outdoor play because they scale beautifully. You can make a small version for a toddler or a massive ten-foot version for an adult. The core design remains the same; only the dimensions change.
To begin your build, you will need a few basic supplies from a hardware or craft store. The most important components are the poles, the string, and a small weight. For the poles, lightweight wood dowels or PVC pipes work best. For the string, 100% natural cotton is the secret ingredient. Synthetic fibers like nylon or polyester shed water too quickly, causing the bubble film to snap almost instantly.
How to Build Your Giant Bubble Wand
Building the wand is a straightforward process, but precision matters. Follow these steps to ensure your wand performs reliably under the pressure of a heavy soap film.
Step 1: Prepare Your Poles
Choose two dowels or PVC pipes roughly 2 to 3 feet in length. If you are using wooden dowels, sand the tips to prevent splinters from snagging the string. For a more comfortable grip, you can wrap the bottom half of the poles in bicycle handlebar tape or foam grips. This helps when your hands inevitably get covered in slippery soap solution.
Step 2: Measure and Cut the String
The “tri-string” design requires two lengths of cotton string. The top string should be roughly the distance between your outstretched arms (about 3 to 4 feet). The bottom string should be approximately twice as long as the top string. This creates the “V” or “U” shape that holds the bubble film. Using 100% cotton butcher’s twine or cotton piping cord is essential here.
Step 3: Attach the Weights
Slide a small metal washer or a heavy bead onto the longer (bottom) string. This weight ensures that the string hangs down in a loop rather than tangling with the top string. Center the weight so the loop remains symmetrical. Without this weight, the wind will cause the strings to stick together, making it impossible to form a clean film.
Step 4: Assembly
Tie the ends of the short string to the tips of your two poles. Then, tie the ends of the long string to those same two points. You should now have a triangle of string suspended between the two poles. When you pull the poles apart, the string forms a large loop. When you bring the poles together, the loop closes.
Step 5: The Pre-Soak
Before you head outside, soak your new cotton strings in water or a bit of bubble solution. New cotton is often “hydrophobic” due to natural oils or manufacturing treatments. A good soak breaks this tension and allows the string to absorb the maximum amount of bubble juice later on.
Benefits of the DIY Approach
Opting for a DIY wand over a store-bought machine offers several practical advantages that go beyond just saving a few dollars. It changes the nature of the activity from passive watching to active engagement.
Total Customization: You can adjust the size of the loop to match the conditions. On a very windy day, a smaller loop is easier to manage. On a calm evening, you can swap in a massive string to create “bubble tunnels” that stretch across the yard. Store-bought toys are locked into one size.
Superior Material Quality: Commercial wands often use plastic mesh or thin string that doesn’t hold much liquid. Your DIY cotton wand acts like a reservoir. It holds enough solution to create multiple huge bubbles from a single dip, meaning less time at the bucket and more time in the air.
Skill Development: Operating a tri-string wand requires coordination. You have to move with the wind, not against it. It teaches kids (and adults) about fluid dynamics, air pressure, and patience. There is a genuine sense of accomplishment when you successfully “close” a six-foot bubble and watch it float away whole.
Durability and Repair: If a DIY wand breaks, you can fix it in thirty seconds with a new piece of string or a bit of tape. If a plastic bubble machine’s motor burns out or a gear strips, it usually ends up in a landfill. A DIY wand is a sustainable, long-term tool for outdoor fun.
Common Challenges and Pitfalls
Even with a perfect wand, you might encounter frustrations. Understanding why these happen will help you troubleshoot on the fly. Most failures come down to one of three things: the string, the weather, or the chemistry.
The most common mistake is using the wrong string. Many people grab nylon paracord because it is strong. However, nylon is too smooth. The bubble solution simply slides off it. If your bubbles are popping before you can even open the wand, check your string material. It must be absorbent enough to stay wet for several seconds.
Another pitfall is “frothing” the solution. When you dip the wand into the bucket, do it gently. If you stir the solution vigorously, you create thousands of tiny bubbles (foam) on the surface. When these tiny bubbles get onto your wand string, they act like thousands of tiny needles that pop the main bubble film. Always keep your solution clear and “flat.”
Weather is the silent bubble killer. High humidity is your best friend; dry, hot air is your enemy. On a dry day, the water in the bubble film evaporates rapidly, making the skin thin and brittle. If you are struggling, try bubbling in the early morning or late evening when the humidity is higher and the sun is less intense.
Limitations of Giant Bubbles
While giant bubbles are spectacular, they are not suitable for every environment. It is important to set realistic expectations for where and when you use your DIY wand. This isn’t just about the bubbles popping; it’s about the logistics of the solution itself.
Giant bubble solution usually contains ingredients like Guar gum, J-Lube, or baking powder to increase viscosity. This makes the solution very slippery. Using a giant wand on a wooden deck, a tiled patio, or near a poolside can create a significant slip hazard. Always use giant bubbles on grass or a surface that can be easily hosed down.
Wind speed is another major constraint. A light breeze is perfect for carrying the bubble away from the wand. However, strong or gusty winds will shred the bubble film before it can even form a sphere. If the wind is strong enough to fly a kite, it is likely too strong for giant bubbles. You need “Goldilocks” wind—just a gentle nudge.
Finally, there is the “residue” factor. Professional-grade solutions can leave a white, powdery film on surfaces once they dry. While usually harmless and water-soluble, you should avoid bubbling near parked cars or windows where the residue might be an eyesore. Stick to open parks or large backyards for the best experience.
Static Motor vs. Wind Mastery
When deciding how to enjoy bubbles, it helps to compare the two main philosophies: the automated machine and the manual wand. Both have their place, but they offer very different experiences.
| Feature | Electric Bubble Machine (Static Motor) | DIY Giant Wand (Wind Mastery) |
|---|---|---|
| User Role | Spectator / Passive | Architect / Active |
| Bubble Size | Small (1-2 inches) | Giant (2-10 feet) |
| Complexity | Low (Push a button) | Medium (Requires technique) |
| Reliability | Depends on battery/motor | Depends on physics/skill |
| Environment | Indoor/Outdoor | Outdoor only (needs space) |
The electric machine provides a “set it and forget it” atmosphere. It is great for birthday parties where you want a constant stream of bubbles for toddlers to chase. However, the DIY wand provides a “peak experience.” It is an event in itself. The mastery required to pull a massive bubble out of a bucket is what makes the activity memorable long after the soap has dried.
Practical Tips and Best Practices
To get the most out of your DIY wand, you need to master the “dip and release” technique. Start by fully submerging the string in your bucket. When you lift it out, keep the two poles pressed together so the loop is closed. This prevents the wind from catching the film too early.
Once the wand is high in the air, slowly pull the poles apart. If there is a light breeze, stand with your back to the wind. Let the air do the work of “inflating” the bubble. If there is no wind, you will need to walk backward slowly to create your own airflow. This is the “Wind Mastery” part of the equation.
To finish a bubble, simply bring the tips of the poles back together. This “cuts” the film and seals the bubble into a sphere or tube. If you don’t close the wand, the bubble will eventually get too heavy and pop while still attached to the string. Precision timing is the secret to creating those long, snake-like bubbles.
Keep a “skimmer” nearby. This can be a small kitchen strainer or even a piece of cardboard. Use it to scoop off any foam that builds up on the surface of your bubble solution. Clean solution is the most important factor in bubble longevity. If your string gets too gunky with grass or dirt, rinse it in clean water and re-soak it in the solution.
Advanced Considerations: The Professional Solution
For those who want to move beyond basic dish soap, the chemistry of the solution is the next frontier. A standard mix of Dawn dish soap and water works for medium bubbles, but for true giants, you need “polymers.”
Adding a small amount of Guar gum or a lubricant like J-Lube (polyethylene oxide) creates a molecular “net” within the soap film. This net allows the bubble skin to stretch much thinner without breaking. It also makes the bubbles more “elastic,” allowing them to bounce off grass or survive a light touch.
Scaling your wand is another advanced step. You can create a “multi-loop” wand by tying additional strings within the main loop. This allows you to create hundreds of medium-sized bubbles with a single wave of the wand, or a “bubble cloud.” Professional performers often have a quiver of different wands for different wind conditions.
Consider the pH of your water. If you live in an area with very hard water (high mineral content), your bubbles will pop more easily. The minerals interfere with the soap molecules. Using distilled water or adding a small amount of citric acid can neutralize these effects and significantly improve your bubble performance.
Scenario: The Neighborhood Park Hero
Imagine heading to a local park on a Saturday afternoon. You have a five-gallon bucket and your DIY tri-string wand. At first, people watch from a distance. You dip the wand, walk backward, and a ten-foot shimmering tube of iridescent light emerges, wobbling in the air before sealing into a massive orb.
Within minutes, a crowd gathers. This is the power of the giant bubble. Unlike a machine that just hums in the corner, the wand is a performance. You can invite kids to try to “catch” the bubbles or even teach them how to hold the poles. Because you built the wand yourself, you can explain exactly how it works, turning a fun afternoon into an impromptu physics lesson.
The cost of this entire setup—the dowels, the cotton string, and the soap—is likely under twenty dollars. Yet, the impact is far greater than any expensive electronic toy. You are providing a spectacle that feels like magic but is rooted in simple, accessible science.
Final Thoughts
The journey from a spectator of a motor to a master of the wind starts with a few simple materials. Building a giant bubble wand is more than a DIY craft; it is an invitation to engage with the world in a slower, more intentional way. It requires you to watch the trees for wind direction and feel the weight of the liquid on the string.
By choosing the “stick and string,” you are prioritizing skill and wonder over convenience. You are showing that the best play often comes from the simplest tools. The bubbles you create will be fleeting, but the memories of mastering the breeze and the science behind the shimmer will stick around much longer.
Go out and experiment. Try different string lengths, test new solution recipes, and don’t be afraid to get a little soapy. The world of giant bubbles is vast and beautiful, and it is waiting for you to pull it out of a bucket.