Natural Backyard Water Feature For Kids
We’ve removed the ‘texture’ from childhood—it’s time to bring the wild back to the backyard. We are obsessed with ‘flat’ and ‘safe,’ but kids are obsessed with ‘slopes’ and ‘flow.’ We replaced the rubber mats with a dry creek bed. Now, when it rains, the playground comes alive. They learn physics, engineering, and geology just by moving stones in the stream. It’s wild, it’s messy, and it’s perfect.

Nature is the ultimate teacher, but we have largely locked it out of our play spaces. Modern play areas often feel like clinical waiting rooms. We see bright plastic and flat rubber surfaces everywhere. These spaces are designed for easy cleaning and liability reduction, not for child development. A natural backyard water feature for kids flips this script entirely.
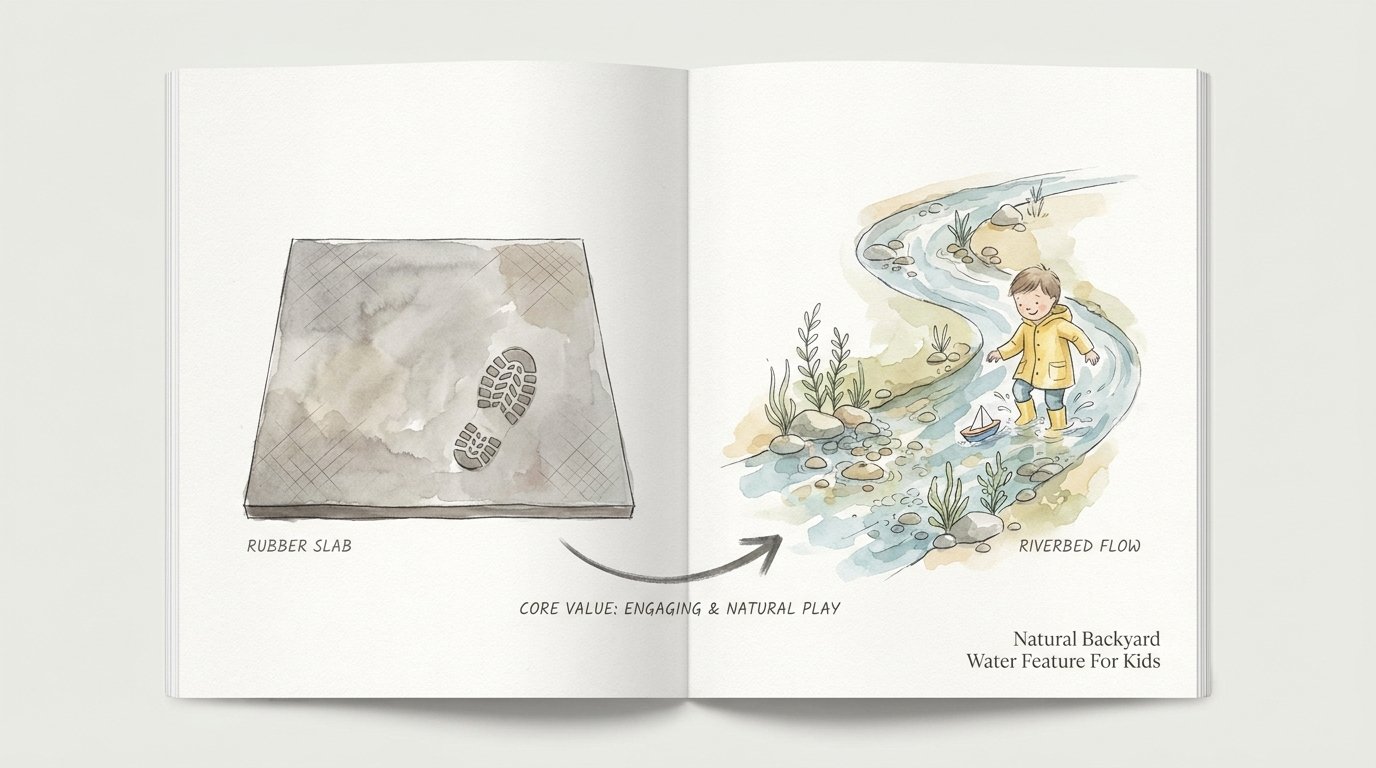
Water is a magnet for the human spirit, especially for a child. It is the only element that changes form, sound, and resistance in real-time. When you introduce a recirculating stream or a pondless waterfall, you aren’t just adding a decoration. You are installing a laboratory. You are creating a space where the “RUBBER SLAB” mentality is replaced by “RIVERBED FLOW.”
Natural Backyard Water Feature For Kids
A natural backyard water feature for kids is a managed landscape element designed specifically for interaction. Unlike a traditional ornamental pond, which is meant to be looked at, these features are meant to be touched. They typically consist of a “pondless” design where water disappears into a hidden underground reservoir. This eliminates the deep standing water that poses a drowning risk for toddlers.
These features use real stones, gravel, and native plants to mimic a mountain stream or a forest creek. Water flows over rocky cascades and through shallow channels where children can splash and explore. The system recirculates the same water using a pump, making it surprisingly efficient and sustainable. It is a living ecosystem that invites frogs, birds, and beneficial insects into the garden.

In the real world, these features are used to treat “Nature Deficit Disorder.” They provide the sensory input that screens and plastic toys cannot match. A child sitting by a stream isn’t just “playing.” They are observing fluid dynamics, testing the weight of wet stones, and feeling the cooling effect of evaporation. It is an immersive, 3D experience that challenges their balance and sharpens their senses.
How It Works: Building Your Backyard Stream
Building a functional, safe, and beautiful water feature requires a logical sequence of steps. You are essentially creating a closed-loop plumbing system disguised as a natural valley.
Step 1: The Design and Slope
Start by finding a natural slope in your yard. If your yard is flat, you will need to create elevation using the soil you excavate later. Use a garden hose to mock up the path of the stream. Curves are your friend. Straight lines look artificial and move water too quickly. Aim for a “meander” that allows for small pools and drops.
Step 2: Excavating the Reservoir and Stream
The reservoir is the heart of the system. Dig a deep hole at the lowest point of your stream path. This hole will house the pump and “AquaBlox” (structural water storage modules). The stream itself should be dug about 6 to 12 inches deep and 2 to 3 feet wide. This shallow depth ensures it remains a “play” feature rather than a swimming hazard.
Step 3: Liner and Underlayment
Rocks are heavy and can easily puncture a plastic liner. Always lay down a thick geotextile underlayment first. This fabric acts as a cushion. On top of the fabric, place a 45-mil EPDM rubber liner. This liner must be a single continuous piece from the top of the waterfall to the bottom of the reservoir to prevent leaks.
Step 4: Installing the Pump System
Place your pump inside a protective vault within the reservoir. Connect the plumbing (usually 1.5-inch or 2-inch flexible PVC pipe) and run it up the side of the stream bed. Hide the pipe under the edge of the liner. The pump will push water to the “spillway” at the top, where it begins its journey back down the rocks.
Step 5: Rock Placement and Artistry
This is where the feature comes to life. Start with large “anchor” boulders at the bends and drops. Use smaller river cobbles and gravel to fill in the bottom of the stream bed. The goal is to cover every inch of visible liner. Use waterfall foam—a black expanding sealant—to fill the gaps between rocks. This forces the water to flow *over* the stones rather than *under* them.
Benefits of Natural Water Play
The advantages of a natural water feature extend far beyond aesthetics. These systems are developmental engines that support multiple areas of growth.
- SENSORY INTEGRATION: The cold temperature of the water, the rough texture of the stones, and the white noise of the waterfall provide a rich sensory diet. This helps children regulate their nervous systems.
- STEM LEARNING: Kids naturally experiment with “dams.” They move stones to see how it changes the current. This is early civil engineering and physics in its purest form.
- PHYSICAL DEVELOPMENT: Navigating uneven, wet rocks builds core strength and proprioception. It requires a level of focus and balance that a flat playground simply doesn’t demand.
- SAFETY AND ACCESSIBILITY: Because there is no open pond, the risk of accidental drowning is virtually eliminated. This allows parents to feel comfortable letting children play with less direct “helicopter” supervision.
- MICROCLIMATE COOLING: Natural water features can lower the surrounding air temperature by several degrees. In the heat of summer, this makes the backyard a viable place to play when a rubber-matted playground would be dangerously hot.
Challenges and Common Mistakes
Building a water feature is rewarding, but many DIYers fall into predictable traps. Avoiding these will save you time and money.
Improper Reservoir Sizing
The underground reservoir must be large enough to hold all the water currently “in motion” in the stream. If the pump turns on and the stream fills up, the reservoir level drops. If the reservoir is too small, the pump will run dry and burn out. A good rule of thumb is to make the reservoir twice as large as you think you need.
Ignoring the “Head Height”
Pumps are rated by how many gallons per hour (GPH) they can move at a specific height. If your waterfall is five feet high, a pump rated for 2,000 GPH at zero feet might only move 500 GPH. Always check the “flow chart” on the pump box before buying. A weak flow will look like a leaky faucet rather than a rushing stream.
Visible Liner and Pipes
Nothing breaks the “wild” illusion faster than seeing a piece of black plastic or a PVC pipe. Use gravel and moss to hide every edge. If you can see the “guts” of the system, it won’t feel like a secret forest getaway.
Using Smooth Stones Only
While river rocks are beautiful, a stream made entirely of round, smooth stones can be slippery and unstable for small feet. Mix in some “grip” by using angular fieldstones for the areas where kids will be stepping or climbing.
Limitations of Natural Water Features
A natural stream is a living thing, and it has constraints that you must consider before digging.
Environmental factors like falling leaves can clog the system. If your backyard is under a massive oak tree, you will spend a lot of time skimming the reservoir grate. In very cold climates, the system must be winterized. This means pulling the pump and draining the lines so the freezing water doesn’t crack your plumbing.
Space is also a factor. A truly natural-looking stream needs room to meander. Trying to cram a waterfall into a tiny corner often results in a “volcano” look that feels out of place. Finally, local building codes might still classify a water feature as a “pool” if it exceeds a certain depth, even if it is pondless. Always check your local regulations.
RUBBER SLAB vs. RIVERBED FLOW
The choice between artificial safety and natural engagement is clear when you look at the measurable factors.
| Factor | Rubber Slab (Traditional) | Riverbed Flow (Natural) |
|---|---|---|
| Initial Cost | High (Professional install) | Moderate (DIY friendly) |
| Surface Temp | Can reach 140°F in sun | Stays cool via evaporation |
| Play Value | Static / Repetitive | Dynamic / Ever-changing |
| Maintenance | Low (but degrades) | Moderate (Seasonal cleaning) |
| Skill Level | Professional required | Intermediate DIY |
Practical Tips and Best Practices
If you are ready to build, these tips will ensure your project is a success from day one.
- USE BARLEY STRAW: If you struggle with algae, don’t reach for harsh chemicals. Barley straw extract is a natural way to keep the water clear without harming the kids or the local frogs.
- ADD A “MUD KITCHEN”: Place a flat stone area near a shallow part of the stream. This becomes the “prep station” for mud pies and stone soup. It keeps the mess contained to one area.
- SINK YOUR LIGHTS: Submersible LED lights make the water feature magical at night. Place them behind the falling water for a glowing effect.
- VARY THE ROCK SIZES: Nature doesn’t use rocks of all the same size. Use a mix of “fines” (sand/small gravel), “cobbles” (fist-sized), and “boulders” (basketball-sized or larger). This variety creates the “interlocking” effect that keeps the bed stable.
Advanced Considerations for Serious Builders
For those who want to take their backyard ecology to the next level, consider integrating rainwater harvesting. You can pipe your roof’s downspouts into the underground reservoir. This allows the system to refill itself every time it rains, reducing your tap water usage.
You might also consider a “Biological Filter.” By planting specific species like *Caltha palustris* (Marsh Marigold) or *Iris pseudacorus* (Yellow Flag Iris) directly into the gravel, you create a natural filtration system. These plants “eat” the nutrients that would otherwise fuel algae growth. This keeps your water crystal clear without the need for UV sterilizers or expensive filters.
Scale is another advanced concern. If you have a large property, you can create a “disappearing stream” that runs 50 feet or more. This requires multiple “check valves” to prevent all the water from rushing back into the reservoir when the pump is turned off. It is a more complex build but creates a truly transformative landscape.
Scenario: The “Small Yard” Solution
Imagine a standard suburban backyard with limited space and a slight grade near the patio. Instead of a 20-foot stream, you build a “Bubbling Rock.”
You bury a 50-gallon basin and top it with a heavy grate. You find a large, interesting boulder and drill a 1-inch hole through its center. You pipe the water through the rock so it bubbles over the top and clings to the sides, disappearing into the gravel below.
To a three-year-old, this is a mountain. They can sit on the surrounding dry gravel and wash their toy cars in the thin film of water. It takes up only a 4×4 foot area but provides hours of engagement. It is the perfect entry point for families who aren’t ready for a full excavation.
Final Thoughts
A natural backyard water feature for kids is more than just a landscaping trend. It is a rejection of the “sterile” childhood. It acknowledges that kids are resilient, curious, and deeply connected to the earth. By replacing a “RUBBER SLAB” with a “RIVERBED FLOW,” you are giving them a space that responds to their touch and rewards their curiosity.
Building one takes effort, but the return on investment is measured in wonder. You will see your children stop asking for “one more show” and start asking to “check the stream.” You will watch them develop a quiet confidence as they master the art of stepping from stone to stone.
Don’t be afraid of the mud or the occasional wet sock. Those are the markers of a life well-lived. Go outside, grab a shovel, and start moving some stones. The wild is waiting to come back to your backyard.
Sources
1 extraspace.com | 2 whisperingpineslandscaping.ca | 3 nelsonlandscapingok.com | 4 backyardwatergarden.com | 5 aquascapeconstruction.com | 6 atlantiswatergardens.com | 7 youtube.com | 8 medium.com | 9 wplawinc.com | 10 childhoodbynature.com | 11 russellwatergardens.com | 12 exmark.com | 13 wildlingsforestschool.com