Preserving Family History Activities
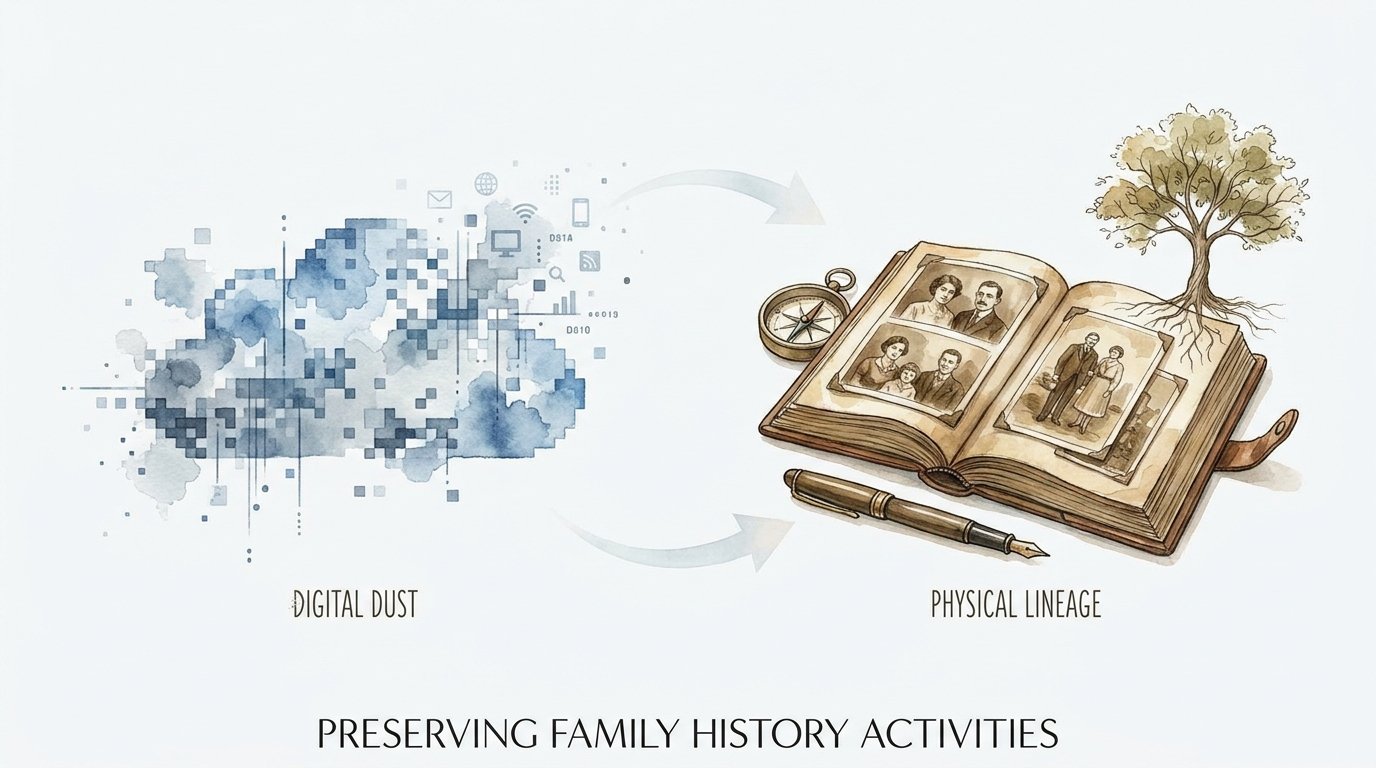
Are your family’s most precious memories sitting in a digital graveyard, or are they being preserved as a bridge for the next century? We take more photos than any generation in history, yet we are at risk of leaving the least amount of evidence. Digital files are temporary; a curated family archive is a legacy. Spend this weekend showing your kids that they aren’t just characters in an algorithm, but the current chapter in a story that started long before they arrived.
Building a family archive is more than just organizing old shoeboxes. It is an act of intentional connection that links the past to the future. You are the curator of your family’s narrative. This guide will help you move from digital clutter to a lasting physical and digital lineage.
Preserving Family History Activities
Preserving family history is the active process of identifying, documenting, and safeguarding the stories and artifacts that define a lineage. This practice exists to ensure that the wisdom and experiences of previous generations are not lost to time. It is used in real-world situations ranging from formal genealogy research to simple bedside storytelling.
Think of your family history as a living library. Without a librarian, the books eventually rot or get lost. You are stepping into that role to ensure the “books” stay on the shelves for your grandchildren.
Here are some practical activities to get the whole family involved:
- The Kitchen Table Interview: Sit down with an elder and record their voice using a smartphone. Ask about their first job, their favorite childhood meal, or how they met their spouse.
- The Photo Identification Party: Lay out a stack of old photos and have family members identify the people in them. Use a soft lead pencil to write names and dates lightly on the back of each print.
- Heritage Cooking Night: Choose a family recipe passed down through generations. Cook the meal together while discussing the person who originally created the recipe.
- The Heirloom Museum: Pick five objects in your home that have a story. Write a short “museum card” for each one explaining its origin and significance.
- Cemetery Scavenger Hunts: Visit a local cemetery where ancestors are buried. Use apps like Find A Grave to document headstones and learn about the lives of those resting there.
These activities turn abstract history into tangible experiences. They help children see themselves as part of a much larger, ongoing human story.
How to Build Your Family Archive Step by Step
Creating a legacy requires a systematic approach. You cannot do everything at once, so focus on a clear process. Following these steps will prevent you from feeling overwhelmed by the volume of material.
Phase 1: The Discovery Inventory
Gather everything in one place. Search the attic, the basement, and the junk drawer. Look for letters, birth certificates, military records, and old photo albums. Do not forget the digital “basement” of old hard drives and cloud accounts.
Create a master list of what you found. Note the condition of each item. If you find moldy papers or “sticky” photo albums, separate them immediately. These can contaminate the rest of your collection.
Phase 2: The ABC Sorting Method
Sorting is often the hardest part of the process. Use the ABC method to prioritize your collection efficiently.
Category A is for the “Album-worthy” items. These are the crown jewels, like a great-grandfather’s portrait or a handwritten love letter from 1944. These must be digitized and stored in archival-grade materials.
Category B is for “Box” items. These are supporting documents and secondary photos. They are important but do not need immediate digitization. You can store these in acid-free boxes for later review.
Category C is for “Can Toss.” This includes blurry photos, duplicates, and scenery shots where nobody is present. Discarding these reduces the noise and makes the important memories shine.
Phase 3: Physical Preservation Standards
Physical items need protection from light, heat, and moisture. Never store your archive in an attic or a basement. High heat in the summer and dampness in the winter will destroy paper and film within a few decades.
Use archival-grade enclosures. Look for products labeled “acid-free” and “lignin-free.” Plastic sleeves should be made of polyester, polypropylene, or polyethylene. Avoid any plastic that smells like a “new car,” as this indicates harmful PVC that will eat away at your photos.
Phase 4: The Digital 3-2-1 Backup Rule
Digitization is your insurance policy against fire or flood. Simply uploading to social media is not enough. Follow the industry-standard 3-2-1 rule to protect your digital lineage.
Keep three copies of your data. Store them on two different types of media, such as an external hard drive and a cloud service. Keep one copy offsite, perhaps at a relative’s house or in a secure cloud vault. This ensures that even a local disaster cannot wipe out your entire digital history.
The Profound Benefits of Family Archiving
Investing time in your family history yields rewards that go far beyond a clean closet. The practical and psychological benefits are measurable.
Children who know their family stories often exhibit higher self-esteem and stronger resilience. Learning about the challenges their ancestors overcame provides a sense of perspective. It teaches them that they come from a line of survivors and achievers.
Digital preservation also allows for effortless sharing. Once a collection is digitized, you can create high-quality photo books for every family member. This democratizes access to the family history, ensuring it isn’t locked away in a single relative’s house.
A curated archive also simplifies legal and medical research. Having organized records of birth, death, and military service can be invaluable for citizenship applications or understanding hereditary health patterns. You are providing a service to every future member of your family tree.
Challenges and Common Mistakes to Avoid
Many well-meaning family historians accidentally damage their own legacy. Understanding these pitfalls will save you years of regret.
The Danger of “Magnetic” Photo Albums
Sticky-page albums from the 1970s and 1980s are a major threat. The adhesive used on these pages is highly acidic and will eventually eat through the back of your photos. The plastic overlays often trap moisture and gases that accelerate fading.
If you have these albums, remove the photos as soon as possible. If a photo is stuck, do not pull it. Use a piece of dental floss to gently saw through the adhesive behind the photo. If it still won’t budge, consult a professional conservator.
Environmental Extremes
Basements and attics are the most common storage mistakes. Basements are prone to mold and flooding. Attics experience extreme temperature shifts that cause paper fibers to become brittle and snap.
Always choose an interior closet on the main floor of your home. A stable environment is the single best thing you can do for your archive. Consistency in temperature and humidity is the key to longevity.
Ignoring Tech Obsolescence
Digital files are not “set and forget.” Think about the floppy disks or Zip drives of twenty years ago. If your family memories are stored on obsolete media, they are already lost.
You must migrate your digital files to new storage formats every five to seven years. Check your external hard drives regularly to ensure they still spin up. Digital files require active maintenance to survive the “Digital Dark Age.”
Limitations of Family History Projects
Every archiving project has realistic boundaries. Recognizing these limitations will help you set achievable goals.
Time is your biggest constraint. You cannot document every single second of every relative’s life. Focusing on quality over quantity is essential. A well-curated box of twenty items is more valuable than ten crates of unsorted junk.
Information loss is another reality. Many stories died with the people who lived them. You must accept the gaps in your family tree. Fill those gaps with context about the era they lived in, rather than fabricating details.
Financial costs can also be a factor. High-quality archival boxes and professional scanning services are expensive. Prioritize your “Category A” items for the best materials and use budget-friendly options for the rest.
Comparing Archival Storage Methods
Choosing the right way to store your memories depends on your goals for accessibility and durability.
| Storage Method | Lifespan Expectancy | Primary Advantage | Biggest Drawback |
|---|---|---|---|
| Standard Paper Boxes | 5–10 Years | Very Cheap | Acidic; damages paper |
| Archival (Acid-Free) Boxes | 50–100+ Years | Chemical Stability | Higher initial cost |
| External Hard Drives (HDD) | 3–7 Years | Large storage capacity | Mechanical failure risk |
| Cloud Storage | Subscription-based | Remote access | Privacy/Security risks |
| M-Disc (Archival DVD) | Up to 1,000 Years | Extreme durability | Low storage capacity |
Practical Tips for Success
You can apply these best practices immediately to start improving your family archive.
- Wash Your Hands: Oils from your skin can damage old photos. Wash and dry your hands thoroughly before handling originals, or wear lint-free cotton gloves.
- Use Pencil Only: Never use ink pens on the back of photos. Ink can bleed through the paper or smear onto other items. A soft #2 pencil is the safest choice.
- Scan at High Resolution: When digitizing, use at least 600 DPI (Dots Per Inch) for standard prints. For small negatives or slides, you may need 2400 DPI or higher to capture the detail.
- Use Descriptive File Names: Instead of “IMG_001.jpg,” name your file “1954_Smith_Family_Picnic.jpg.” This makes the files searchable for future generations.
- Add Metadata: Use photo management software to embed names and locations directly into the digital file’s data. This ensures the “who and where” stays with the image forever.
Small, consistent efforts are better than a massive project that never gets finished. Aim to spend thirty minutes a week on one specific task, like labeling a single envelope of photos.
Advanced Considerations for Serious Archivists
If you want to go beyond the basics, consider the long-term scaling of your archive.
Integrate DNA results with your documentation. Many genealogy platforms allow you to link genetic matches to specific branches of your tree. This provides biological proof of the stories you are preserving.
Investigate the “LOCKSS” philosophy: Lots Of Copies Keep Stuff Safe. This is the foundation of institutional archiving. By spreading copies of your archive among several family members, you ensure that no single house fire can destroy the family’s total history.
Consider hiring a professional photo restorer for your most damaged “Category A” items. Digital restoration can fix tears, water stains, and color shifts without touching the original physical document. This creates a “clean” copy for display while the original is safely stored away.
A Practical Scenario: The “Grandma’s Trunk” Project
Imagine you have inherited a steamer trunk full of letters and loose photos. Here is how a practitioner would handle it.
First, you move the trunk out of the garage and into the spare bedroom to stabilize the temperature. You put on a pair of cotton gloves and begin sorting. You find a bundle of letters from the Korean War. These are “Category A.” You scan them as high-quality TIFF files (uncompressed) and store the originals in individual acid-free Mylar sleeves.
Next, you find several hundred school photos. These are “Category B.” You group them by decade and place them in acid-free envelopes. Finally, you find a stack of blurry photos of an old car. You can’t identify the car or the location. These are “Category C.” You recycle them to save space.
You upload the digital copies to a dedicated family cloud account and mail a thumb drive of the scans to your brother. Within one weekend, a pile of “digital dust” has become a secure, shared family legacy.
Final Thoughts
Preserving your family history is a gift to people you may never meet. It transforms a collection of fading scraps into a coherent narrative of identity and belonging. By moving your memories from digital graveyards into a curated archive, you are ensuring that your family’s story continues to be told.
The process may seem daunting, but it starts with a single step. Choose one photo today and write down the story behind it. That small action is the beginning of a bridge that will carry your legacy across the next hundred years.
Experiment with the activities mentioned above. Get the kids involved. Let them see that their history is a source of strength, not just a folder on a forgotten hard drive. Your legacy is waiting to be built.
Sources
1 medium.com | 2 unionward.org | 3 josephknightfamily.org | 4 margotnote.com | 5 archivalmethods.com | 6 archives.gov | 7 ldsliving.com | 8 memoirsandmore.com | 9 forgetmenotjournals.com.au | 10 margotnote.com | 11 youtube.com | 12 lisalisson.com | 13 permanent.org | 14 restoreoldphotosnow.com | 15 heirloom.cloud | 16 thefamilyhistorylibrarian.com